Description
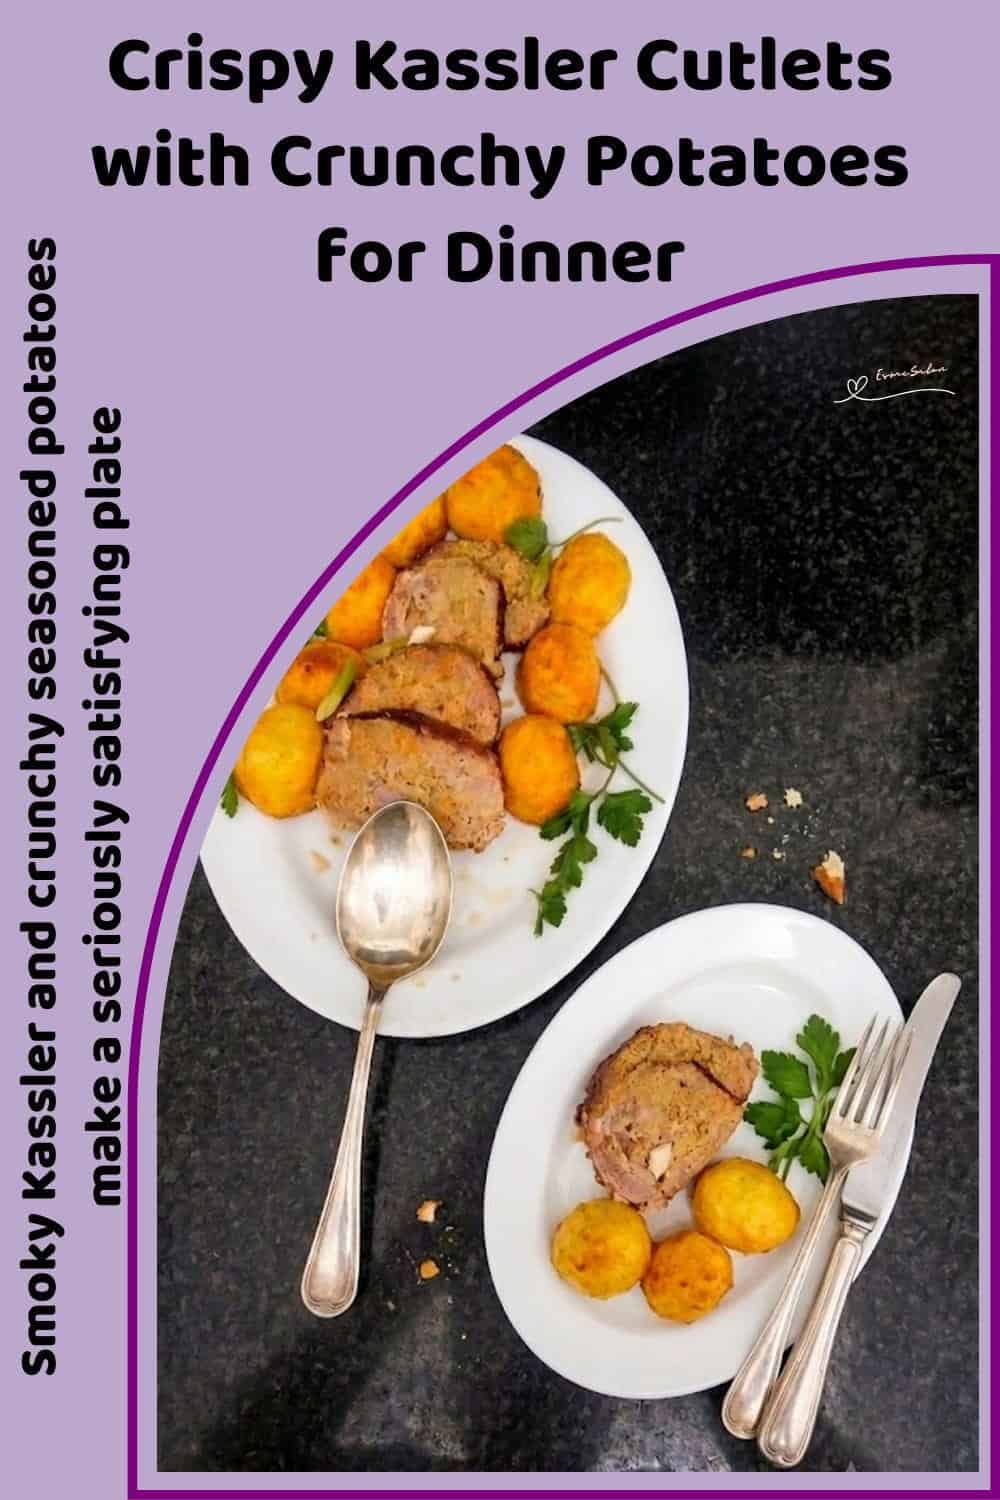
Tender, smoky Kassler gets a buttery mustard breadcrumb crust, then it’s baked until the topping is golden and crisp. Add those crunchy, seasoned potatoes on the side, and you’ve got a proper dinner that’s simple, satisfying, and a little bit special.
Ingredients
Scale
Kassler Cutlets
- 6 Kassler cutlets or chops
- White pepper, for seasoning both sides
- Melted butter or ghee, for greasing the baking dish
Crispy Crust
- 4 slices day-old bread, crusts removed
- 3 tbsp melted butter
- 1 tsp smoked paprika
- 1 tsp grainy mustard
- 1 to 2 tbsp fresh parsley, chopped
Golden Crunchy Potatoes
- Potatoes, peeled, washed and halved, as needed
- 1 level tbsp chicken stock powder, or vegetable stock powder, for the cooking water
- Oil, enough to generously coat the base of the roasting pan
- Cornstarch, as needed
- Salt, to taste
- Black pepper, to taste
- A pinch of egg yolk powder, optional
- Italian seasoning, to taste
- Fresh parsley, chopped, to taste
Instructions
Kassler
- Preheat the oven to 350⁰F (180⁰C). Grease a baking dish with melted butter or ghee.
- Season both sides of the 6 Kassler cutlets with white pepper. Kassler is already cured and seasoned, so I don’t add extra salt here.
- For the crust, place 4 slices of day-old bread with the crusts removed into a food processor. Process until you have fine breadcrumbs.
- Add 3 tbsp melted butter, 1 tsp smoked paprika, 1 tsp grainy mustard, and 1 to 2 tbsp chopped fresh parsley. Pulse until everything is evenly combined and the mixture holds together when pressed.
- Place the breadcrumb mixture in the freezer for 10 minutes or refrigerate it for 30 minutes. This firms up the butter and makes the crust much easier to press onto the Kassler.
- Press the chilled crust mixture firmly onto one side of each Kassler cutlet. Make sure you press it down well so it doesn’t fall off during baking.
- Place the crusted Kassler cutlets crust side up in the prepared baking dish.
- Bake at 350⁰F (180⁰C) for about 15 to 20 minutes, or until the crust is golden and crisp and the Kassler is heated through.
- If the crust needs a little more colour, place the cutlets under the broiler for a minute or two at the end. Keep a close eye on them because that crust can go from beautifully golden to burnt pretty quickly.
Golden Crunchy Potatoes
- Peel, wash and halve the potatoes. Put the potatoes into a large pot and cover them with cold water.
- Add 1 level tbsp chicken stock powder, or 1 level tbsp vegetable stock powder, to the cooking water. Bring the potatoes to a boil and cook until they’re tender but not falling apart.
- Drain the potatoes well in a colander. Let them sit for a few minutes so excess moisture can evaporate. This little step helps the coating stick and gives you crispier potatoes.
- While the potatoes are cooking, pour enough oil into a roasting pan to generously coat the bottom. Place the roasting pan in the oven and heat the oil at 425⁰F (220⁰C).
- In a large bowl, combine enough cornstarch to lightly coat all the potatoes with salt, black pepper, a pinch of egg yolk powder if using, Italian seasoning, and chopped fresh parsley.
- Add the drained potatoes to the bowl, one at a time if you have the patience, and gently toss each potato in the cornstarch mixture until lightly coated.
- Return the coated potatoes to the colander as you go. Once they’re all coated, tip any leftover cornstarch mixture from the bowl over the potatoes.
- Give the colander a good shake and toss the potatoes gently to knock off the excess coating. You want a light coating, not thick clumps of flour.
- Carefully remove the hot roasting pan from the oven and place the coated potatoes into the hot oil. Be careful because the oil may sizzle when the potatoes hit the pan.
- Roast the potatoes at 425⁰F (220⁰C), turning them once or twice during cooking, until they’re deeply golden, crisp on the outside and tender in the middle. This usually takes about 25 to 35 minutes, depending on the size of the potatoes.
- Serve the crispy Kassler cutlets straight from the oven with the golden, crunchy potatoes
Notes
Prepared, tried, and tested by Melanie