Description
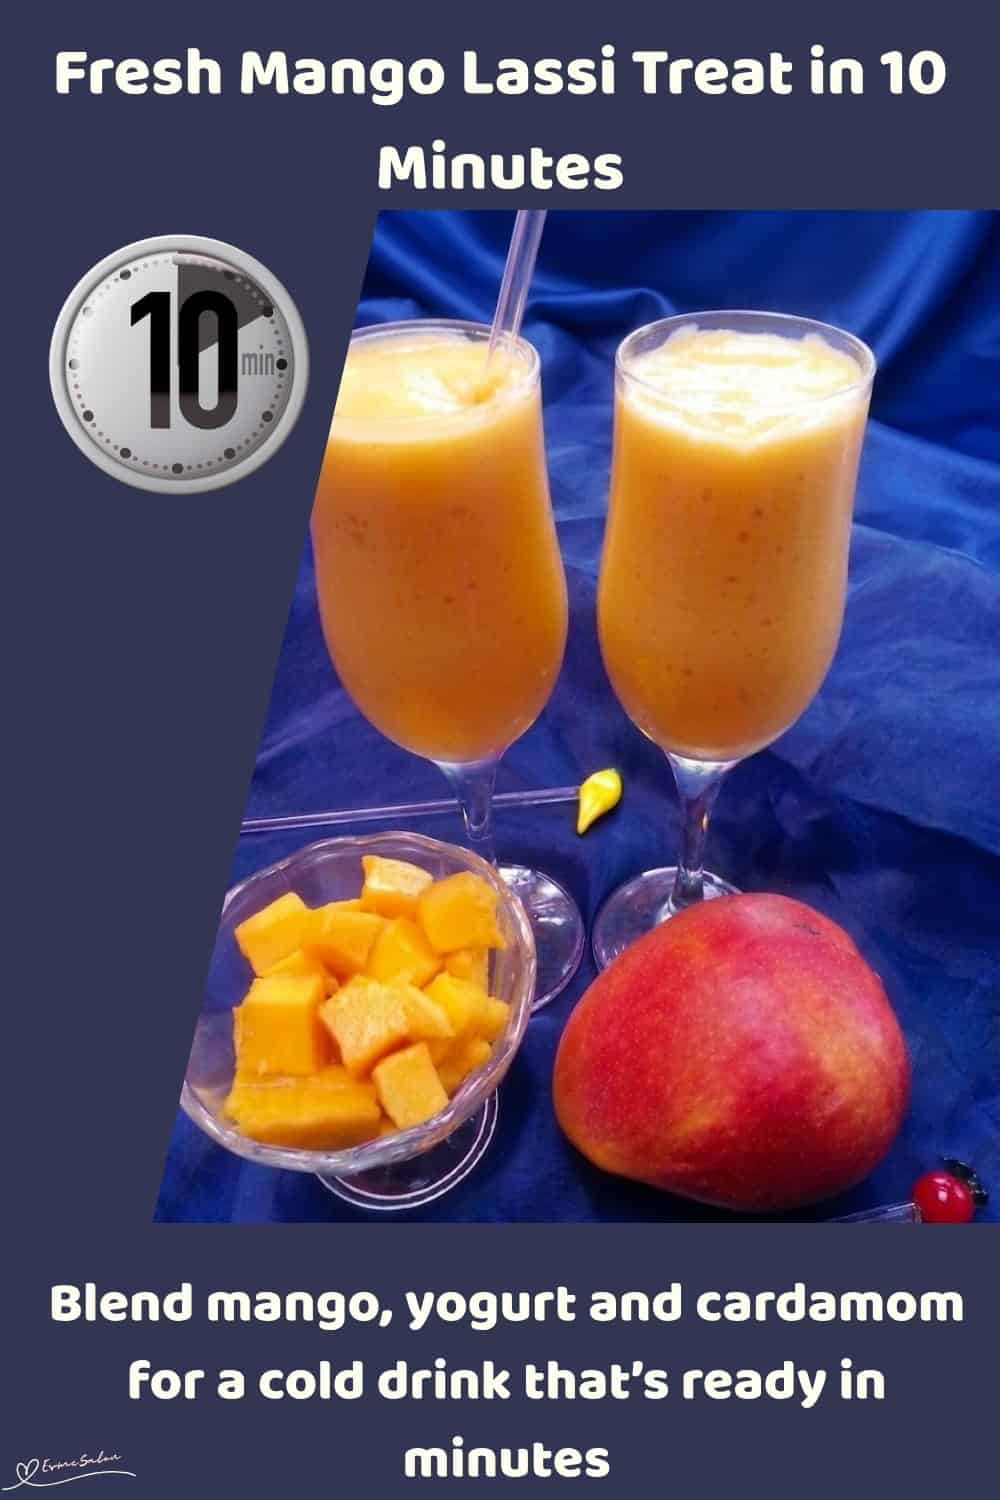
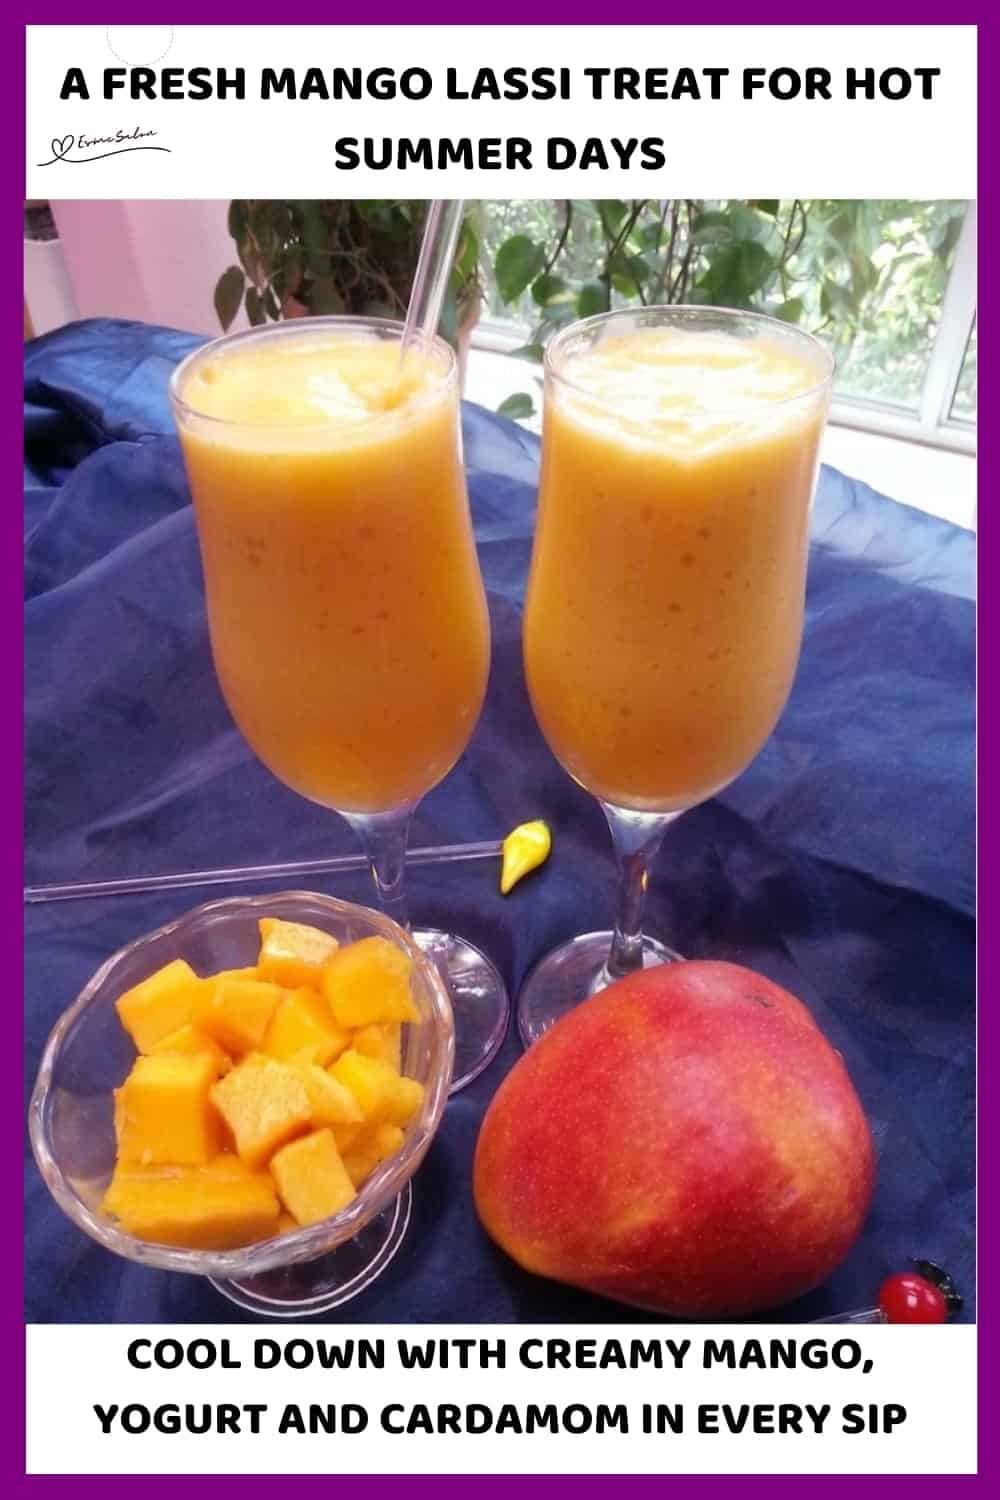
Skip the complicated mango lassi recipes. This one belongs in the blender and nowhere near the stove. It’s creamy, cold, fruity, and ready in about 10 minutes.
Ingredients
Units
Scale
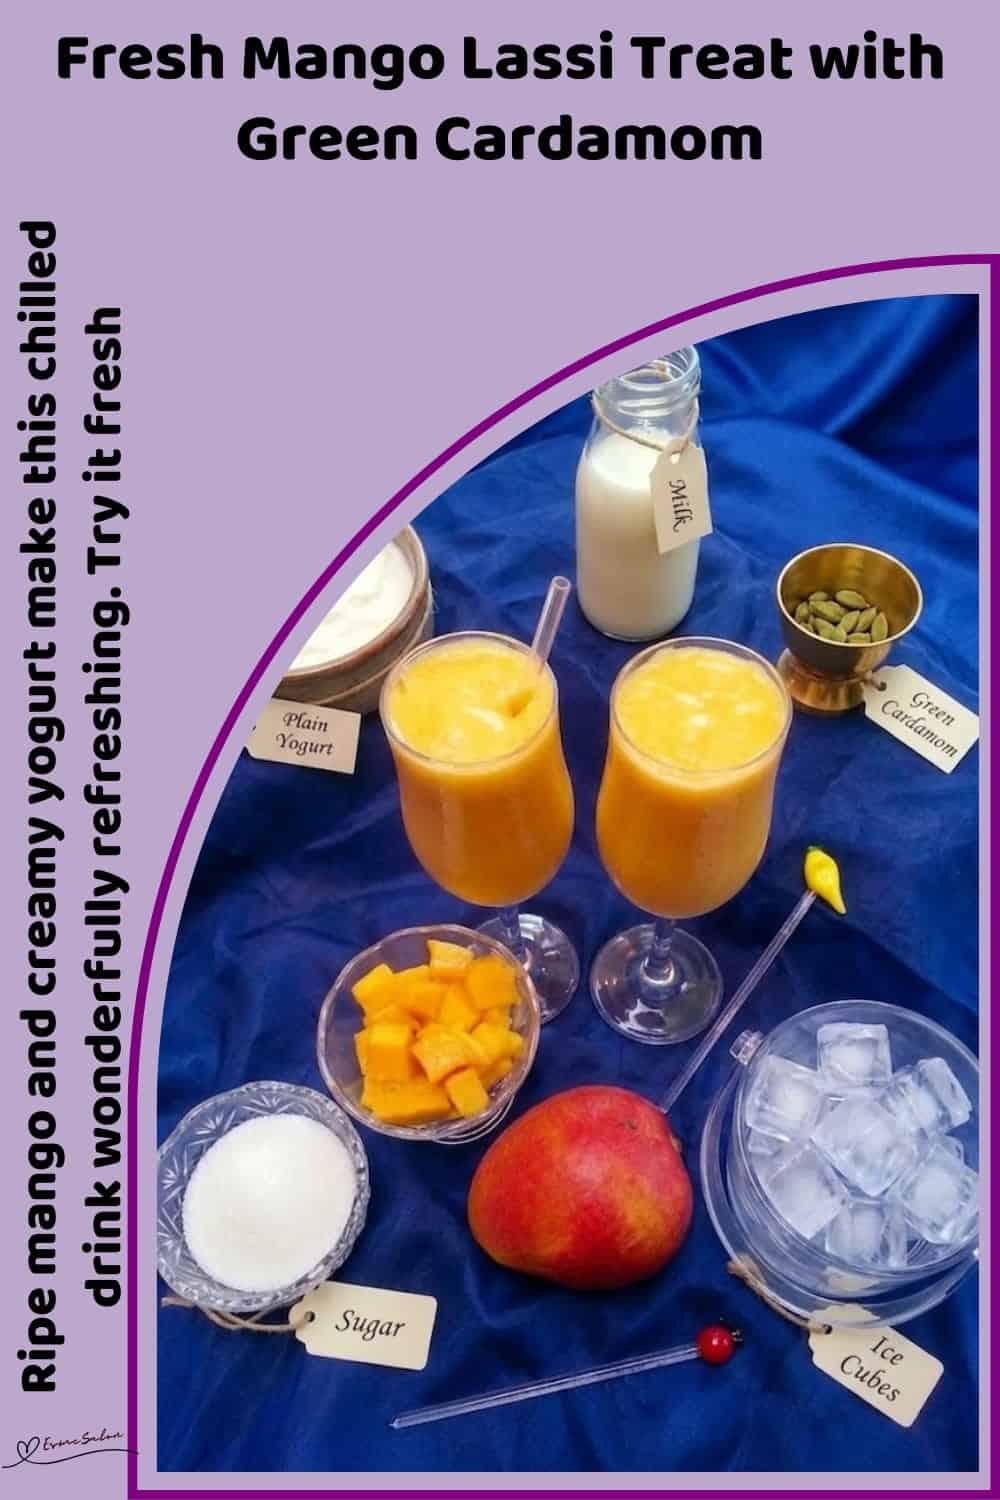
- 1 cup plain yogurt
- 1/2 cup milk
- 1 cup chopped ripe mangoes, or 1 cup mango pulp
- 3 tbsp sugar, optional, to taste
- 1/4 tsp green cardamom (elachi) powder
- Ice cubes, as needed
Instructions
- If you’re using fresh mangoes, peel and chop 1 cup ripe mangoes.
- If the mango is stringy, blend the 1 cup chopped mangoes first, then sift the pulp to remove the fibres. You can skip the sifting if your mango is smooth and fibre-free. If you’re using canned mango pulp, simply measure 1 cup mango pulp.
- Add 1 cup plain yogurt, 1/2 cup milk, and 1 cup mango to a blender. Blend until completely smooth and creamy.
- Add 3 tbsp sugar, if needed, and 1/4 tsp green cardamom (elachi) powder. Blend again. Your mango may already be quite sweet, so don’t feel you have to use all the sugar.
- Add a handful of ice cubes and blend briefly, or stir them in and let the lassi stand for a few minutes so it gets nicely chilled.
- Don’t add too much ice or it can water down the flavour.
- Give the lassi one final stir, taste it and adjust with a splash more milk if you want it thinner, or a little more yogurt if you prefer it thicker. Pour into glasses and serve straight away.
Notes
Prepared, tried, and tested by: Rashida