Description
Discover the Gluten-Free Brazilian Pizza Crust That’s Crispy, Cheesy, and Totally Satisfying
Ingredients
- 1 1/4 cups tapioca flour (also called tapioca starch—same thing)
- 2 cups shredded cheese (mozzarella, Italian blend, or any firm cheese you like) Tip: I’ve used just 1 cup before, and it still turned out great
- 1 tsp baking powder (make sure it’s corn-free if that matters to you)
- 2 eggs
- 1/4 cup melted butter
- 2 tsp dried dill
- 2 tsp dried chives
- Your favorite pizza toppings
Instructions
- Start by preheating your oven to 450°F / 230°C. If you’ve got a pizza stone, pop it in to preheat.
- If not, no worries, just line a baking sheet with parchment paper and set that aside.
- Now, mix everything for the crust in a food processor.
- You can mix it by hand, but the processor blends it much better.
- The dough might look a bit dry at first, but not to worry.
- Once the cheese mixes in, it starts forming a sticky ball. That’s what you want.
- Dust your parchment paper with a little tapioca flour using a sieve; this will help prevent clumps.
- Drop the dough on the parchment, sprinkle a bit of flour on your hands too, and start flattening it out.
- You can use a rolling pin or just press it from the center with your fingers. Aim for about ⅛ inch thick.
- Bake the crust for 8 to 12 minutes, until it’s golden and starting to puff a bit. I found 12 minutes gave me the perfect texture.
- While that’s baking, prep your toppings.
- When the crust comes out, it’s time to build your pizza:
Layer on sauce, then cheese (yep, lots of cheese), then your veggies or meat, or both. And top it off with another sprinkle of cheese to hold everything together. - Pop it back into the oven for another 10 minutes, and you’re done!
A Few Notes from Irene’s Trials:
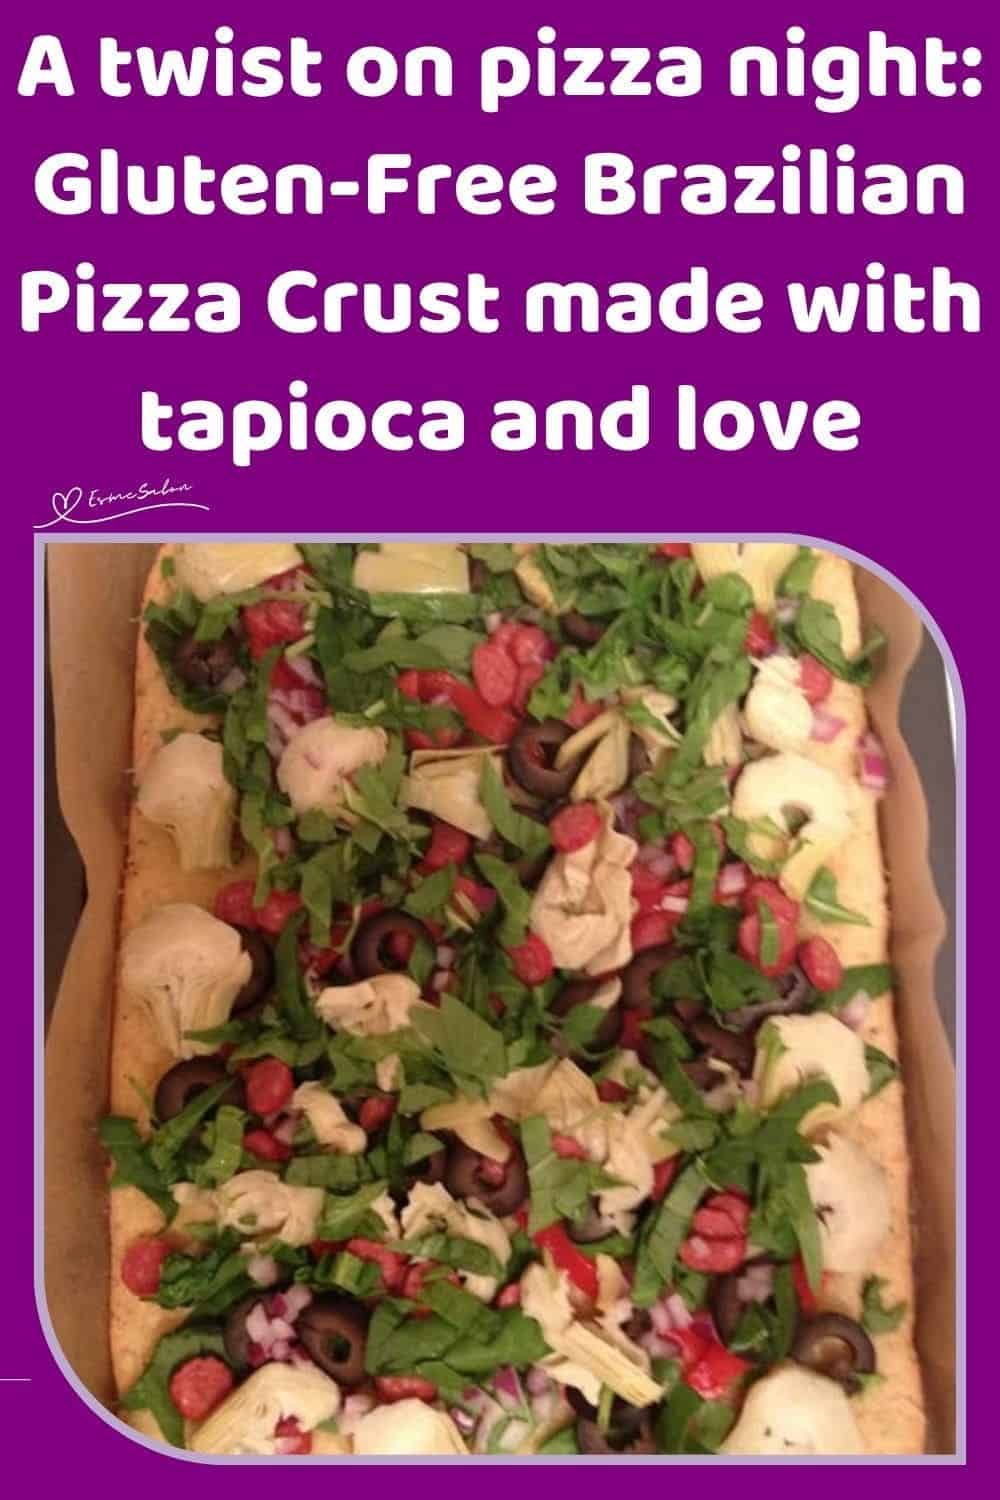
First time: I added 2 tsp of Italian spice blend to the dough. Baked the crust for 15 minutes on a cookie sheet, then added spinach ribbons, sliced artichokes, olives, red peppers, beef pepperoni, and of course, extra cheese. Baked again for 10 mins. The crust came out about ¼ inch thick and held everything beautifully.
Second time: Baked the crust for 12 minutes first. It was a bit sturdier, great if you’re going heavy on toppings.
Third time: Nailed it. No tweaks needed.
Fourth time: Got creative and used a biscuit cutter to make 4-inch mini pizzas. They were adorable and delicious.
Notes
Prepared, tried, and tested by Irene


