Description
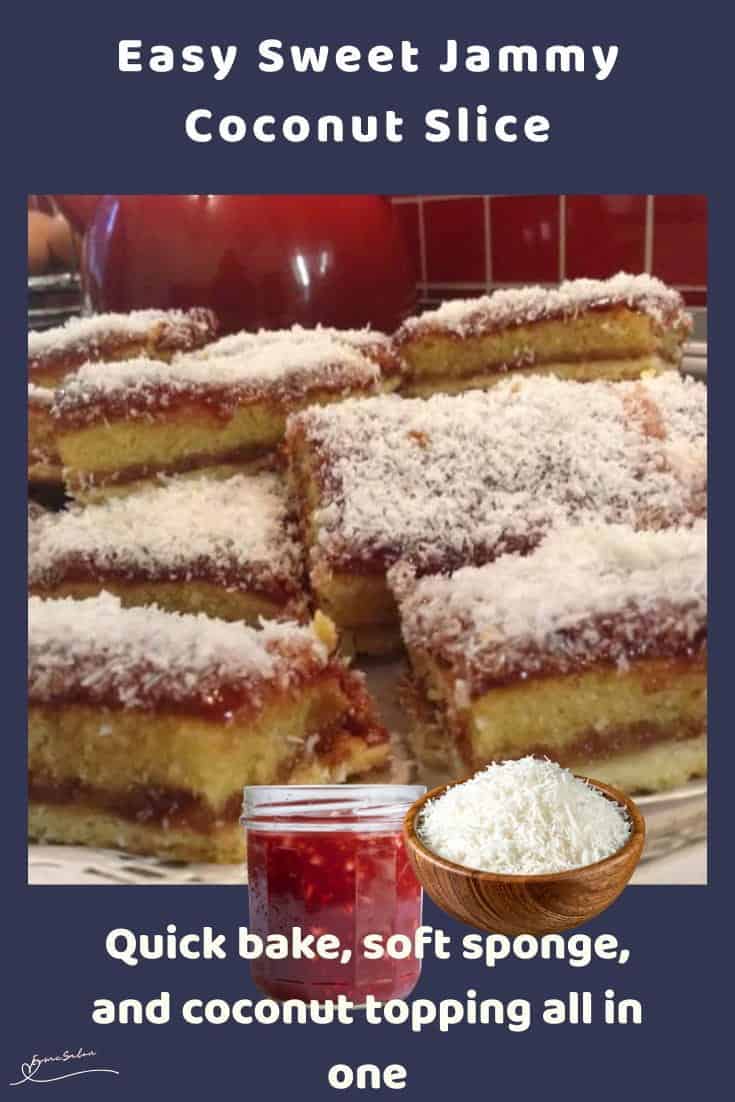
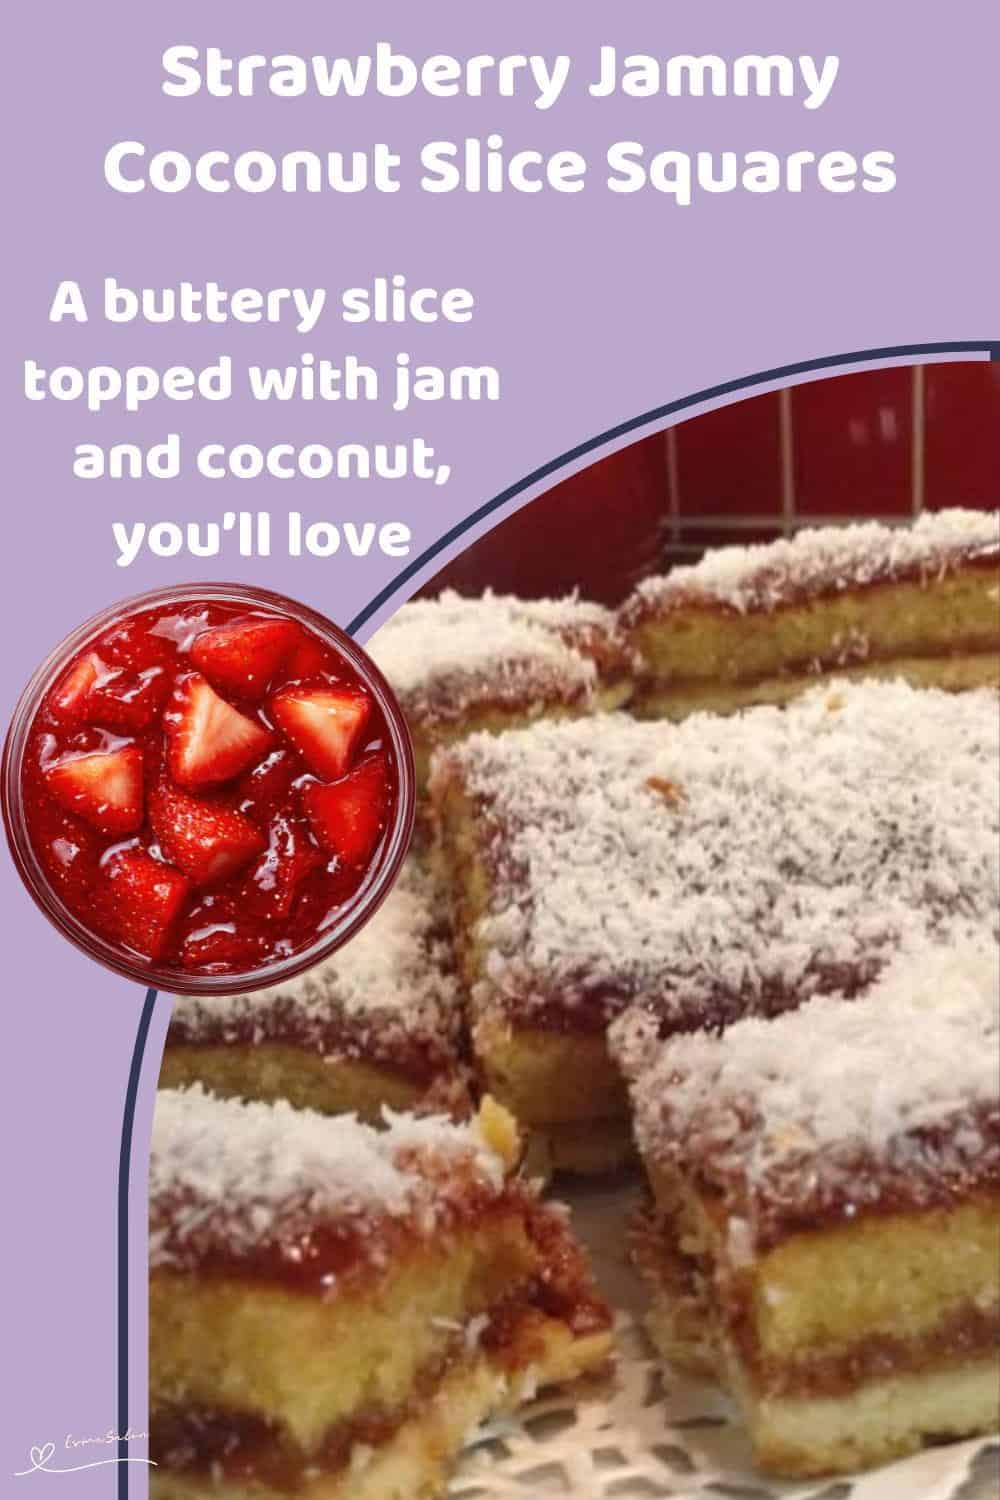
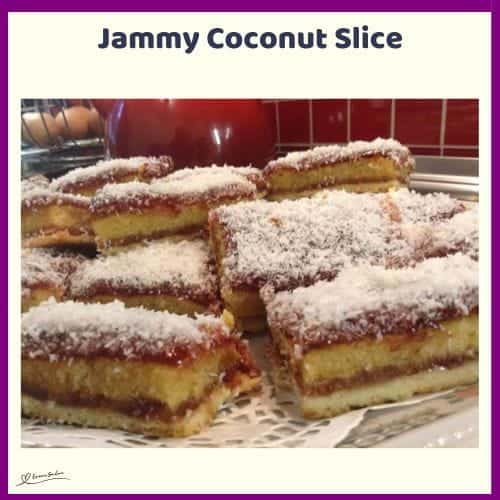
A soft buttery base, sweet strawberry jam, and a coconut-topped sponge that’s just the right amount of indulgent. Perfect for afternoon tea or sneaky dessert bites straight from the oven.
Ingredients
Units
Scale
Pastry Base:
- 200g cake flour
- 100g butter
- Pinch of salt
- 25 ml sugar
- 37.5 ml cold water
- Strawberry jam (enough to cover the base, ~4-5 tbsp)
Cake Topping:
- 125g soft butter
- 125g caster sugar
- 2 large eggs
- 90g self-raising flour
- 12.5 ml milk
- 40g desiccated coconut
Instructions
- Preheat your oven to 180°C and grease and line a square baking dish about 25x16cm.
- In a bowl, rub 100g butter into 200g cake flour, a pinch of salt, and 2 tbsp sugar until it looks like breadcrumbs.
- Add 3 tbsp cold water and bring it together into a dough.
- Don’t worry if it’s a bit crumbly, that’s normal. Roll it out and line your baking dish.
- Spread about 4–5 tbsp of strawberry jam evenly over the pastry and set aside.
- In a mixing bowl, beat 125g soft butter with 125g caster sugar until pale and fluffy.
- Add 2 large eggs one at a time, beating lightly between each.
- Fold in 90g self-raising flour until smooth.
- Add 1 tbsp milk and mix until just combined.
- Spread the cake mixture over the jam-covered pastry, smoothing it evenly.
- Bake in your preheated oven for 30–35 minutes until golden and the top springs back when lightly pressed.
- While still warm, spread a little extra strawberry jam over the top and sprinkle 40g of desiccated coconut.
- Let it cool completely in the pan before slicing into squares or rectangles.
Notes
Created, prepared, tried, and tested by Gail