Description
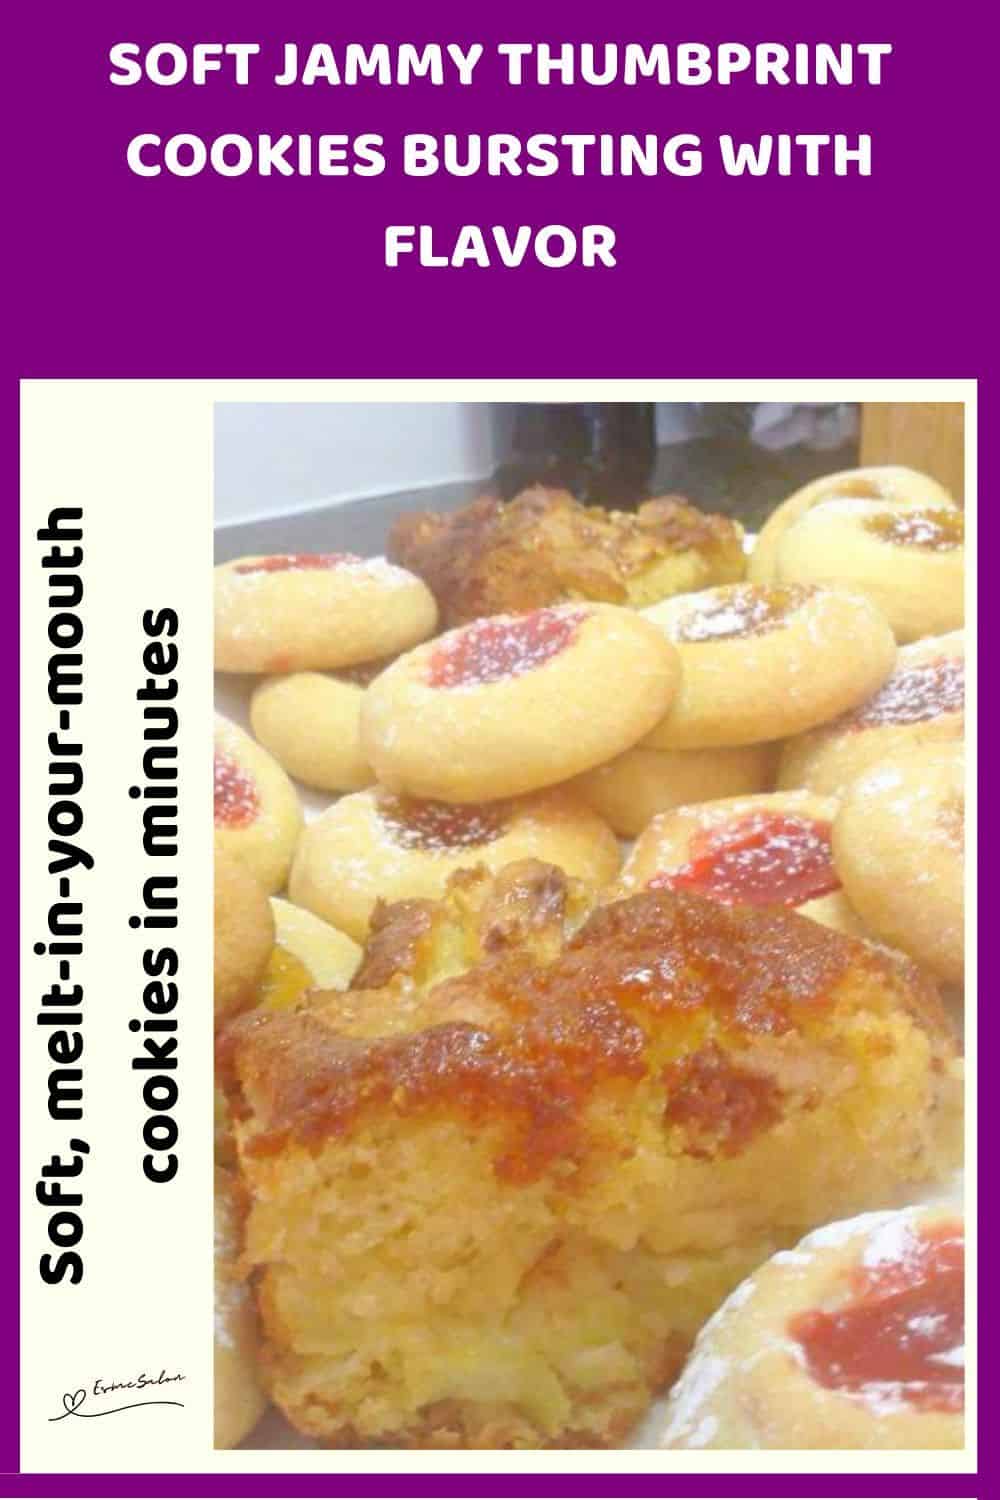
Sweet jam tucked into buttery thumbprint cookies creates a melt-in-your-mouth experience. Perfect for sharing.
Ingredients
Units
Scale
- 1 cup salted butter, softened
- 1/2 cup icing sugar, plus extra for dusting
- 2 tsp vanilla essence
- 1/4 tsp salt
- 2 cups all-purpose flour
- 1/2 cup jam (strawberry or your favorite)
Instructions
- Preheat your oven to 180°C and line a baking sheet with parchment paper.
- In a large bowl, cream together 1 cup salted butter and 1/2 cup icing sugar until light and fluffy. It might look a bit lumpy at first, don’t stress, it’ll smooth out.
- Mix in 2 tsp vanilla essence and 1/4 tsp salt until evenly combined.
- Gently fold in 2 cups of all-purpose flour. Don’t overdo it; you want a soft dough, and NOT tough cookies.
- Scoop tablespoons of dough and roll into balls, placing them on the lined baking sheet.
- They don’t need to be perfect; rustic shapes are charming.
- Press the center of each ball with your thumb or the back of a spoon to make a small depression.
- Fill each indentation with a little bit of 1/2 cup of jam. Don’t overfill; it might spill while baking.
- Bake for 12–15 minutes until lightly golden on the edges.
- Let the cookies cool for a few minutes, then dust with extra icing sugar.
- Store in an airtight container.
- They’ll last a few days if you can resist eating them all immediately.
Notes
Created, prepared, tried, and tested by Gail