Description
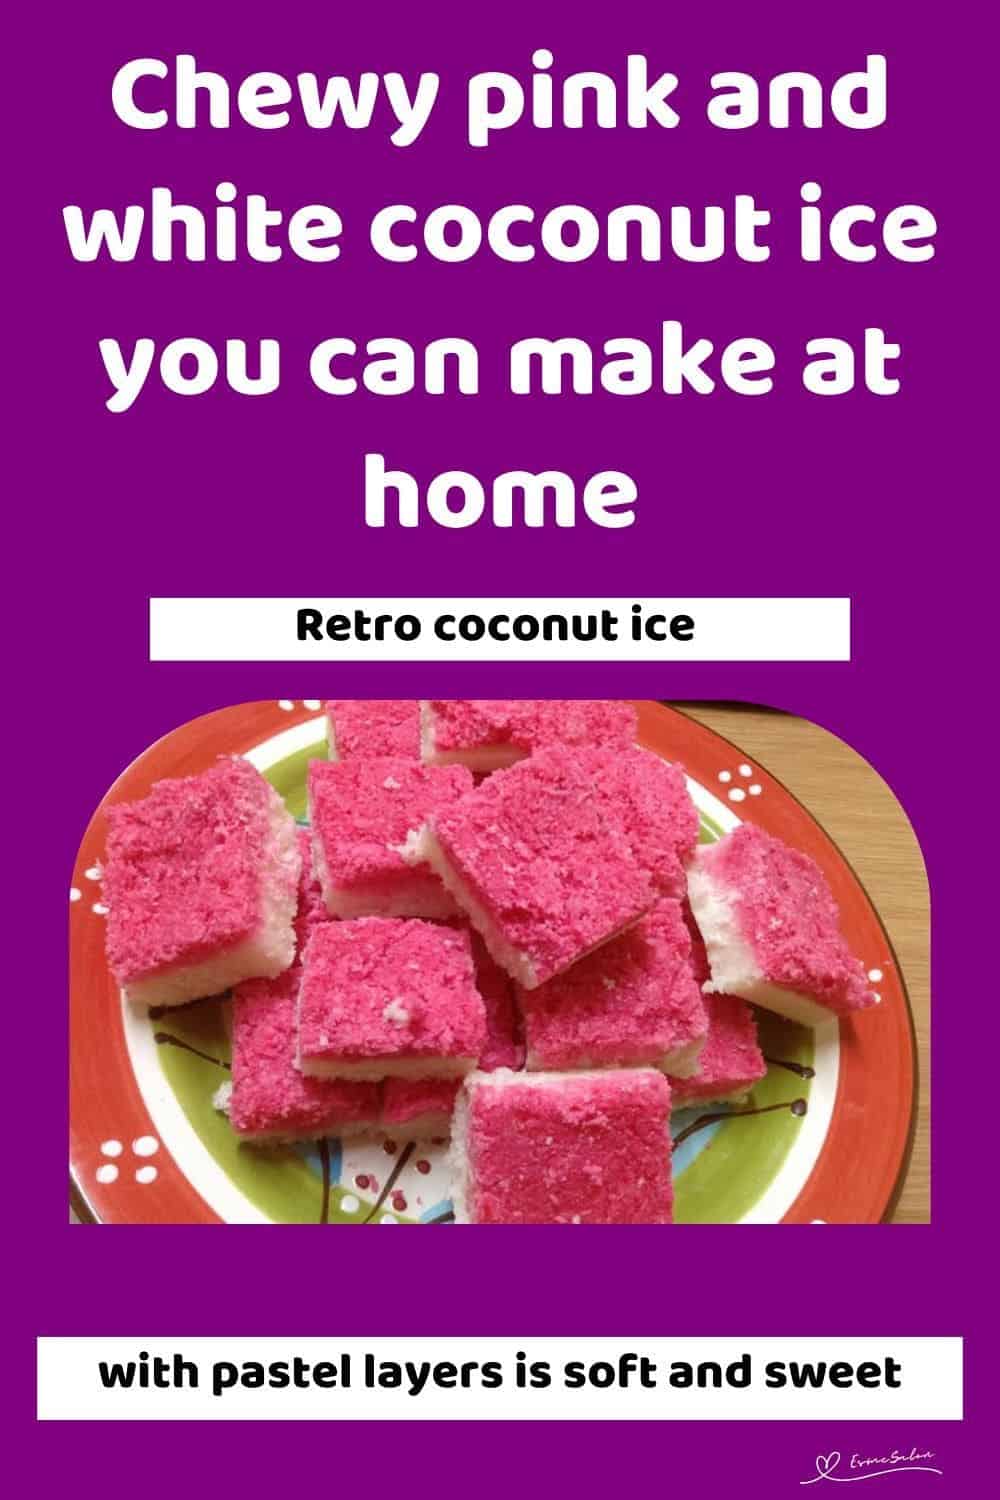
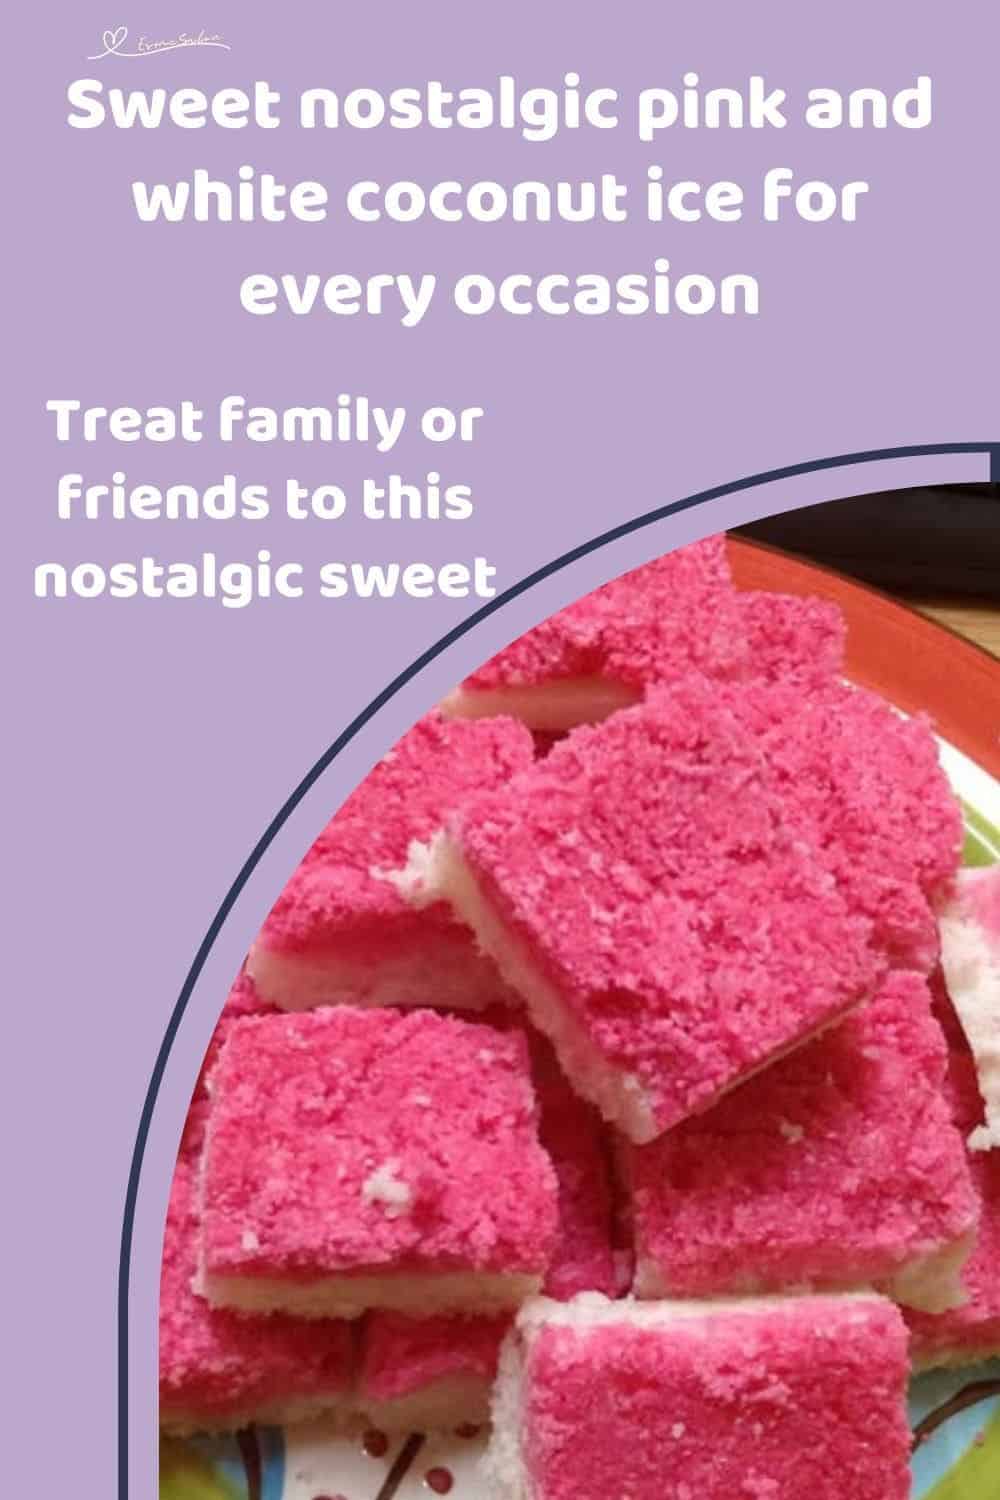
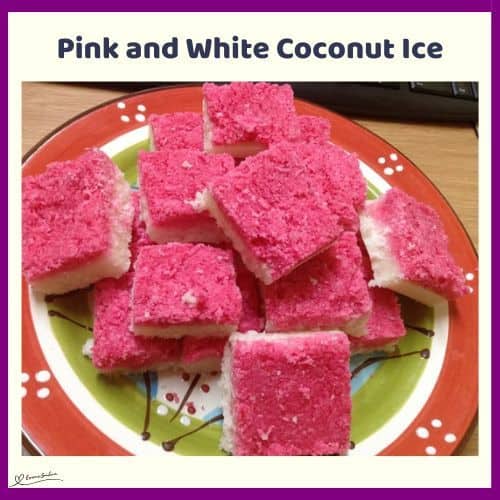
This old-fashioned coconut ice is a timeless homemade sweet, creamy, chewy, and perfectly pink and white. It’s one of those simple recipes that takes you straight back to childhood bake sales and Sunday treats.
Ingredients
Units
Scale
- 900 g white sugar
- 300 ml milk
- 300 g desiccated coconut
- A few drops of pink food coloring
Instructions
- Grab a heavy-based pot and pour in 900 g of white sugar and 300 ml milk.
- Heat gently, stirring until the sugar’s completely dissolved into the milk.
- Turn the heat up just a little and let it come to a boil.
- Pop the lid on and let it bubble for about 5 minutes, when you lift the lid, it should have risen a bit.
- Keep it boiling uncovered now, until a little spoonful dropped into cold water hardens almost instantly (that’s your hard ball stage).
- Take it off the heat and quickly stir in 300 g desiccated coconut until it’s well mixed and thick.
- Pour half of that mixture into a greased square or rectangular dish (8-inch square dish for neat layers) and smooth it out with a spatula.
- To keep the rest warm and pliable, rest your pot over very low heat or pop it in a sink with hot water.
- Add a few drops of pink food colouring to the remaining mixture and stir till evenly tinted.
- Pour this pink layer over the white one and smooth it again.
- Chill in the fridge for about 30 minutes, then dip a sharp knife into hot water and cut it into squares (but leave them in the dish).
- Pop the dish back in the fridge for another 2 hours until it’s fully set.
- Once firm, lift out the squares and enjoy!
Notes
Created, Prepared, Tasted, and Tested by Ureshani