Description
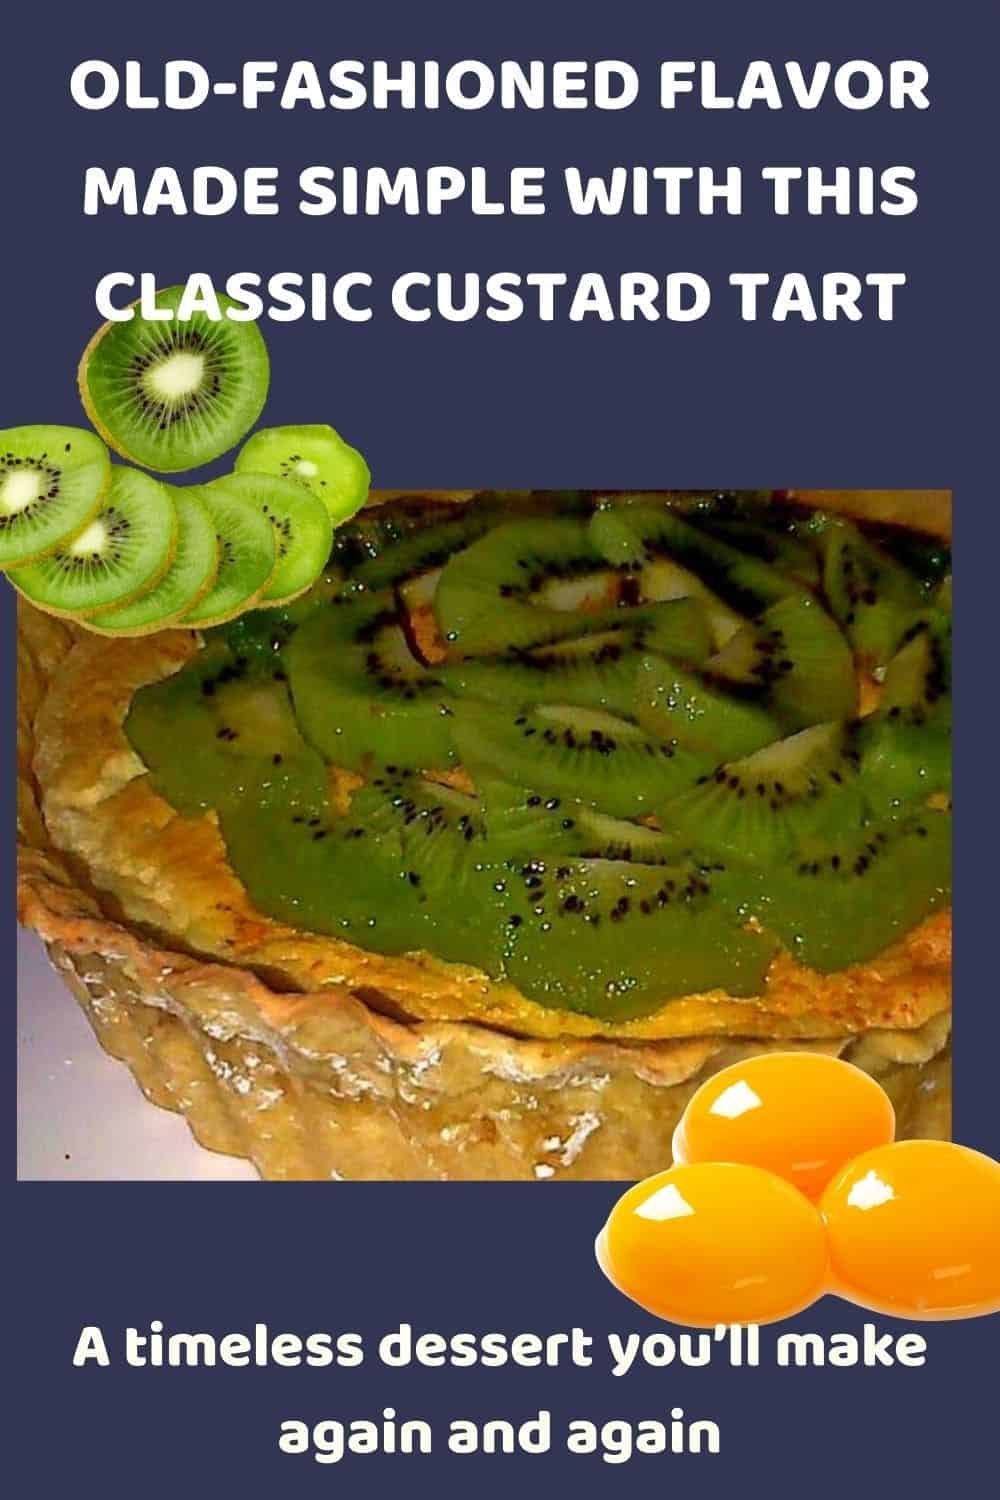
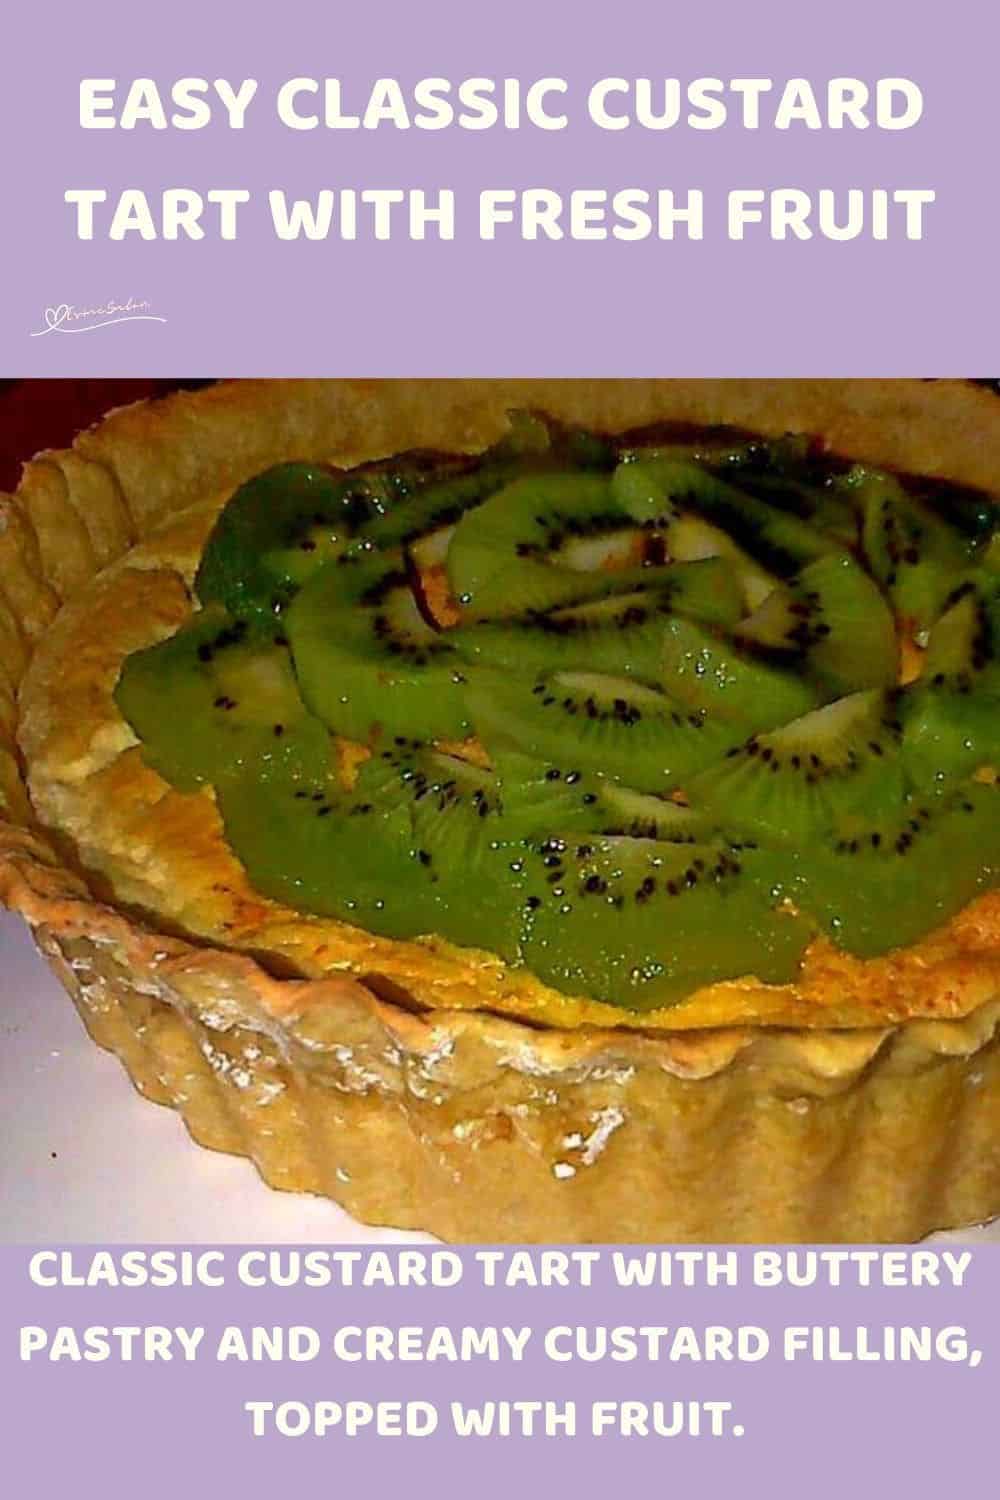
Nothing beats a custard tart baked from scratch with real ingredients. It’s lighter than you think, yet still indulgent. Crisp pastry and silky custard say it all.
Ingredients
Units
Scale
Pastry:
- 3/4 cup icing sugar
- 2 1/4 cups cake flour
- 1/2 cup baking margarine (or butter)
- 1-2 egg yolks
Custard:
- 2 cups milk
- 1/2 cup castor sugar (divided)
- 4 egg yolks
- 3 tbsp Cornflour
Topping:
- Fresh fruit (berries, kiwi, peaches, etc.)
Instructions
- Sift the icing sugar and flour together.
- Blitz with margarine in a food processor until the mix looks like breadcrumbs.
- Keep it running and add just enough egg yolk for the dough to come together.
- Shape into a flat disc, wrap in clingfilm, and let it rest in the fridge for 30 minutes.
- Roll pastry to 3mm thickness, and line a 23cm tart tin.
- Prick the bottom with a fork, cover with baking paper, fill with baking beans, and blind bake at 180°C (350°F) for 10 minutes.
- Remove beans and paper, then bake for 10 more minutes until golden. Let cool.
- Heat milk with ¼ cup sugar until steaming.
- In a separate bowl, whisk the remaining ¼ cup of sugar with yolks and Cornflour. Slowly pour hot milk into the egg mixture while whisking.
- Pour back into the saucepan and cook over medium heat for 3–5 minutes until thick.
- Cool custard slightly, then pour into the tart case.
- Smooth the top, chill until set, and decorate with fruit before serving.
Notes
Prepared, tried, and tested by Joy