Description
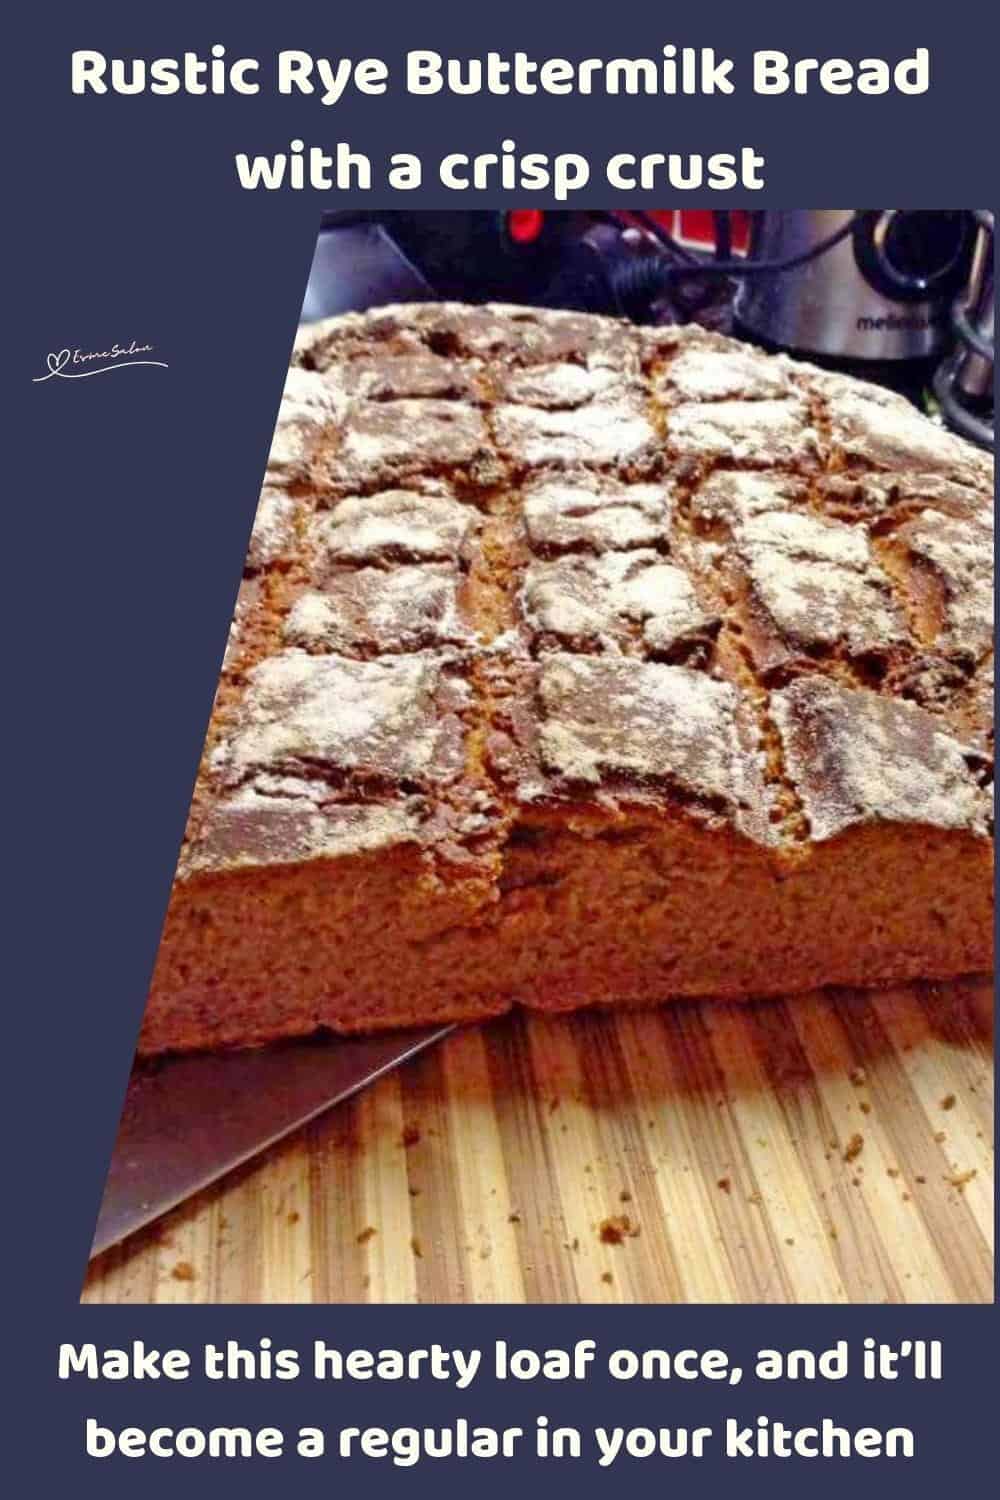
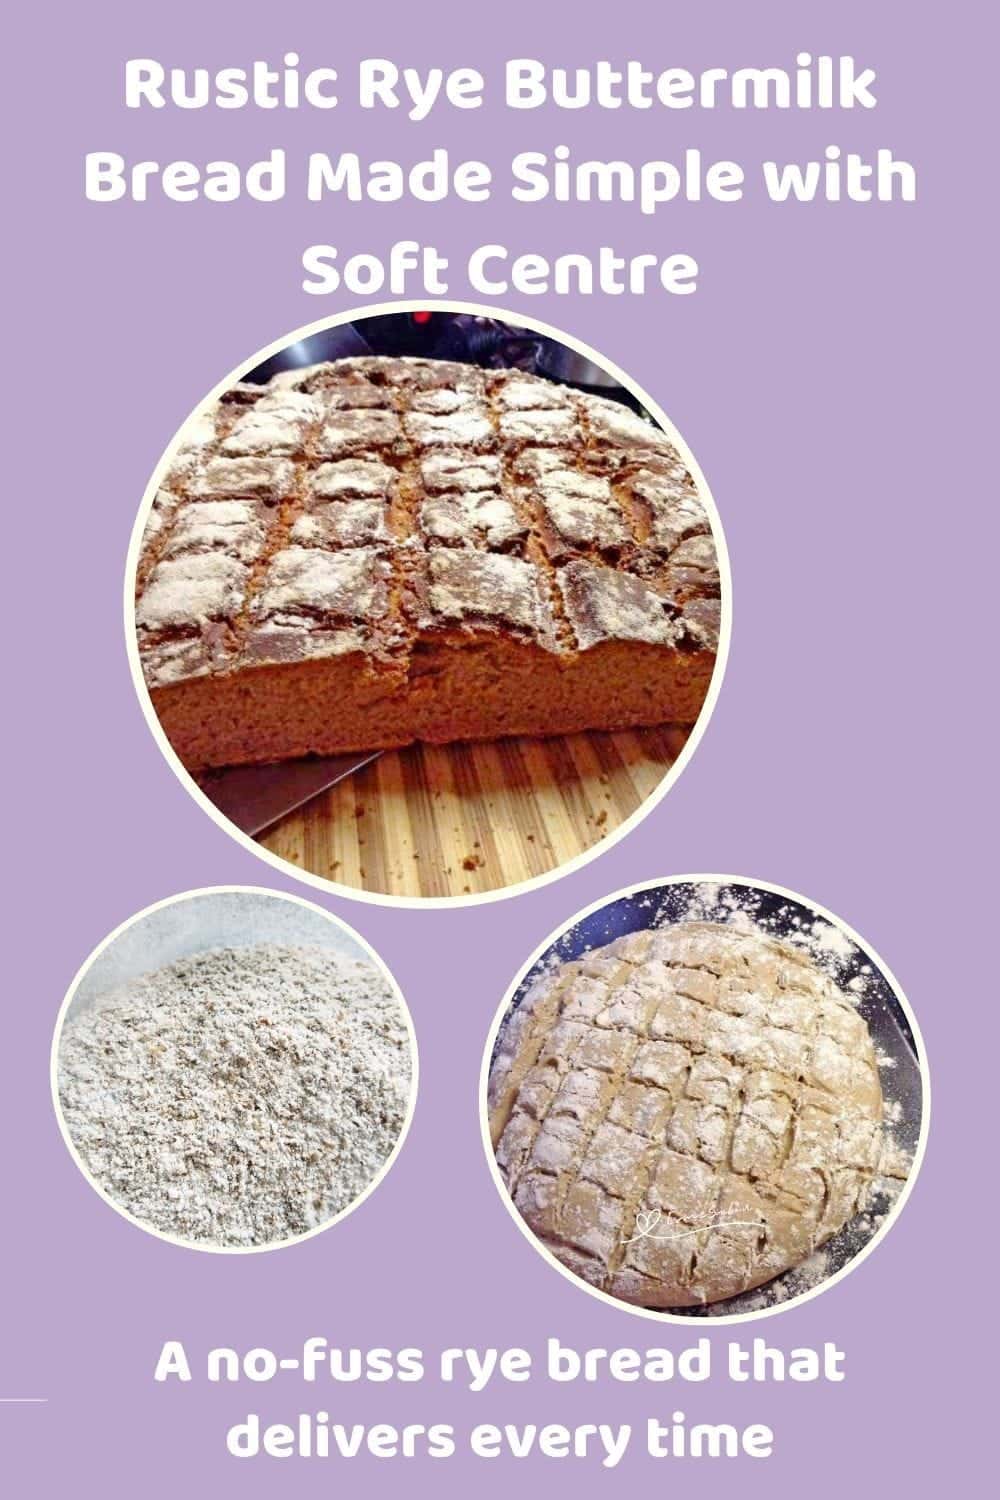
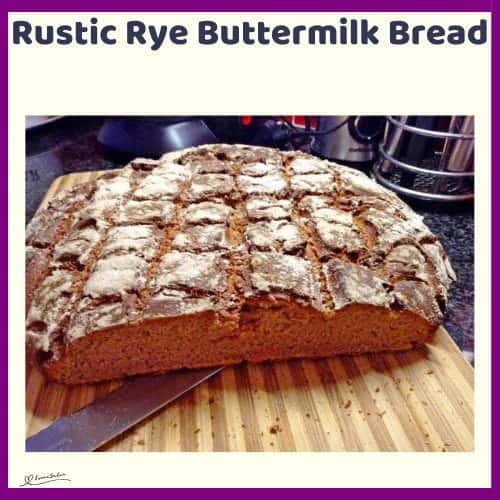
This rustic rye loaf comes out hearty and beautifully crusty. It’s the kind of bread that feels a bit old-school in the best way, and honestly, it smells incredible while baking.
Ingredients
Units
Scale
- 6 cups Eureka Mill Pure Rye Flour, plus extra for dusting
- 2 tbsp sugar
- 3 to 3.25 tsp - 10 g instant yeast (1 sachet)
- 1 1/2 tsp salt
- 2 tbsp canola oil
- 2 cups buttermilk
- 1 cup warm water (not hot)
Instructions
- Preheat your oven to 400⁰F (200⁰C).
- Lightly grease a baking tray and sprinkle it with a bit of rye flour. Set aside.
- In a large mixing bowl, whisk together the 6 cups of rye flour, 2 tbsp of sugar, 10 g of instant yeast, and 1½ tsp of salt. Give it a proper mix so everything’s evenly distributed.
- Pour in the 2 cups of buttermilk, 1 cup warm water, and 2 tbsp canola oil.
- Stir with a wooden spoon until a sticky dough forms.
- Turn the dough out onto a lightly floured surface and knead for about 7 minutes.
- It won’t get super smooth like white dough, but it should come together and feel slightly elastic.
- Place the dough onto your prepared tray and shape it into a round or oval loaf.
- If it’s sticking, dust your hands lightly with flour.
- Lightly brush or smear a little water over the top, then make a few criss-cross slits with a sharp knife.
- Sprinkle a bit more rye flour over the top for that rustic look.
- Cover loosely with a lightly greased plastic bag or wrap.
- Let it rise in a warm spot for about 1 hour, or until roughly doubled in size.
- Bake at 400⁰F (200⁰C) for 20 minutes, then reduce the heat to 350⁰F (180⁰C) and bake for another 25 to 30 minutes.
- The bread is ready when it sounds hollow when tapped underneath.
- Let it cool on a rack before slicing. It’s tempting to cut in early, I know, but it slices much better once it’s cooled a bit.
Note:
Place a bowl of water on the last rung of the oven when preheating the oven to create a crispy crust. Bake the bread with the bowl of water for the entire time.
Notes
Created, prepared, tried, and tested Gail