Description
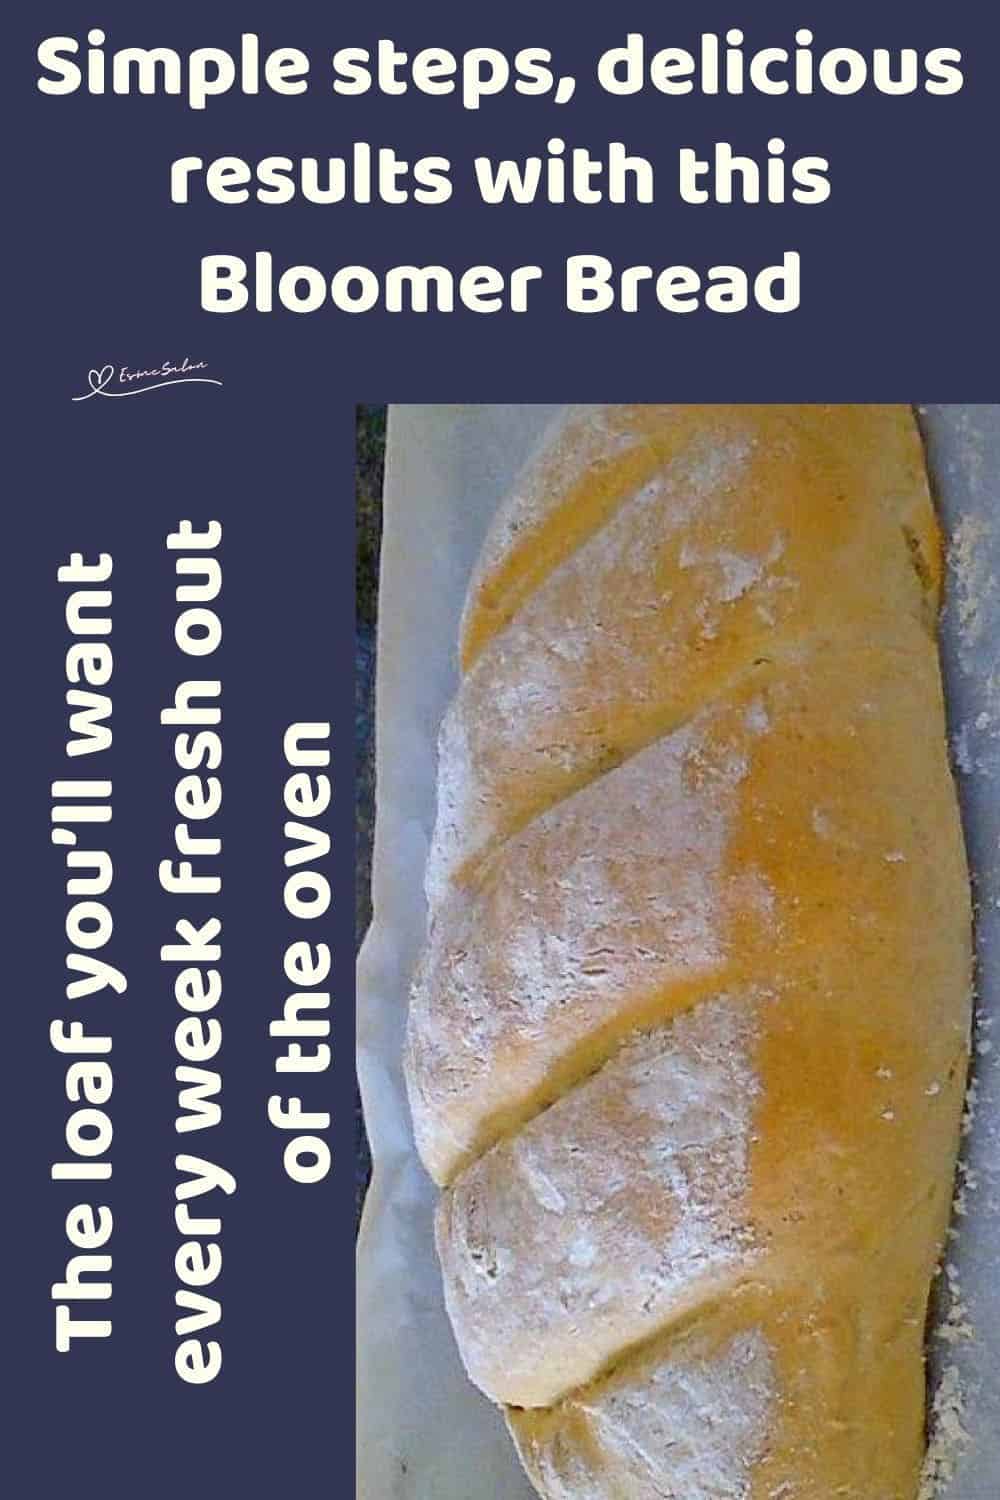
Nothing beats the smell of Bread baking in the oven. This recipe shows how easy it is to create your own rustic loaf. Bake Bloomer Bread at home and enjoy every slice warm or toasted.
Ingredients
Units
Scale
- 500g strong white bread flour (plus extra for dusting)
- 2 tsp salt
- 2 tsp dried yeast
- 3 tbsp olive oil
- 320 ml water (you may not need it all)
Instructions
- Put the flour into a big mixing bowl.
- Add the salt to one side and the yeast to the other (don’t pile them together right away).
- Add the olive oil and about 240 ml of water.
- Mix it all with one hand until it starts coming together.
- Add the remainder of the water, a little at a time; you want a soft, slightly sticky dough.
- Oil your counter, tip the dough out, and knead it for about 10 minutes. It’ll go from sticky to smooth and silky.
- Pop the dough into a lightly oiled bowl, cover with clingfilm, and leave it to rise until doubled (1–3 hours depending on your kitchen).
- Once risen, tip it onto a floured surface and “knock it back”; basically, punch the air out with your knuckles until smooth again.
- Shape it: flatten it into a rectangle, fold the far long edge into the middle, then fold the near edge over it. Tuck the ends in and gently roll it into a bloomer (oval loaf shape).
- Place on a floured baking tray.
- Loosely cover with a plastic bag (don’t let it touch the dough) and let it prove again until doubled.
- Preheat oven to 200°C (fan). Put an empty roasting tray on the bottom shelf to heat up.
- Once the loaf has risen, spray with water, dust with flour, and rub it lightly over the top.
- Slash 4 diagonal cuts across the loaf, about 2–3 cm deep.
- Slide the bread onto the middle shelf. Pour a little water into the hot roasting tray below to create steam (this makes the crust crispy).
- Bake for 25 minutes, or until golden brown and the loaf sounds hollow when tapped underneath.
- Cool on a wire rack before slicing.
Notes
Prepared, tried, and tested by Joy