As an Amazon Associate, I earn from qualifying purchases.
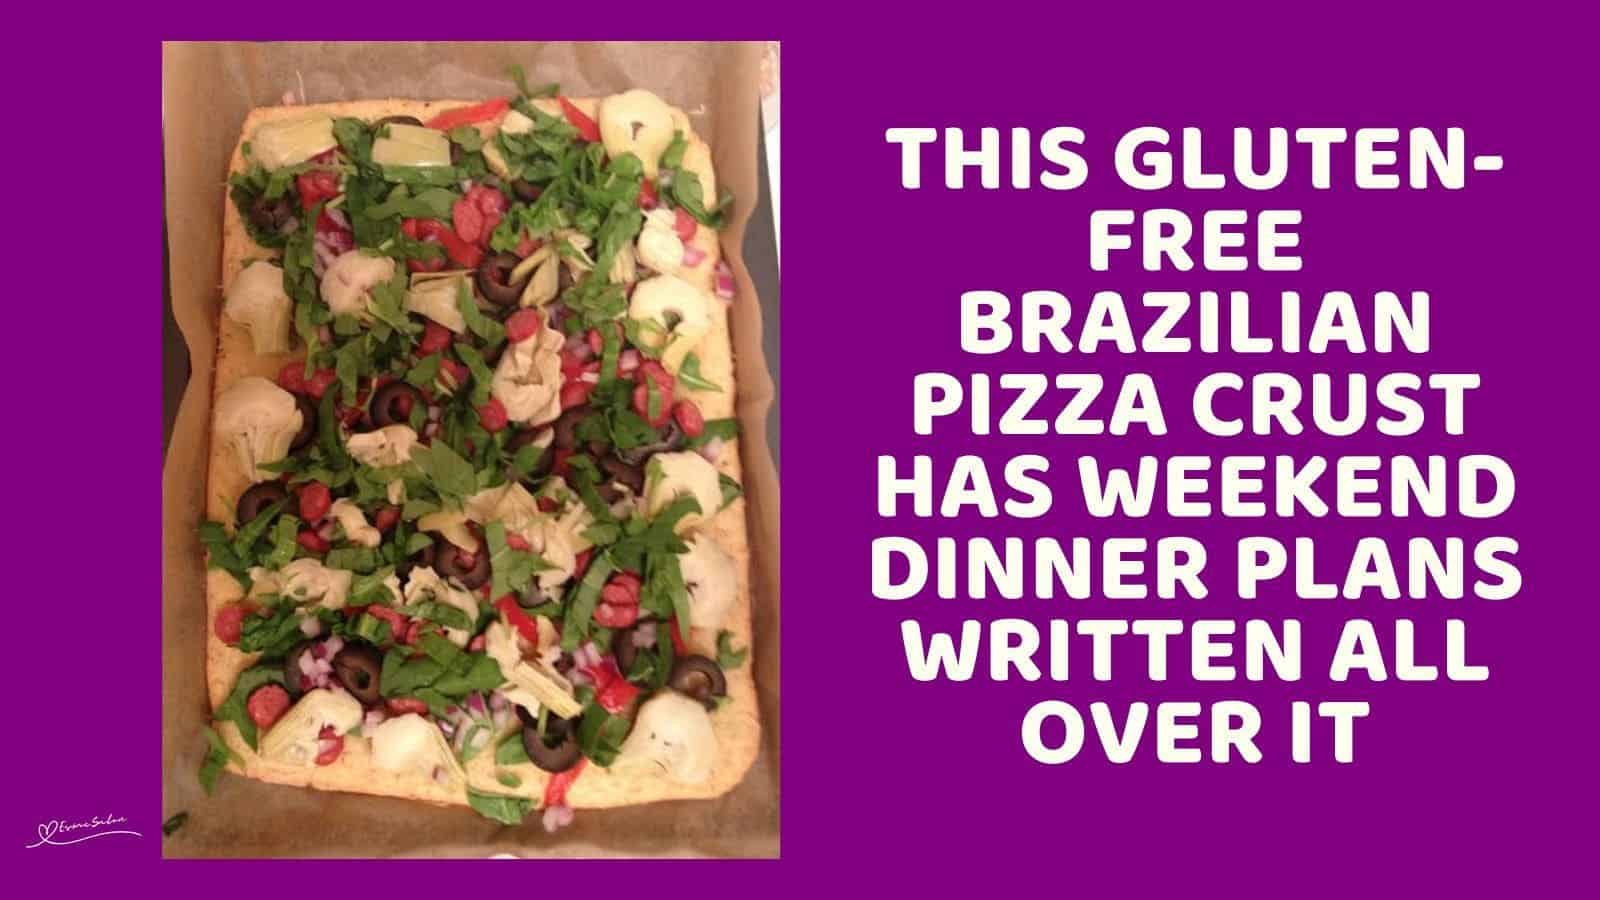
Bet you’ve never had pizza crust that’s part cheese bread. Meet Gluten-Free Brazilian Pizza Crust. Tried this yet? It might ruin regular crust for you.

Pizza is loved all around the world, but did you know Brazil has its own spin on it? This Gluten-Free Brazilian Pizza Crust isn’t just tasty; it’s also packed with a bit of history and heart.
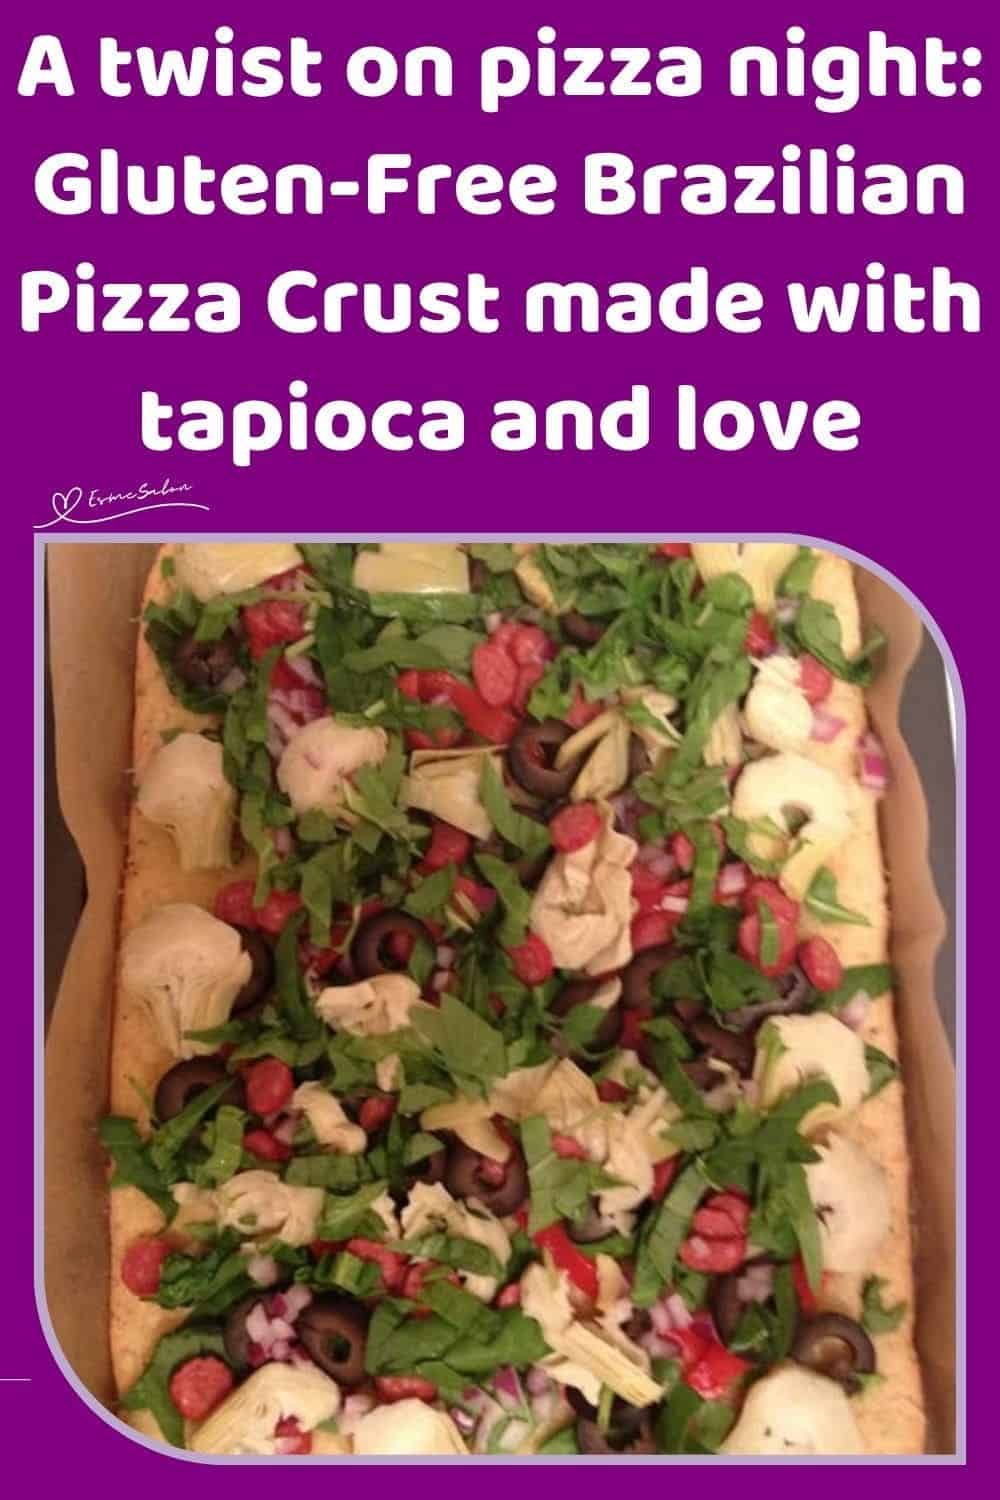
In Brazil, a popular ingredient called tapioca flour is often used to make chewy cheese breads called pão de queijo. This crust uses the same flour, which means it’s naturally gluten-free and naturally awesome. The mix of gooey cheese, herbs, and buttery flavor makes every bite feel like comfort food with a fun twist.
If you’re avoiding gluten or just want to try something different (and delicious), this crust is a winner. It’s crispy on the edges, soft in the middle, and strong enough to hold all your favorite toppings. It’s not just pizza, it’s pizza with personality.
Print
Gluten Free Brazilian Pizza Crust
- Prep Time: 15 minutes
- Cook Time: 22 minutes
- Total Time: 37 minutes
- Yield: 1 Large Pizza crust 1x
- Category: Dinner
- Method: Easy
- Cuisine: Italian
- Diet: Vegetarian
Description
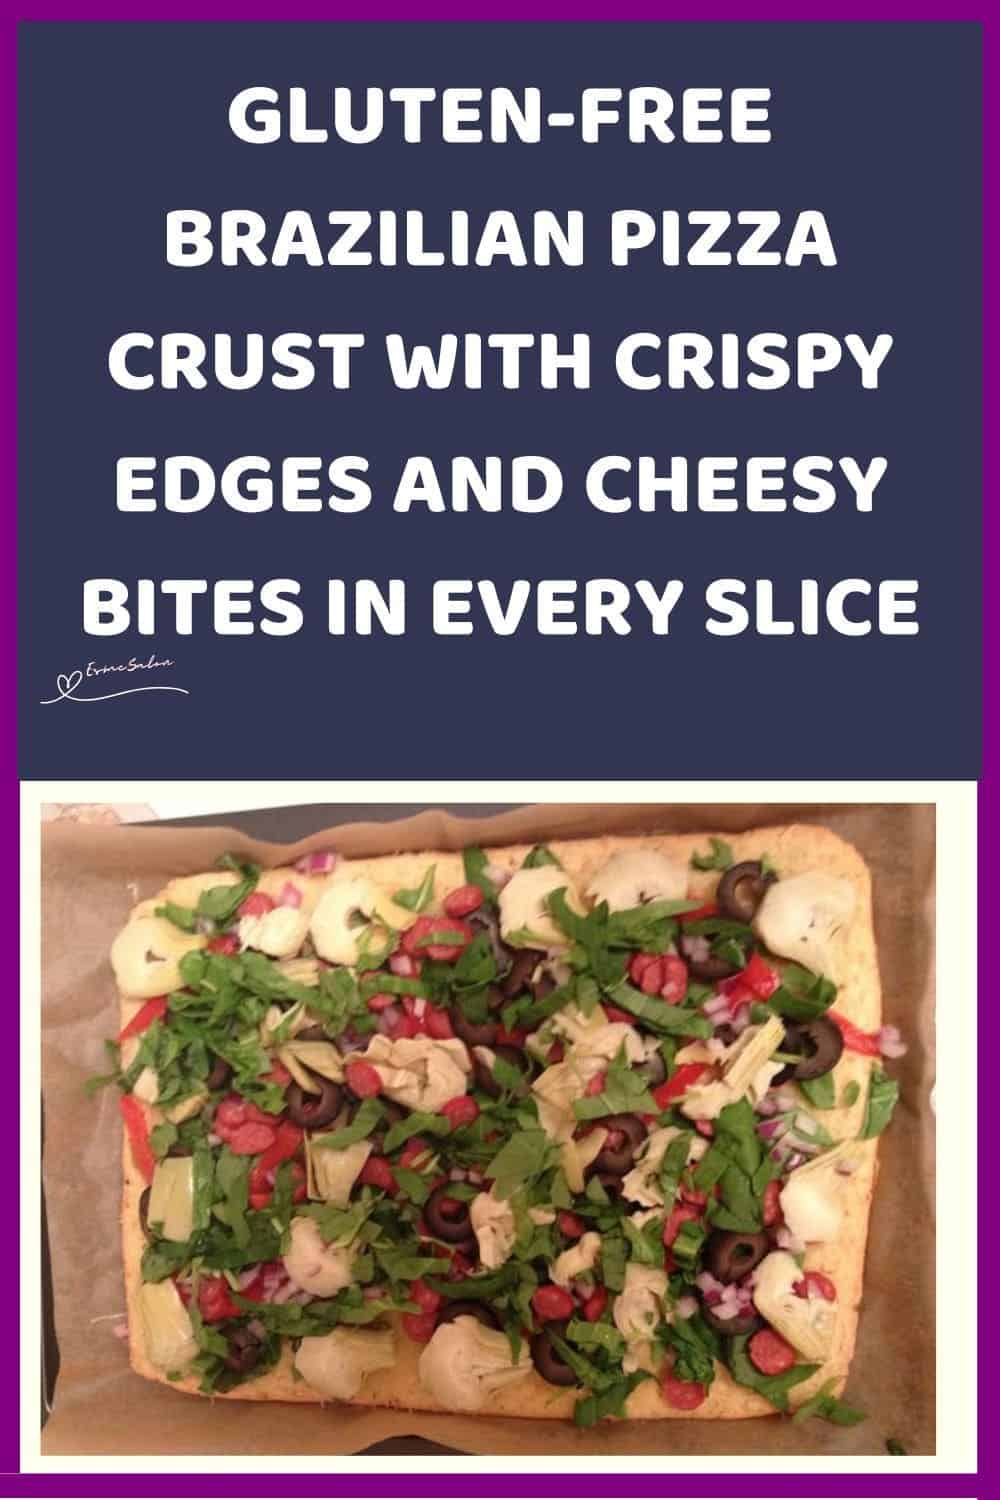
Discover the Gluten-Free Brazilian Pizza Crust That’s Crispy, Cheesy, and Totally Satisfying
Ingredients
- 1 1/4 cups tapioca flour (also called tapioca starch—same thing)
- 2 cups shredded cheese (mozzarella, Italian blend, or any firm cheese you like) Tip: I’ve used just 1 cup before, and it still turned out great
- 1 tsp baking powder (make sure it’s corn-free if that matters to you)
- 2 eggs
- 1/4 cup melted butter
- 2 tsp dried dill
- 2 tsp dried chives
- Your favorite pizza toppings
Instructions
- Start by preheating your oven to 450°F / 230°C. If you’ve got a pizza stone, pop it in to preheat.
- If not, no worries, just line a baking sheet with parchment paper and set that aside.
- Now, mix everything for the crust in a food processor.
- You can mix it by hand, but the processor blends it much better.
- The dough might look a bit dry at first, but not to worry.
- Once the cheese mixes in, it starts forming a sticky ball. That’s what you want.
- Dust your parchment paper with a little tapioca flour using a sieve; this will help prevent clumps.
- Drop the dough on the parchment, sprinkle a bit of flour on your hands too, and start flattening it out.
- You can use a rolling pin or just press it from the center with your fingers. Aim for about ⅛ inch thick.
- Bake the crust for 8 to 12 minutes, until it’s golden and starting to puff a bit. I found 12 minutes gave me the perfect texture.
- While that’s baking, prep your toppings.
- When the crust comes out, it’s time to build your pizza:
Layer on sauce, then cheese (yep, lots of cheese), then your veggies or meat, or both. And top it off with another sprinkle of cheese to hold everything together. - Pop it back into the oven for another 10 minutes, and you’re done!
A Few Notes from Irene’s Trials:
First time: I added 2 tsp of Italian spice blend to the dough. Baked the crust for 15 minutes on a cookie sheet, then added spinach ribbons, sliced artichokes, olives, red peppers, beef pepperoni, and of course, extra cheese. Baked again for 10 mins. The crust came out about ¼ inch thick and held everything beautifully.
Second time: Baked the crust for 12 minutes first. It was a bit sturdier, great if you’re going heavy on toppings.
Third time: Nailed it. No tweaks needed.
Fourth time: Got creative and used a biscuit cutter to make 4-inch mini pizzas. They were adorable and delicious.


Notes
Prepared, tried, and tested by Irene
What’s not to love about this Gluten-Free Brazilian Pizza Crust
This Gluten-Free Brazilian Pizza Crust is crisp on the outside, chewy in the center, and packed with cheesy flavor. It holds toppings without falling apart and comes together quickly with simple ingredients. Anyone looking for a sturdy, gluten-free base that actually tastes good will want to make this right away.
Thanks for dropping in and checking out the recipes and what’s on offer.
Thanks for dropping in and checking out the recipes and what’s on offer.
If you try out this delightful recipe, please let me know, rate it, and tag me on Instagram at @_esmesalon. I’m excited to see your amazing recreations, and I’m hooked on those mouthwatering photos!
We happily share our tasty and fantastic recipes and are excited to spread some love by sharing our posts at these awesome Linky Parties.


Copyright © 2025 esmesalon.com – All rights reserved.