Description
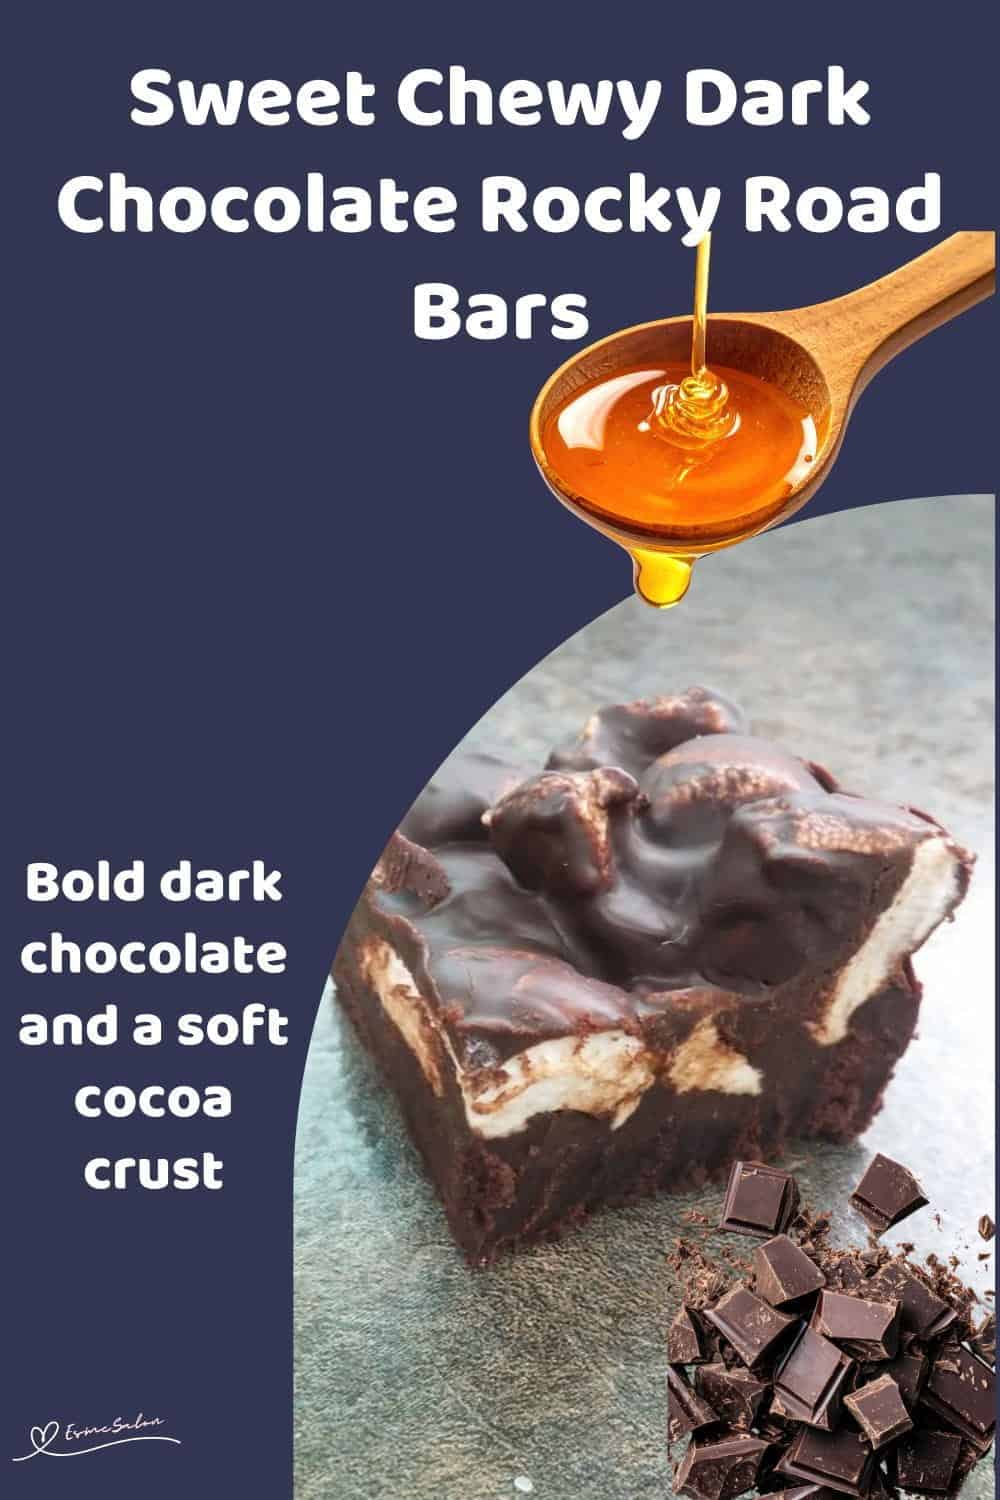
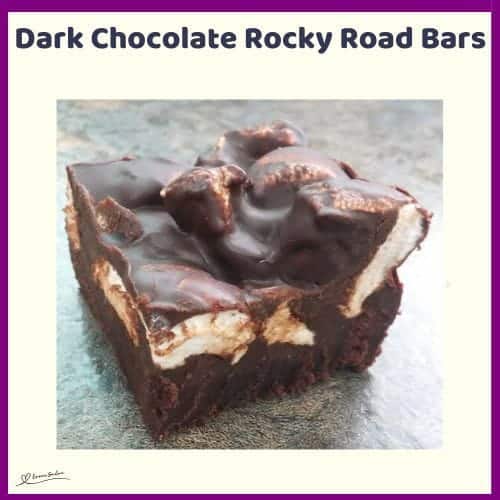
These Dark Chocolate Rocky Road Bars lean into bold cocoa and deep dark chocolate without being overly sweet. They’re rich, slightly bitter, a little messy to cut, and absolutely worth it.
Ingredients
Units
Scale
Cocoa Crust
- 1 1/3 cups all-purpose flour
- 1 cup white sugar
- 1 cup brown sugar, packed
- 1 1/2 cups cocoa powder
- Liberal pinch of salt
- 1 cup butter, melted and slightly cooled
Rocky Road Topping
- 2 cups mini marshmallows, plus extra if you’re feeling generous
- 18 oz dark chocolate, chopped
- 7 Tbsp butter
- 2 to 3 Tbsp golden syrup
Instructions
- Heat the oven to 325°F and line a 9×13 in pan with at least 2 in sides using baking paper, leaving a bit of overhang so you can lift the bars out later.
- In a large bowl, whisk together 1 1/3 cups all-purpose flour, 1 cup white sugar, 1 cup brown sugar, 1 1/2 cups cocoa powder, and a liberal pinch of salt until evenly mixed and lump-free.
- Pour in 1 cup melted butter and stir until the mixture looks thick, dark, and evenly moistened. It’ll be soft and slightly crumbly, not pourable.
- Press the crust firmly into the prepared pan, making sure it’s packed tightly and fairly even, especially around the edges.
- Bake for 15 minutes at 325°F, then remove and let the crust cool completely in the pan. This matters, or the topping won’t set properly.
- In a heatproof bowl set over gently simmering water, melt 18 oz dark chocolate, 7 Tbsp butter, and 2 to 3 Tbsp golden syrup, stirring until smooth and glossy. Remove from heat and let it cool for about 10 minutes, stirring occasionally so it doesn’t seize.
- Once the chocolate mixture feels warm but not hot to the touch, fold in 2 cups of mini marshmallows.
- If it’s too hot, they’ll melt and disappear, so do not rush it.
- Spoon the topping over the cooled crust and gently press it into an even layer. Don’t overwork it, or you’ll smear the marshmallows.
- Chill in the fridge for at least 2 hrs, or until fully set. For cleaner cuts, let the pan sit at room temperature for 10 minutes before slicing.
- Cut into squares using a sharp knife, wiping the blade between cuts if things get sticky.
Notes
Own Creation, Prepared, tried, and tested by Corlea: SA Tasty Recipes, Saffas Daily Recipes