As an Amazon Associate, I earn from qualifying purchases.
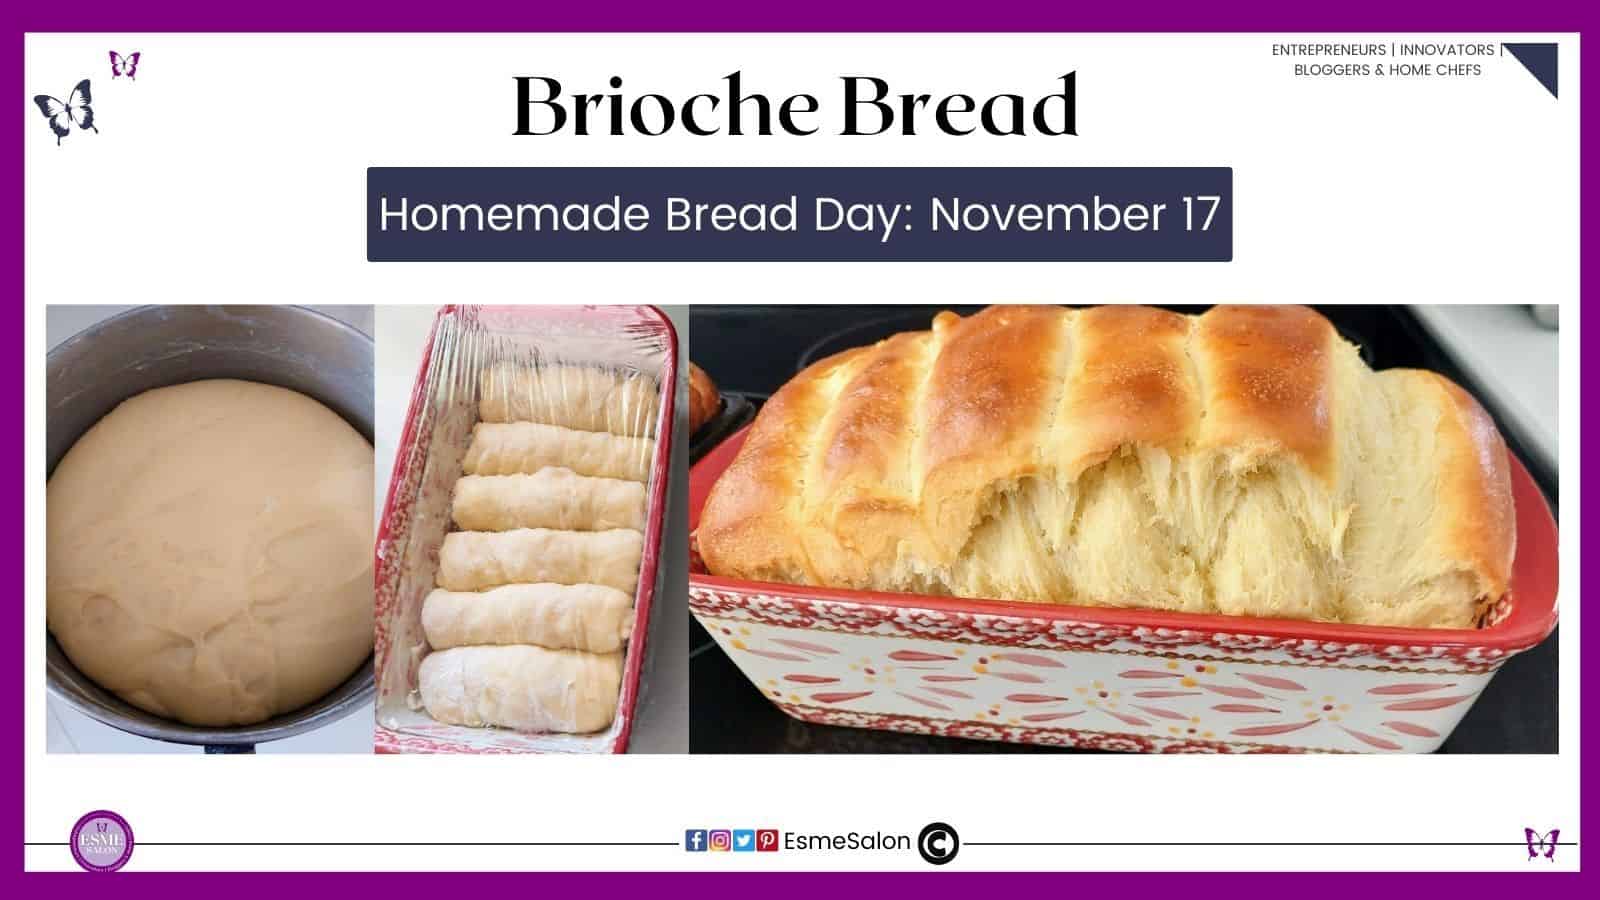
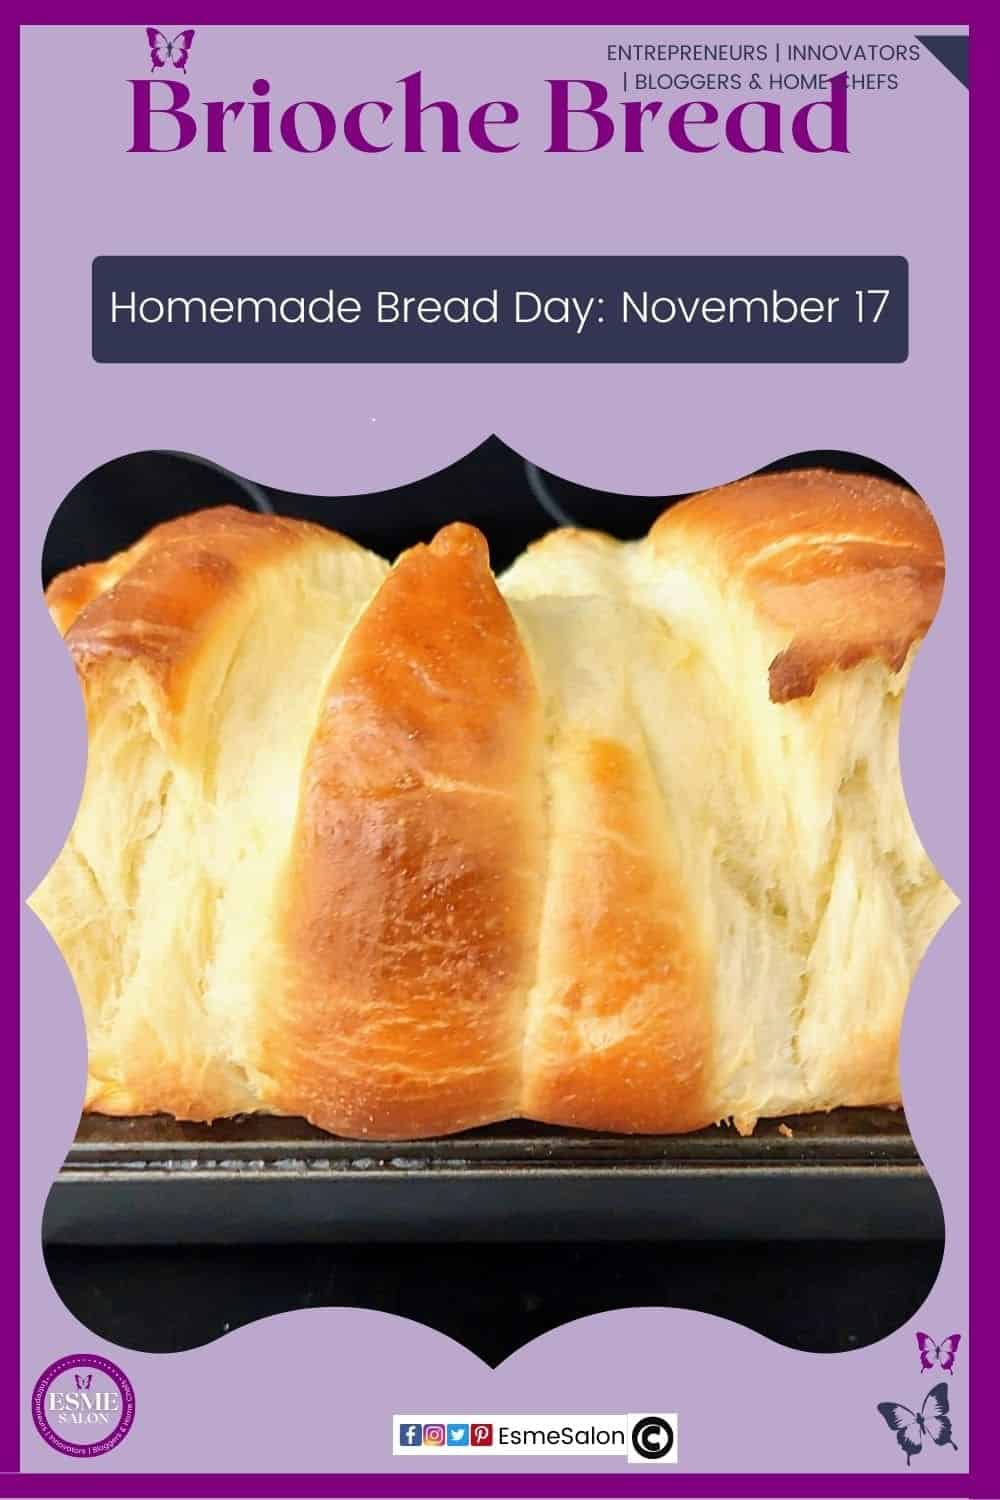
This Brioche Bread was by far the most delicious bread I’ve ever made! It’s a lot of work, but so, so good. I couldn’t believe how fluffy and light the loaf was – I mean, look at how high it rose in the pictures! So delicious too. Worth the effort, I’d say!
Brioche is a bread of French origin whose high egg and butter content gives it a rich and tender crumb. Chef Joël Robuchon described it as “light and slightly puffy, more or less fine, according to the proportion of butter and eggs”
More Bread Recipes
- No-Knead Crispy Whole Wheat Bread Rolls
- How to bake the Best Homemade Bread
- 5 Easy Amazing Bread Recipes for Beginners
Brioche Bread
This Brioche Bread was by far the most delicious bread I’ve ever made! It’s a lot of work, but so, so good. I couldn’t believe how fluffy and light the loaf was – I mean, look at how high it rose in the pictures! So delicious too. Worth the effort, I’d say!
- Prep Time: 45 minutes
- Bake Time: 30 minutes
- Cook Time: 1 hour 40 minutes
- Total Time: 2 hours 55 minutes
- Yield: 2 loaves 1x
- Category: Bread Recipes
- Cuisine: French
Ingredients
Sponge
- 1 cup AP flour
- 1 packet or 2 1/4 tsp active dry yeast
- 1/2 cup milk, lukewarm
Dough
- 6 large eggs at room temperature
- 3 cups AP flour
- 1/2 cup granulated sugar
- 2 tsp salt
- 1 cup butter, softened
Egg wash
- 1 egg
- 1 tbsp. water
Instructions
- Add sponge ingredients to the bowl of a stand mixer.
- Mix with a spatula, cover with plastic wrap and let it stand for 45 minutes.
- Then add the dough ingredients except for the butter, mix with the mixer with the dough hook on medium speed until well combined.
- Then increase the speed to medium-high and continue mixing until the dough pulls away from the sides and looks shiny and elastic.
- This should take 10 to 13 minutes.
- Scrape down the sides every 4 to 5 minutes.
- Add the butter very slowly and gradually!
- 1 tbsp at a time while the mixer is running, letting it mix in completely before adding the next spoonful.
- It should take at least 13 to 15 minutes for this.
- Then mix for 5 to 7 more minutes afterward until the dough passes the windowpane test.
- I had to add a bit more flour as I think my kitchen was too hot so the dough wouldn’t come together.
- But that worked like a charm, and it came together beautifully.
- Cover the bowl with plastic wrap and let it rise for about an hour or until it doubles in size.
- Then turn it out on a lightly floured surface and punch down.
- Divide the dough in half, then cut each half into 6 equal pieces.
- Flatten each piece in the shape of a rectangle, then roll them up from the short side.
- Grease two loaf pans (8″x5″) with butter.
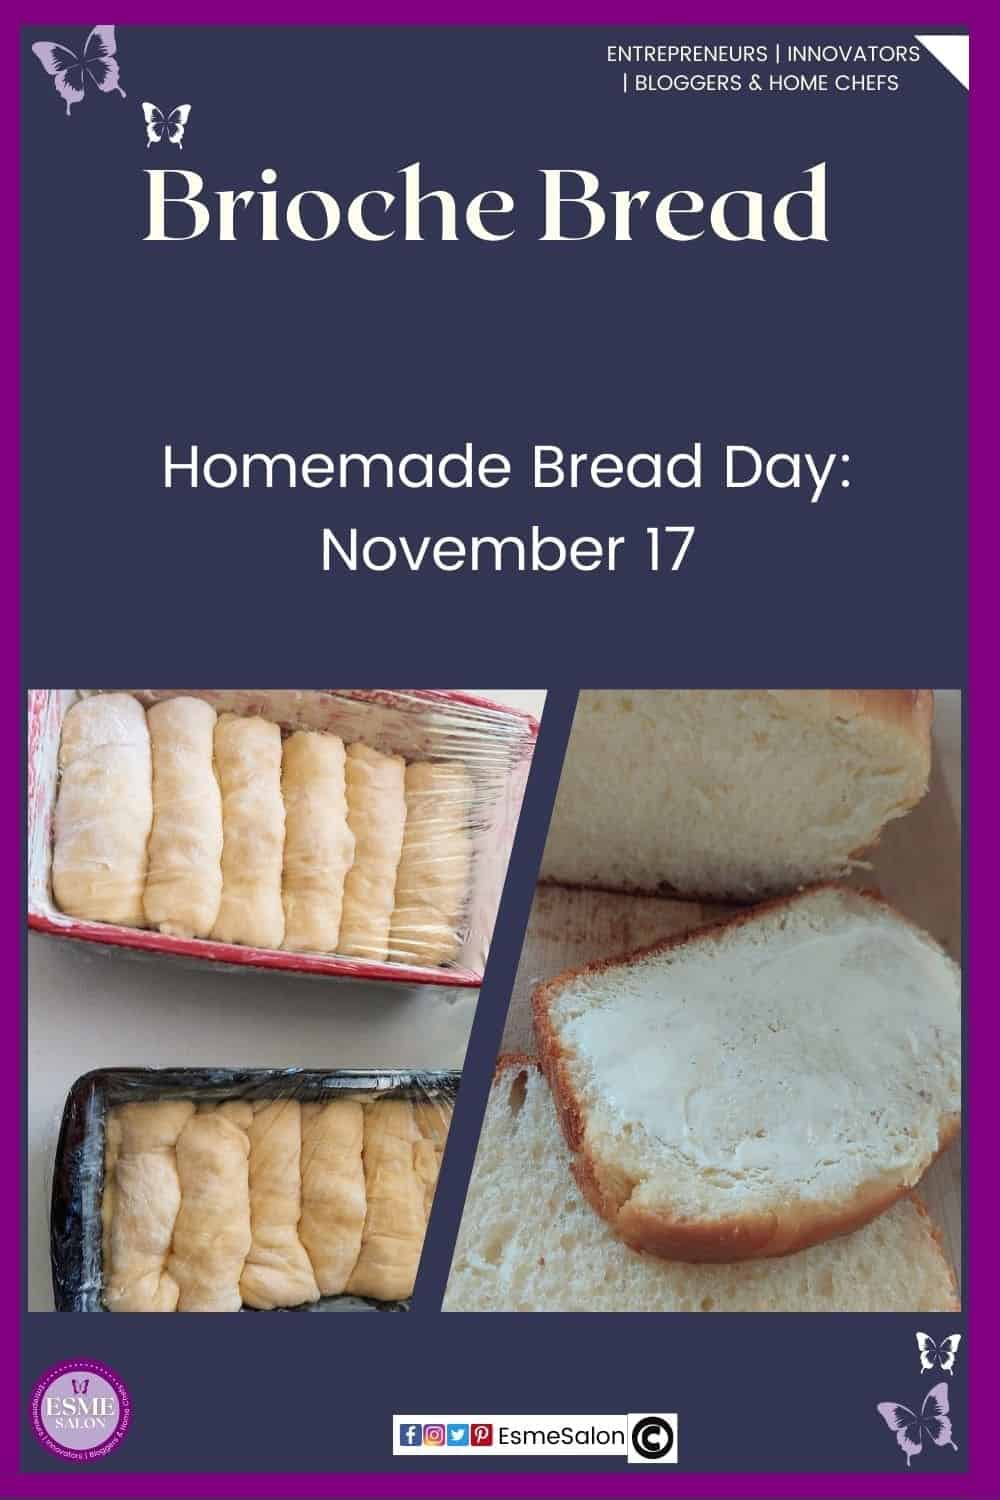
- Place 6 pieces in each pan, seam side down.
- Cover with plastic wrap and allow to rise until doubled in size, about an hour to 90 minutes. I only had 45 minutes, and it worked perfectly.
- Brush with egg wash and sprinkle lightly with salt.
- Preheat the oven to 375°F/190°C.
- Bake until deeply golden brown on top and baked through, about 30 minutes.
- I tented mine with foil after about 15 minutes to prevent it from burning.
- Let it cool for 5 minutes, then turn out onto a cooling rack to cool completely.
A few notes:
- Be prepared to hold down your stand mixer on the counter!
- This dough is sticky and tough work to mix, and it pushes the mixer to its limit.
- Oh, and I most definitely do not suggest trying to make this without a stand mixer – it is NOT easy to mix and knead!!
- I recommend measuring the weights rather than using the cup sizes.
- This dough benefits from precision.
- You can make this the day before you need it, put it in the fridge after
the first rise – just punch it down right in the bowl, recover with plastic,
and stick it in the fridge. - The extra time is supposed to really help the flavor develop, but I found it to be delicious even on the same day.
- Proof until doubled before baking, up to 2 and a half hours.
- This was by far the most delicious bread I’ve ever made!
- It’s a lot of work, but so, so good. I couldn’t believe how fluffy and light the loaf was – I mean, look at how high it rose in the pictures! So delicious too.
- Worth the effort, I’d say!
Original Source: Delish
Notes
Prepared, tried, and tested by Corlea from The Recipe Hunter: Tried and Tested Recipes from Home Chefs and SA Tasty Recipes – Saffas Daily Recipes

Copyright © 2024 esmesalon.com – All rights reserved.


This looks and sounds so delicious! I hope to try this one day very soon!
Hi Catherine. Thanks for dropping by and I hope you will try this Brioche bread but above all enjoy it.
Oh this just looks amazing!
Hi Joanne, Thank you so much for popping in here. I totally agree with you, this is an amazing bread. Hope you do try it out.
I love brioche ! Is one of my favourites breads. Thank you for sharing the recipe.
Hi Hanna. Thanks, for popping over and I love Brioche. A bit time consuming to do but best when made any home and especially that aroma wafting through the kitchen. Yum