
As an Amazon Associate, I earn from qualifying purchases.
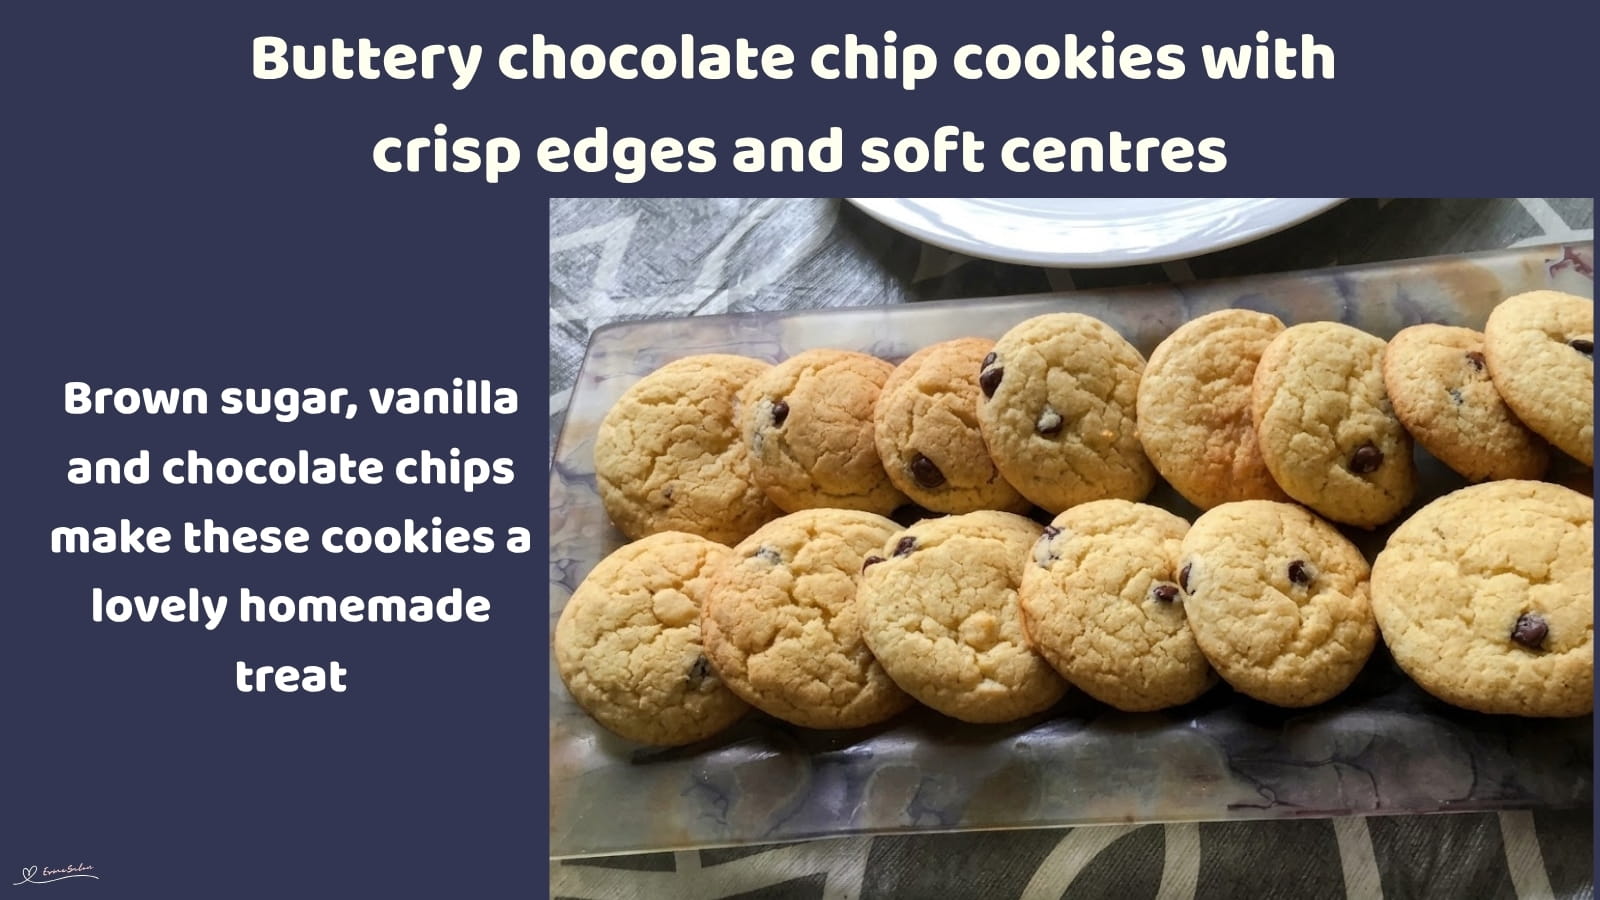
Chocolate Chip Cookies with Crisp Edges and Soft Centres are proof that familiar ingredients can make a lovely homemade treat.
Chocolate Chip Cookies with Crisp Edges and Soft Centres are easy to prepare with everyday baking ingredients.

Brown sugar brings extra depth to chocolate chip cookies. What ingredient would you add?
Why You Will Love These Chocolate Chip Cookies with Crisp Edges
- These cookies are just the ticket when you fancy something sweet without turning the kitchen upside down. The brown sugar adds a lovely depth of flavour, while the chocolate chips make every bite worth looking forward to. And the best part? You can have a batch ready in about 25 minutes, depending on how many trays you need.
- Easy to make: Straightforward mixing and no complicated techniques.
- Buttery flavour: Butter, brown sugar and vanilla make a delicious combination.
- Chocolate in every bite: Half a cup of chocolate chips adds plenty of sweetness.
- Lovely texture: Lightly crisp edges with softer centres when baked as directed.
- Easy to customize: Try different chocolate chips or add chopped nuts if you like.
- Freezer-friendly: Keep baked cookies or portions of dough ready for another day.

Chocolate Chip Cookies with Crisp Edges
- Prep Time: 10 minutes
- Cook Time: 15 minutes
- Total Time: 25 minutes
- Yield: 18–24 depending on size 1x
- Category: Cake Cupcakes Cookies and Tarts
- Method: Easy baking
Description
These homemade chocolate chip cookies are the kind of treat that makes a kitchen smell wonderful while they’re baking. With buttery dough, a hint of vanilla and plenty of chocolate chips, they’re easy to whip up whenever a cookie craving strikes.
Ingredients
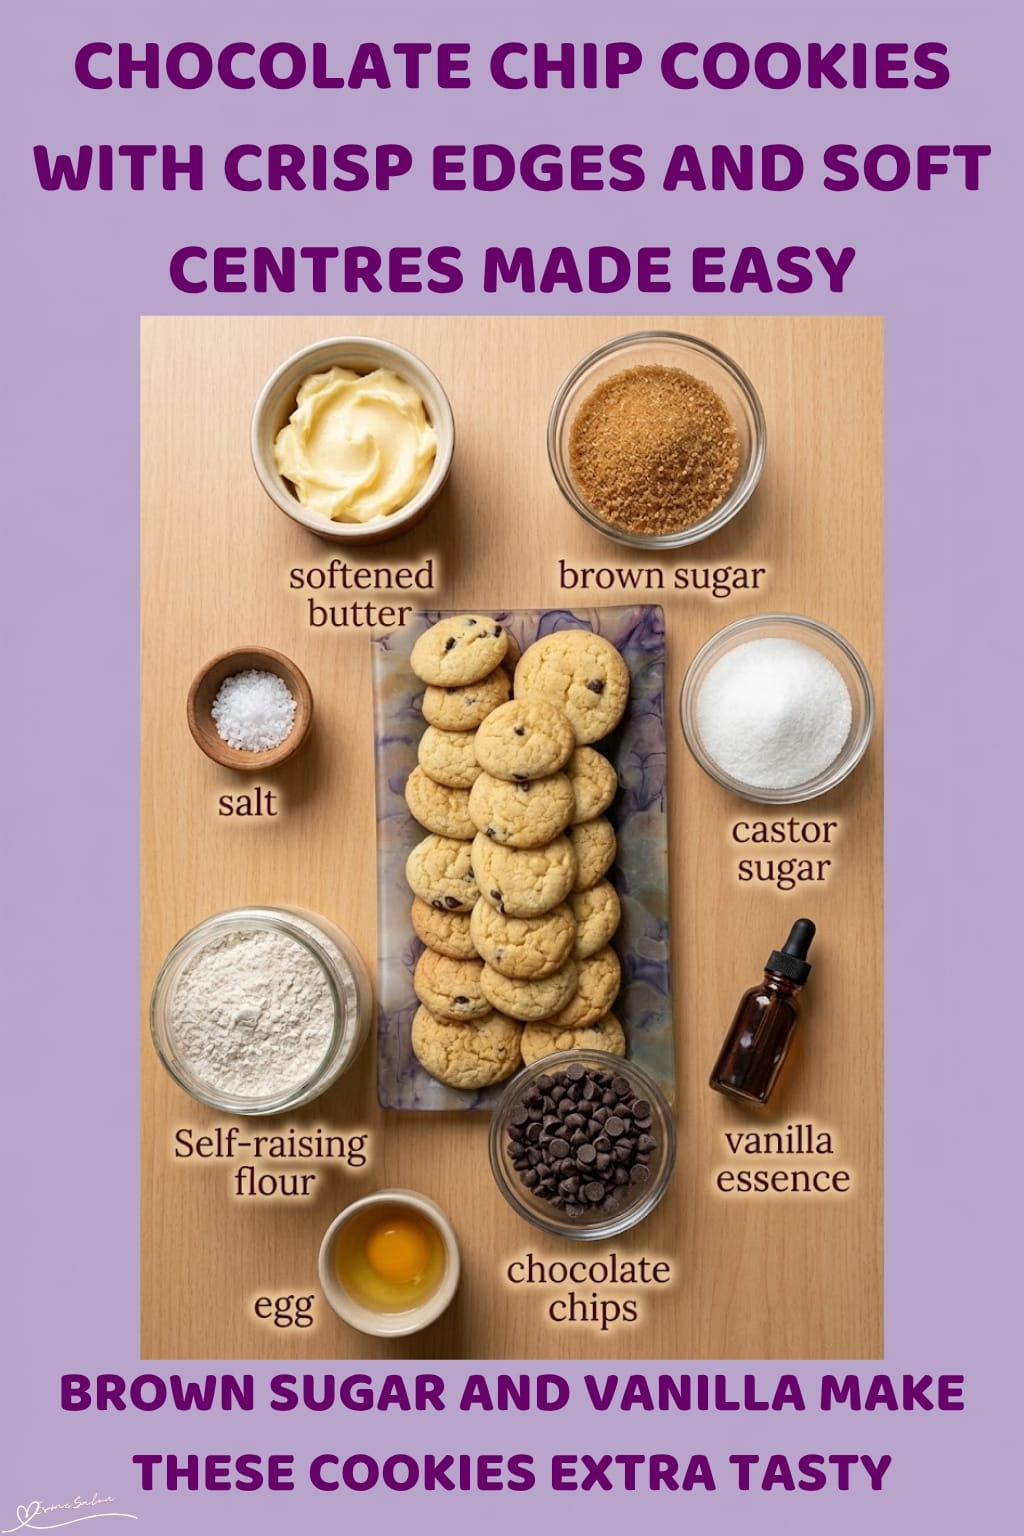
- 1/2 cup plus 1 tablespoon – 125 g butter, softened
- 1/2 cup brown sugar
- 1/2 cup castor sugar
- 1/2 tsp vanilla essence
- 1 large egg
- 1 3/4 cups self-raising flour
- 1/2 tsp salt
- 1/2 cup chocolate chips
Instructions
- Preheat your oven to 350°F (180°C). Lightly grease a baking tray, or line it with parchment paper to make cleanup easier.
- Beat the 125 g softened butter, 1/2 cup brown sugar, 1/2 cup castor sugar and 1/2 tsp vanilla essence together until the mixture looks pale, creamy and fluffy.
- Add 1 large egg and beat until it’s fully incorporated. Scrape down the sides of the bowl if needed so everything mixes evenly.
- Sift 1 3/4 cups Self Raising flour and 1/2 tsp salt into the butter mixture. Mix gently until a soft cookie dough forms. Stop mixing as soon as the flour is incorporated.
- Stir in 1/2 cup chocolate chips, distributing them evenly throughout the dough.
- Roll the dough into balls, using roughly 1 tablespoon of dough for each cookie. Arrange them on the prepared baking tray, leaving about 5 cm between each ball because the cookies will spread as they bake. Bake in batches if necessary.
- Bake for approximately 15 minutes, or until the edges are lightly golden and the centres look set but may still be slightly soft. Keep an eye on them towards the end, as ovens can vary.
- Leave the cookies on the baking tray for 5 minutes before transferring them to a wire rack to cool completely. They’ll firm up as they cool, so don’t be tempted to keep baking them just because the centres feel soft straight out of the oven.
Notes
Prepared, tried, and tested by Hannah
Nutrition
- Serving Size: 2 cookies
- Calories: 205
- Sugar: 17.5 g
- Sodium: 259.1 mg
- Fat: 9.4 g
- Saturated Fat: 5.7 g
- Trans Fat: 0 g
- Carbohydrates: 28.9 g
- Fiber: 0.9 g
- Protein: 2.5 g
- Cholesterol: 30.3 mg

Additional Information, Tips and Suggestions
Choosing the Right Ingredients
- Butter: Use softened butter rather than melted butter. Softened butter creams properly with the sugars and helps create the intended cookie texture.
- Brown sugar and castor sugar: Both play a role in flavour and texture. Brown sugar adds a deeper, slightly caramel-like taste, while castor sugar helps the cookies develop their texture.
- Self-raising flour: This recipe uses self-raising flour, which already contains raising agents. Don’t replace it with plain flour without adjusting the recipe, as the cookies may turn out differently.
- Chocolate chips: Milk chocolate gives a sweeter result, while dark chocolate provides a more pronounced chocolate flavour. You can also use chopped chocolate, although it may melt and spread differently.
Getting the Best Texture
- Why are my cookies spreading too much? Very soft butter, a warm baking tray, or particularly warm dough can cause excessive spreading. If the dough feels greasy or difficult to handle, refrigerate it for 20 to 30 minutes before baking.
- Why are my cookies dry or hard? Too much flour or excessive baking can make cookies dry. Measure the flour carefully, avoid packing it into the measuring cup, and remove the cookies when the edges are lightly golden and the centres are just set.
- Should I flatten the dough balls? The original method calls for rolling the dough into balls. Leave them as balls for the first batch and see how they spread in your oven. If they remain unusually thick, gently flatten the next batch a little before baking.
- How do I know when they’re done? Look for lightly golden edges and centres that no longer appear wet. The cookies may still feel soft when they first come out of the oven, but they’ll firm up as they cool.
Ingredient Substitutions
- Castor sugar: Regular granulated sugar can be used if necessary. The cookies may have a slightly different texture.
- Vanilla essence: Vanilla extract can be substituted in the same quantity.
- Chocolate chips: Chopped chocolate works well, and you can mix milk and dark chocolate for a more balanced flavour.
- Self-raising flour: If you only have plain flour, the raising agent must be adjusted. Because the original recipe does not specify the composition of its self-raising flour, results may vary with substitutions.
Storage and Freezing
- Storing baked cookies: Allow the cookies to cool completely, then place them in an airtight container at room temperature. They should keep well for around 4 to 5 days when stored in a cool, dry place.
- Freezing baked cookies: Once cooled, freeze the cookies in a freezer-safe airtight container with parchment paper between layers. For best quality, use them within 2 to 3 months. Thaw at room temperature before serving.
- Freezing cookie dough: Shape the dough into balls and freeze them in a single layer until firm. Transfer them to a freezer-safe container or bag and use within 2 to 3 months for best quality. Bake from frozen, allowing extra time and checking the edges and centres for doneness.
- Refreshing stored cookies: If you enjoy a slightly warm cookie, heat one briefly in the microwave. Use short intervals to prevent it from becoming tough.
Preparing Ahead and Serving
- The dough can be made ahead and refrigerated for a short period before baking. If it becomes firm in the refrigerator, let it sit at room temperature briefly until it’s manageable enough to shape.
- Serve these cookies with tea, coffee, milk or a scoop of ice cream. For a little variety, try different chocolate combinations or add a small amount of chopped nuts, keeping in mind that additions can change the texture.

Chocolate Chip Cookies with Crisp Edges and Soft Centres bring together buttery dough, brown sugar, vanilla and chocolate chips for a familiar homemade treat. They’re straightforward to prepare, easy to customize with different types of chocolate and lovely to serve with tea, coffee or a glass of milk. Anyone looking for an uncomplicated cookie recipe with a satisfying mix of textures will enjoy adding these to their baking repertoire.

Thanks so much for stopping by, checking out my recipes, and seeing what’s cooking here at EsmeSalon.
If you try this recipe, I’d love to hear how it turned out. Please leave a rating, share your thoughts in the comments, and tag me on Instagram at @_esmesalon. I absolutely love seeing your creations, and yes, those mouthwatering food photos always make my day!
We happily share our tasty, fantastic recipes and are excited to spread some love by posting at these awesome Linky Parties.


Copyright © 2026 esmesalon.com – All rights reserved.