As an Amazon Associate, I earn from qualifying purchases.
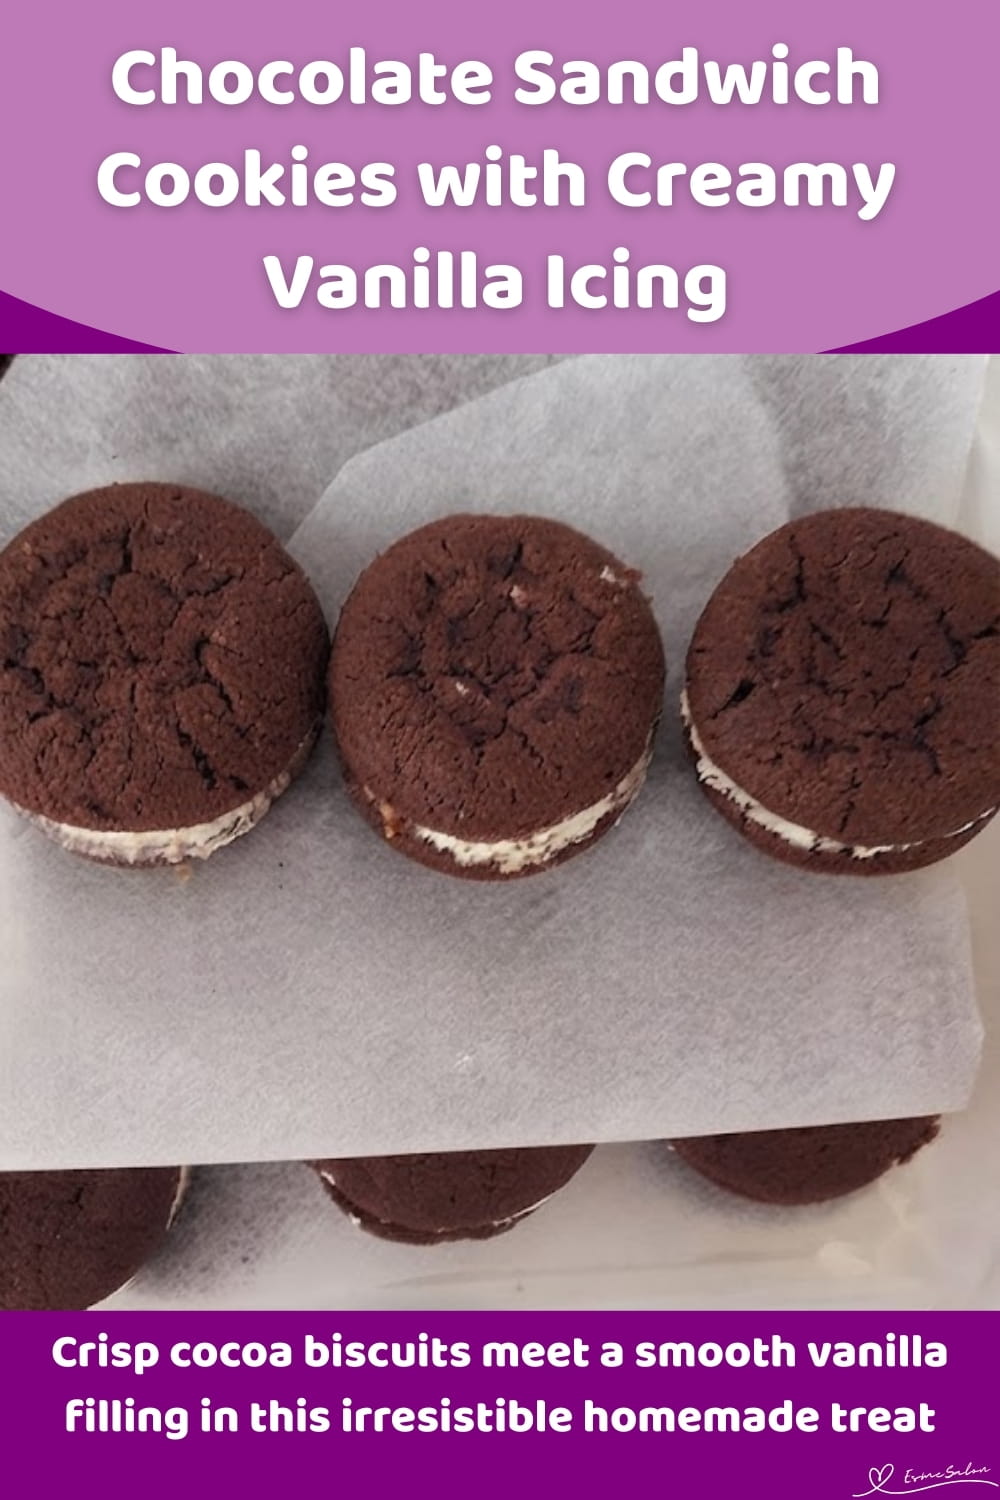
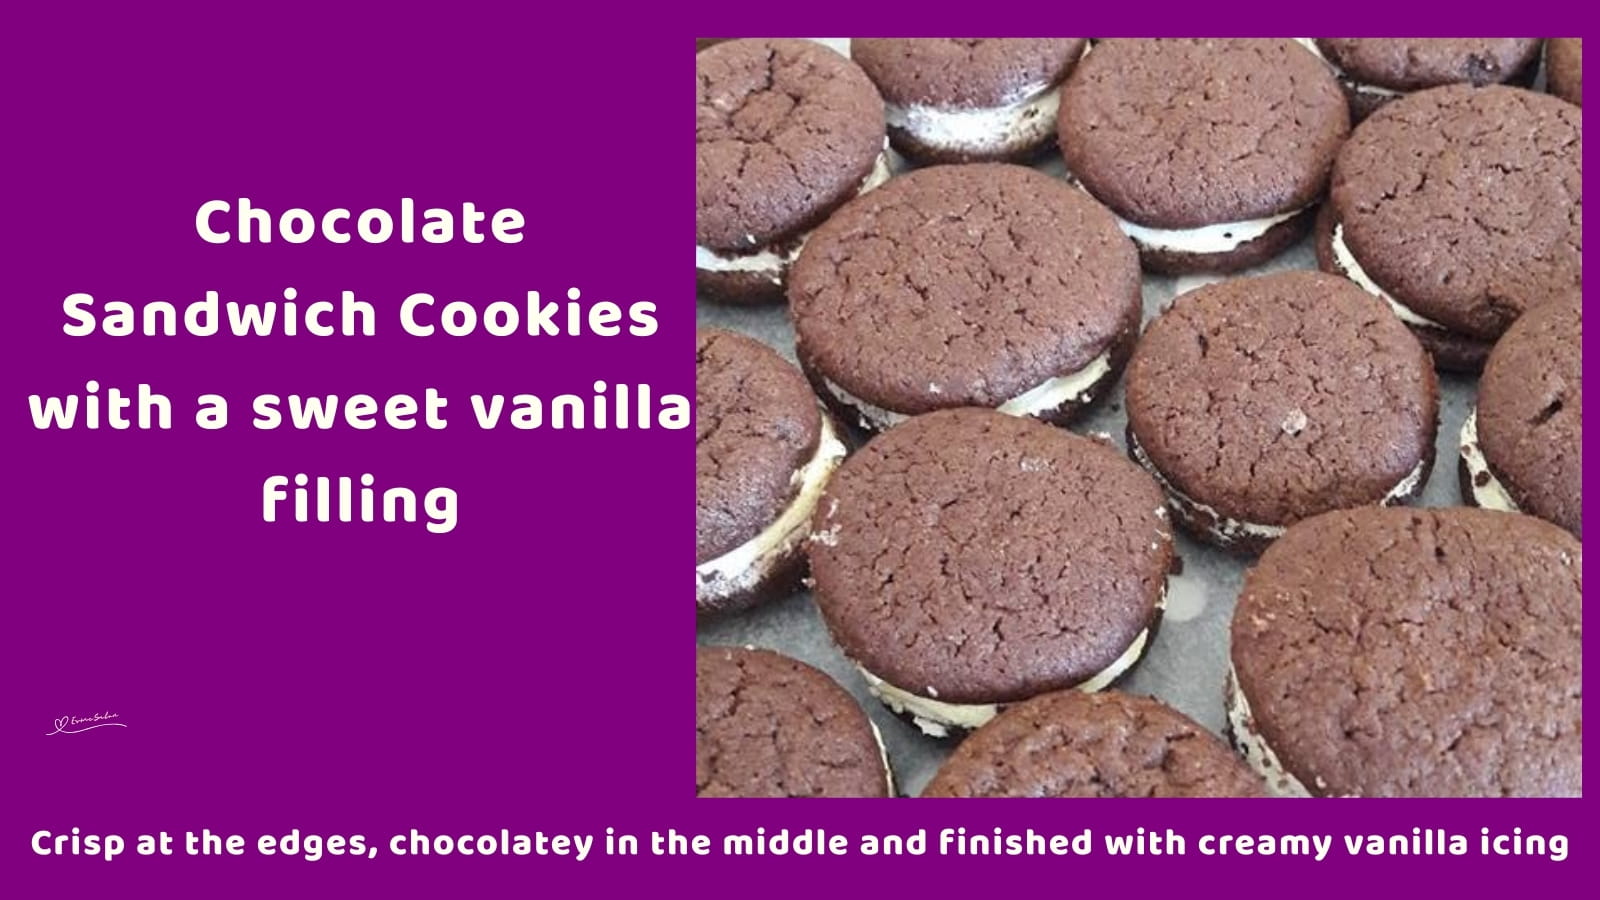
Crisp chocolate sandwich cookies filled with creamy vanilla icing. An easy homemade treat for coffee, tea or sharing
Chocolate Sandwich Cookies bring crisp cocoa biscuits and creamy vanilla icing together. They’re a lovely addition to a baking board or afternoon tea spread

Are you a crisp biscuit person or a soft cookie person?
Why You Will Love and Enjoy These Chocolate Sandwich Cookies
- These Chocolate Sandwich Cookies give you that classic chocolate biscuit and creamy icing combination without making a complicated dessert.
- The biscuits are deeply chocolatey with a crisp, delicate texture.
- The vanilla icing adds just the right amount of sweetness between the biscuits.
- The dough can be made ahead, so you don’t have to bake everything at once.
- They’re lovely with coffee or tea and easy enough to make for a casual afternoon treat.
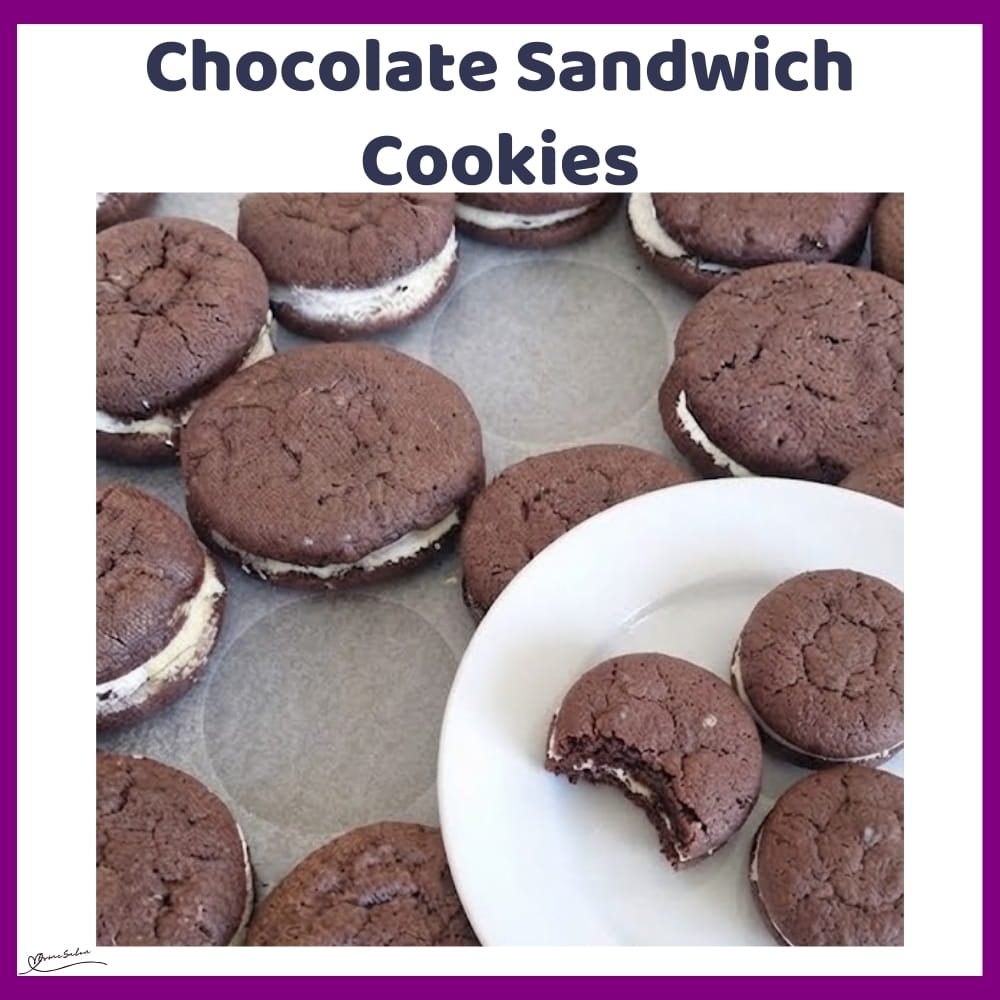
Chocolate Sandwich Cookies
- Prep Time: 20 minutes
- Chilling Time: 30 minutes
- Cook Time: 10 minutes
- Total Time: 1 hour
- Yield: 18–22 sandwich biscuits 1x
- Category: Cake Cupcakes Cookies and Tarts
- Method: Easy baking
Description
Thin, crisp chocolate biscuits with a creamy vanilla icing tucked in the middle. They’re wonderfully chocolatey, a little crisp around the edges and just sweet enough to make you reach for another.
Ingredients
Chocolate Biscuits
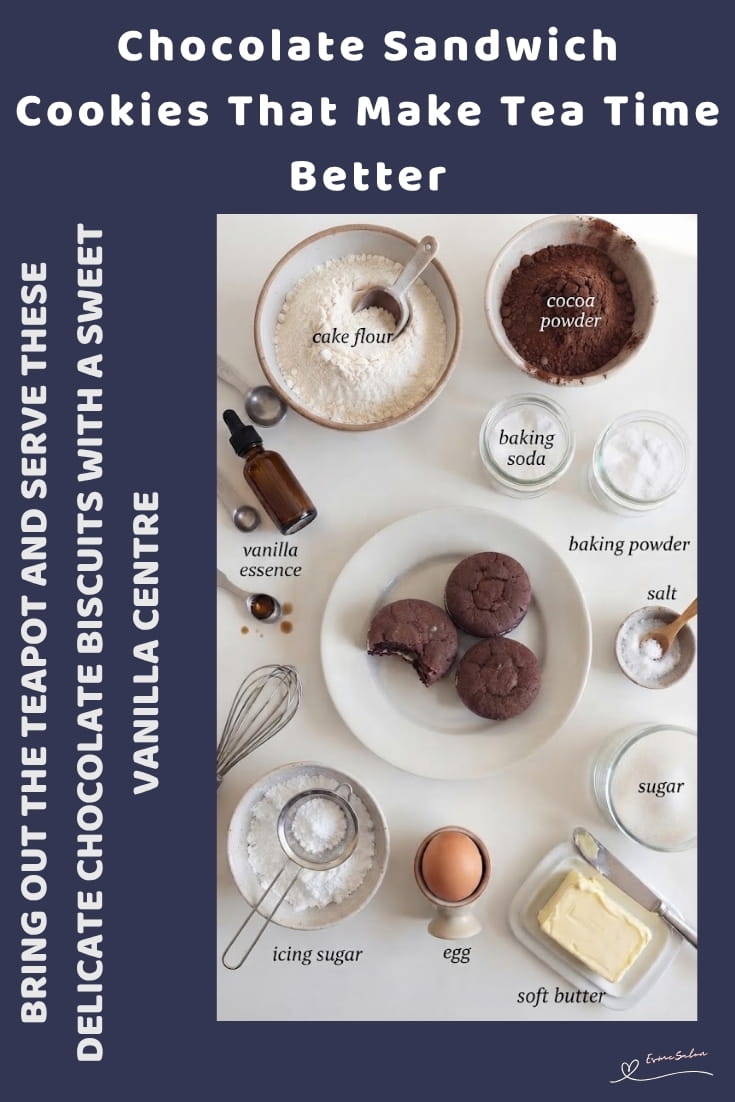
- 1 1/4 cups cake flour
- 1/2 cup cocoa powder
- 1 tsp baking soda
- 1/4 tsp baking powder
- 1/4 tsp salt
- 1 cup sugar
- 10 1/4 tbs or 0.64 cups – 145 g soft butter
- 1 large egg
Vanilla Icing
- 1/4 cup – 60 g soft butter
- 1 cup sifted icing sugar
- 1/2 tsp vanilla essence
Instructions
- Preheat the oven to 338⁰F (170⁰C). Line a baking tray with parchment paper.
- In a bowl, sift together 1 1/4 cups cake flour, 1/2 cup cocoa powder, 1 tsp baking soda, 1/4 tsp baking powder, 1/4 tsp salt and 1 cup sugar.
- In another bowl, beat 145 g soft butter until smooth. Add 1 large egg and beat until well combined.
- Gradually add the sifted dry ingredients to the butter mixture, mixing until a soft chocolate dough forms. Don’t overmix once the flour has been incorporated.
- Wrap the dough and refrigerate it for about 30 minutes. This makes it easier to roll and helps the biscuits hold their shape while baking.
- Lightly flour your work surface and roll the chilled dough to about 3 to 4 mm thick. Cut into rounds using a small cookie cutter. Gather the scraps, gently reroll them and cut out more biscuits.
- Place the biscuits on the prepared baking tray, leaving a little space between each one.
- Bake at 338⁰F (170⁰C) for 8 to 10 minutes, or until the biscuits are firm around the edges and just set in the centre. They’ll crisp up more as they cool, so don’t wait for them to become hard in the oven.
- Leave the biscuits on the baking tray for about 5 minutes, then transfer them to a wire rack to cool completely.
- For the icing, beat 60 g soft butter until smooth and creamy. Gradually beat in 1 cup sifted icing sugar, then add 1/2 tsp vanilla essence. Continue beating until the icing is light and fluffy.
- Once the biscuits are completely cool, spread a small amount of vanilla icing over the flat side of one biscuit. Top with another biscuit and gently press together. Repeat with the remaining biscuits and icing.
Notes
Prepared, tried, and tested by Roshni
PS: Cook time: 8 to 10 minutes per tray

Additional Information
- How thick should the dough be rolled? Roll the dough to about 3 to 4 mm thick. This keeps the biscuits delicate and crisp while giving them enough structure to sandwich with the icing.
- Does the dough need to be chilled? Yes. Chill the dough for about 30 minutes before rolling. This makes it easier to handle and helps the biscuits keep their shape during baking.
- What if the dough becomes too soft while rolling? Place it back in the refrigerator for 10 to 15 minutes. Warm dough can become sticky and may spread more easily in the oven.
- Why did the biscuits spread? The butter may have been too warm, or the dough may not have been chilled enough. If your kitchen is warm, chill the cut biscuits briefly before baking.
- How do I know when the biscuits are done? The edges should feel firm while the centres are just set. They’ll become crisper as they cool, so avoid waiting until they feel completely hard in the oven.
- Why are my biscuits too hard? They may have been rolled too thin or baked for too long. Start checking them at 8 minutes and remember that they continue to firm up as they cool.
- Can I use plain flour instead of cake flour? Yes. Plain flour works, although the biscuits may have a slightly firmer texture than those made with cake flour.
- Can I use unsalted butter? Yes. If you use unsalted butter, keep the 1/4 tsp salt in the biscuit mixture. If your butter is salted, you can reduce or omit the added salt.
- Can I use vanilla extract instead of vanilla essence? Yes. Use 1/2 tsp vanilla extract in the icing.
- Can I use Dutch process cocoa? Natural cocoa powder is the better choice for this recipe because the baking soda is balanced with the acidity of natural cocoa. Dutch process cocoa can change how the biscuits rise and affect the final texture.
- How should I store Chocolate Sandwich Cookies? Store completely cooled sandwich biscuits in an airtight container at room temperature for up to 5 days. Keep them away from heat and moisture so the biscuits retain their crisp texture.
- Can I freeze the baked biscuits? Yes. Freeze completely cooled biscuits in an airtight freezer container for up to 2 months. For the best texture, freeze them without the icing, thaw at room temperature and fill them with freshly made icing.
- Can I make the dough ahead? Yes. Wrap the unbaked dough well and refrigerate it for up to 2 days. Let it stand at room temperature for a few minutes if it becomes too firm to roll.
- How many biscuits will this recipe make? You’ll get approximately 18 to 22 sandwich biscuits, depending on the size of your cookie cutter.
- How much icing should I use? A small, even layer is enough to hold the biscuits together without overwhelming the chocolate flavour. If you prefer a softer, sweeter sandwich, use a more generous layer.
- What should I do with the leftover dough? Gently gather the scraps, reroll them and cut more biscuits. Try not to repeatedly knead the dough, as too much handling can make the finished biscuits tougher.

Chocolate Sandwich Cookies give you crisp cocoa biscuits with a smooth vanilla centre, creating a satisfying contrast in every bite. They’re easy enough for an afternoon baking session and special enough to serve with coffee or tea. The homemade texture and rich chocolate flavour make this a recipe worth pulling out when a packet of biscuits simply won’t do.
Thanks so much for stopping by, checking out my recipes, and seeing what’s cooking here at EsmeSalon.
If you try this recipe, I’d love to hear how it turned out. Please leave a rating, share your thoughts in the comments, and tag me on Instagram at @_esmesalon. I absolutely love seeing your creations, and yes, those mouthwatering food photos always make my day!
We happily share our tasty, fantastic recipes and are excited to spread some love by posting at these awesome Linky Parties.


Copyright © 2026 esmesalon.com – All rights reserved.