As an Amazon Associate, I earn from qualifying purchases.
This Cloud Sponge Fruit Flan is ridiculously light and foolproof
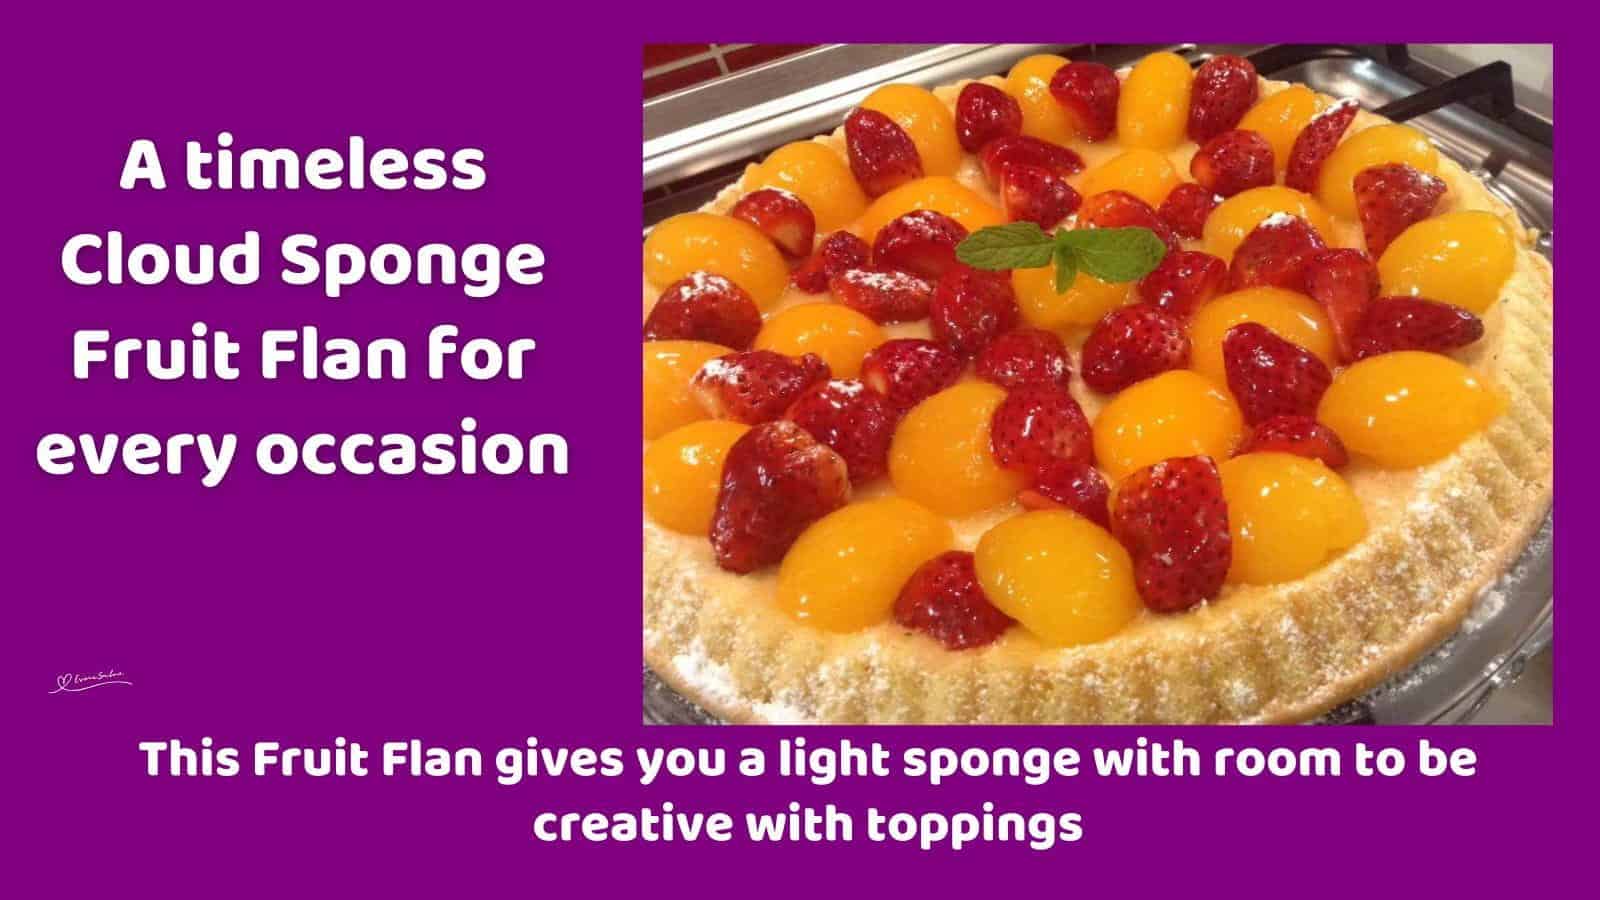
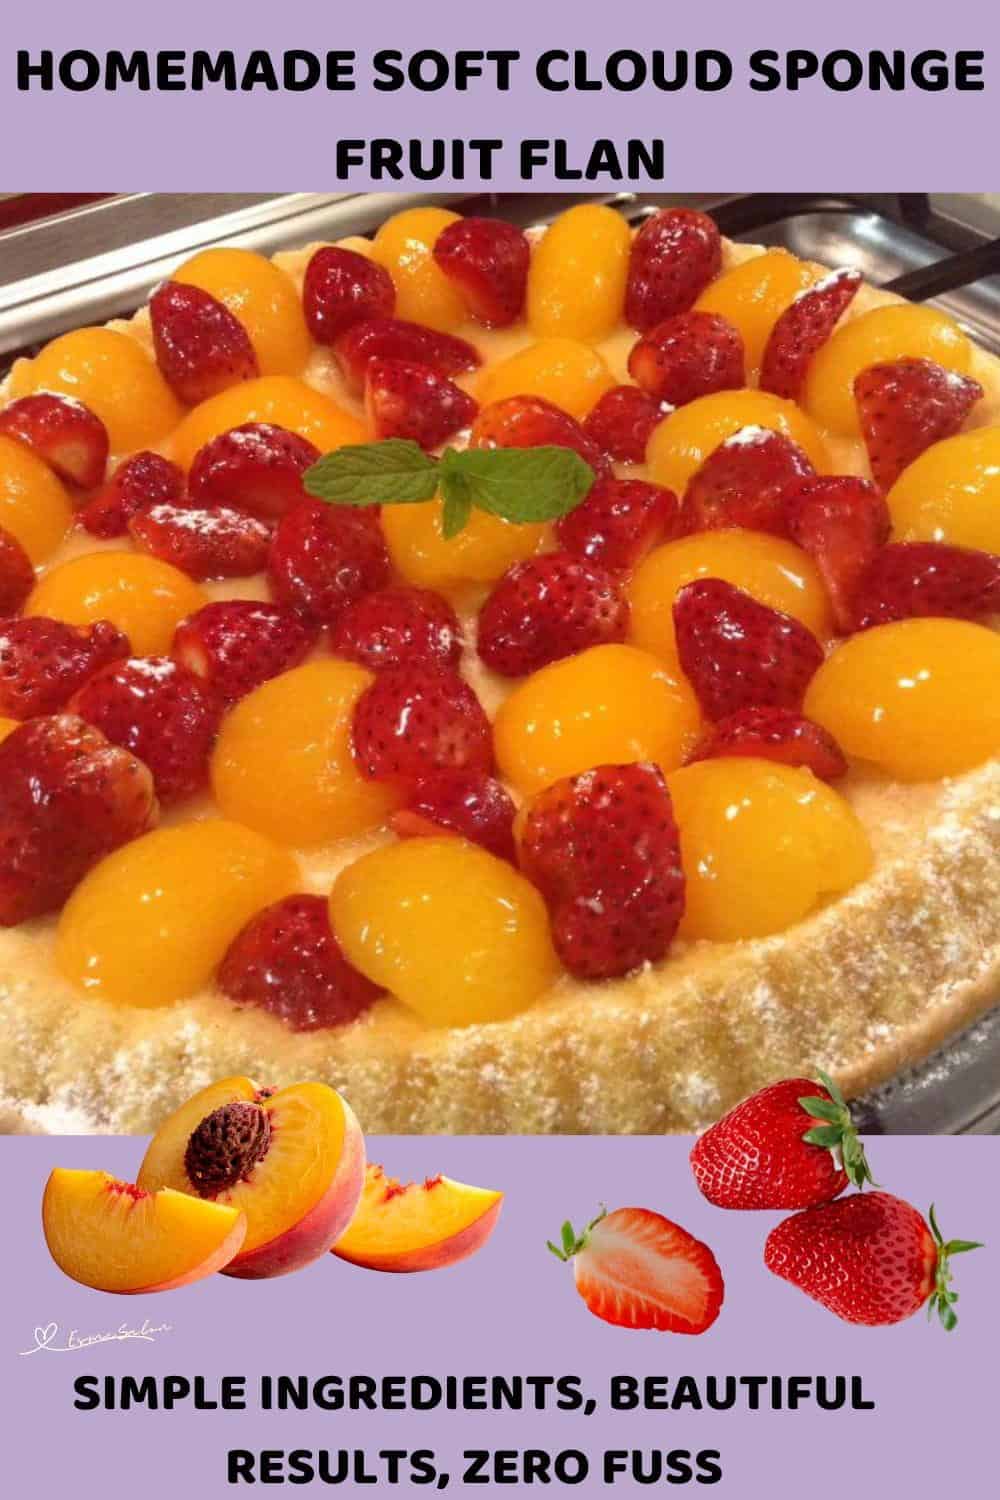
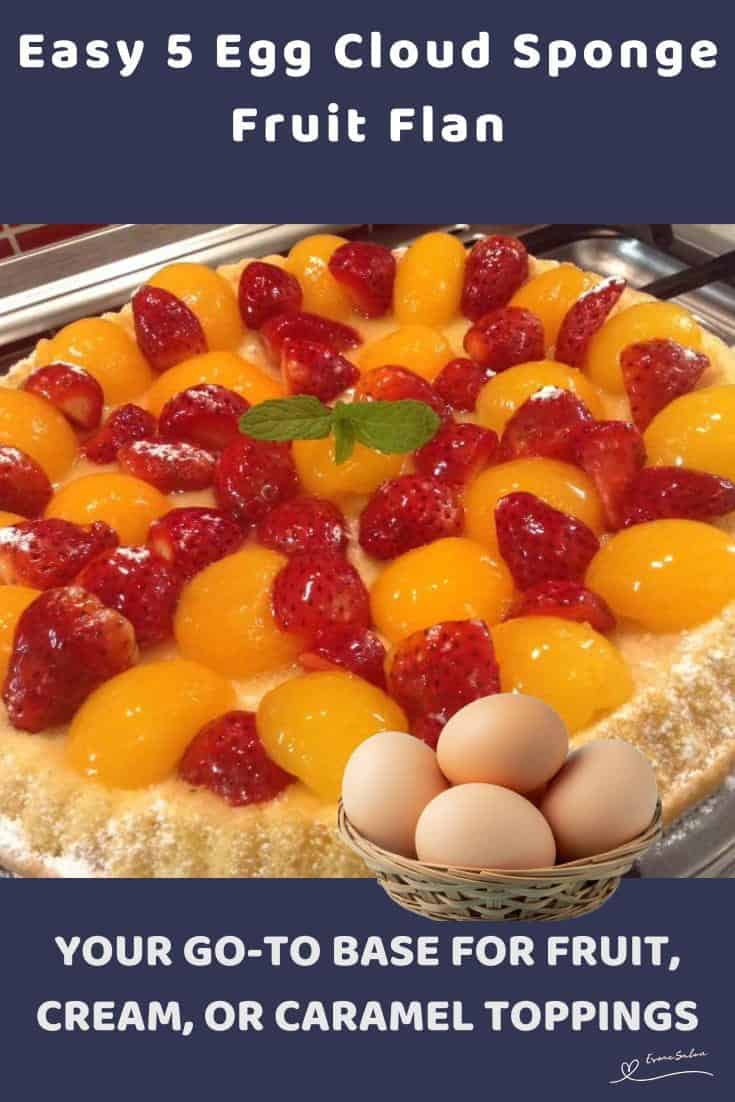
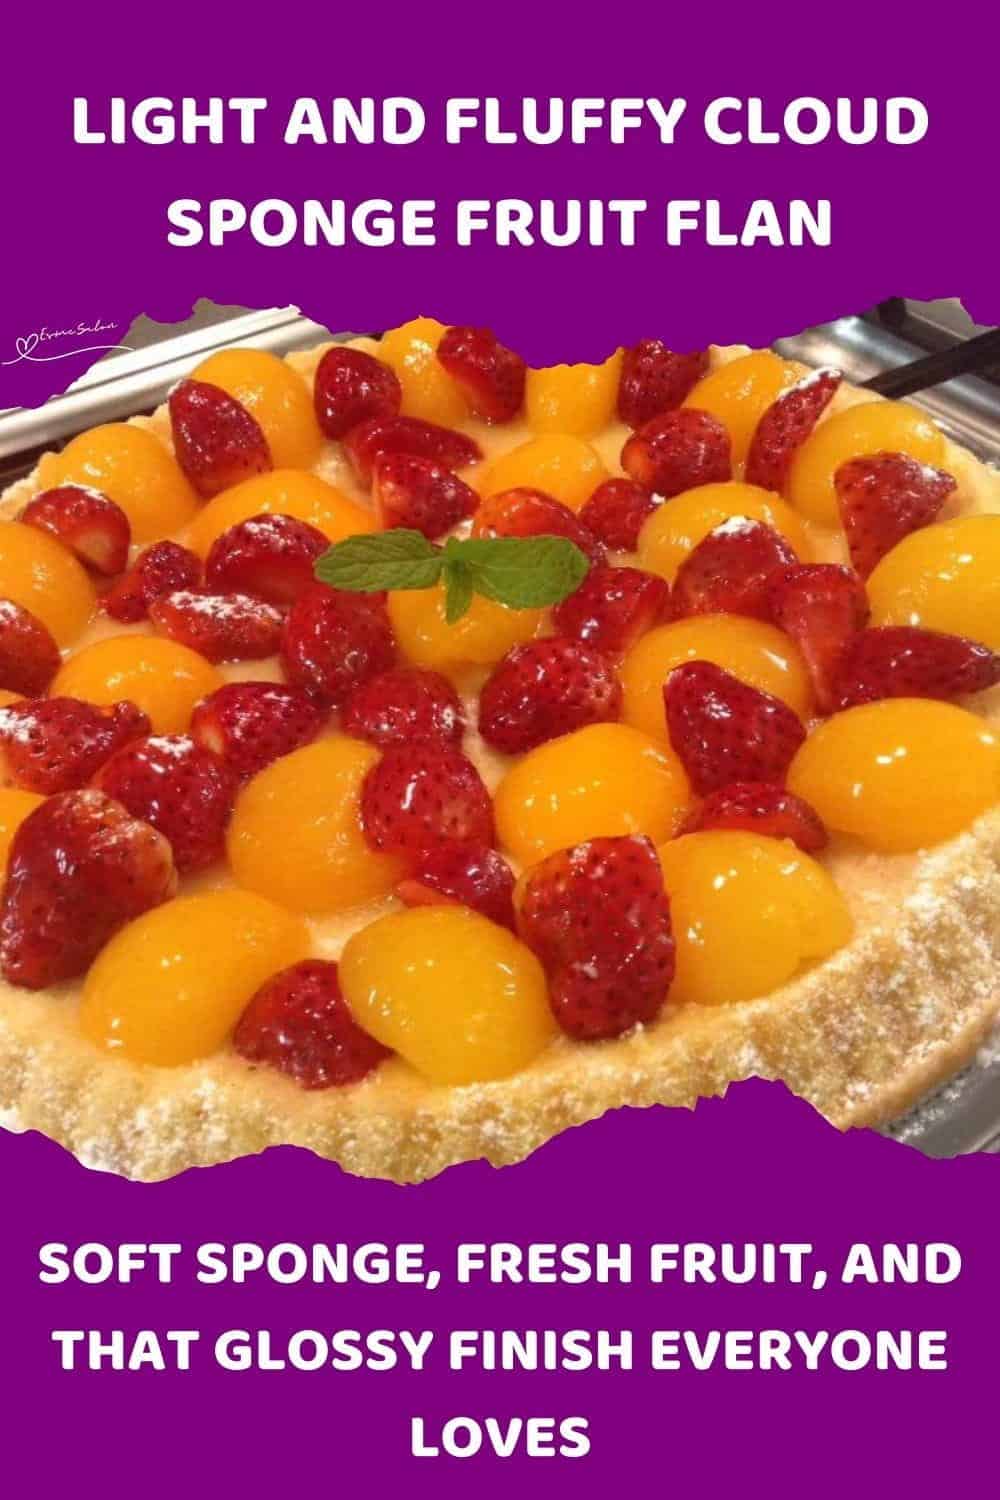
Cloud Sponge Fruit Flan is a light vanilla sponge baked in a flan tin and topped with fresh fruit and glossy citrus glaze. Perfect for summer desserts, tea parties, and easy entertaining.

Light Vanilla Sponge with Fresh Fruit and Apricot Glaze.
Why You Will Love and Enjoy Cloud Sponge Fruit Flan
- It’s soft, airy, and never heavy
- Works with fresh or tinned fruit
- Looks impressive, but is surprisingly simple
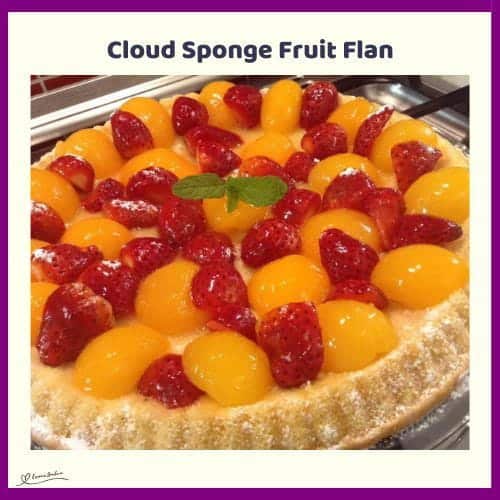
Cloud Sponge Fruit Flan
- Prep Time: 20 minutes
- Cooling time: 10 minutes
- Cook Time: 20 minutes
- Total Time: 50 minutes
Description
This is one of those bakes that looks fancy but is honestly so simple. The sponge is light as air, slightly golden at the edges, and just waiting to be piled high with fruit and cream.
Ingredients
Sponge Base
- 5 eggs, separated
- 1 1/3 cups castor sugar
- 1 cup cake flour, sifted
- 3 1/2 tsp baking powder
- Pinch of salt
- 1/2 cup water, room temp
- 1/2 cup vegetable or canola oil
- 1 tsp vanilla essence
Optional Glaze
- 1/4 cup apricot syrup, drained from tin
- 1/4 cup orange juice
- 1 tbsp lemon juice
- 2 tsp sugar
- 1/2 tbsp Maizena/Cornflour
- Apricot jam, loosened with a little hot water
Topping Ideas
- Fresh strawberries, kiwi, grapes, peaches, berries
- Tinned fruit, well drained
- Fresh whipped cream
- Caramel and sliced banana
Instructions
Base
- Preheat your oven to 350⁰F (180⁰C).
- Grease or spray a 28 cm flan tin well, especially the ridges.
- If your tin isn’t non-stick, line the base with baking paper. It saves tears later.
- Separate the 5 eggs carefully. Make sure no yolk gets into the whites or they won’t whip properly.
- In a clean and dry bowl, beat the 5 egg whites until stiff peaks form. They should hold their shape but not look dry or grainy. Set aside.
- In another bowl, beat the 5 egg yolks with 1 1/3 cups castor sugar until light, pale, and creamy. This takes a few minutes, just keep going.
- Add 1 tsp vanilla essence, 1/2 cup vegetable or canola oil, and 1/2 cup water. Beat until fully combined.
- Sift together 1 cup cake flour, 3 1/2 tsp baking powder, and a pinch of salt.
- Add the dry ingredients to the yolk mixture and mix gently until just combined. Don’t overbeat or the sponge can become dense.
- Now fold the beaten egg whites into the batter in two or three additions.
- Use a spatula and a light hand. You want to keep as much air in there as possible.
- Pour the batter into the prepared 28 cm flan tin and smooth the top lightly.
- Bake at 350⁰F (180⁰C) for 15 to 18 minutes or until a skewer inserted in the center comes out clean.
- The sponge should spring back when lightly pressed.
- Let it cool in the tin for 10 minutes. Then gently loosen the edges and turn it out onto a wire rack to cool completely.
- Don’t try to decorate it warm or the cream will melt, and the fruit will slide everywhere.
Optional Glaze
- In a small saucepan, combine 1/4 cup apricot syrup, 1/4 cup orange juice, 1 tbsp lemon juice, and 2 tsp sugar. Heat over medium heat.
- Mix 1/2 tbsp Maizena/Cornflour with a tiny splash of cold water to make a smooth paste.
- Whisk it into the saucepan and cook, whisking constantly, until it thickens and turns glossy, approximately 1 to 2 minutes.
- Strain if needed and let it cool slightly before brushing gently over the fruit.
- Shortcut version: Warm some apricot jam with a little hot water and brush it over the fruit.
Assemble
- Once the sponge is completely cool, fill the center with fresh whipped cream if using.
- Arrange your fruit on top. Fresh fruit must be patted dry so the sponge doesn’t go soggy.
- Brush lightly with the glaze for that shiny bakery look.
- Slice and serve. Best enjoyed the same day, but leftovers can be refrigerated for up to 2 days.
Notes
Created, prepared, tried, and tested Gail
Soft Oil-Based Sponge Flan with Homemade Citrus Glaze
Cloud Sponge Fruit Flan is soft, light, and visually stunning, making it perfect for any occasion. The sponge stays tender while the fruit and glaze shine on top, giving an impressive dessert with minimal effort. It’s fun to make, beautiful to serve, and delicious to eat, inspiring you to bake it again and again.
I am linking up with a bunch of fantastic peeps from the blogosphere who host awesome Link-ups: Fiesta Friday
We are featured on A Morning Cup of Joe at The Country Cottage. Thank you so much for this honor and the shoutout.
Thanks for dropping in and checking out the recipes and what’s on offer.
If you try out this delightful recipe, please let me know, rate it, and tag me on Instagram at @_esmesalon. I’m excited to see your amazing recreations, and I’m hooked on those mouthwatering photos!
We happily share our tasty, fantastic recipes and are excited to spread some love by posting at these awesome Linky Parties.


Copyright © 2026 esmesalon.com – All rights reserved.
This looks beautiful! I do not have a flan pan but I do have round tart pans with removeable bottoms. I hope that would work if I make this recipe?
Hi there Pat. Thanks for your kind words. I am sure your round tart pan with the removeable bottom should work, although I have not tried it myself. Nothing ventured, nothing gained