As an Amazon Associate, I earn from qualifying purchases.
Creamy Stovetop Milk Tart with Condensed Milk and Custard Powder
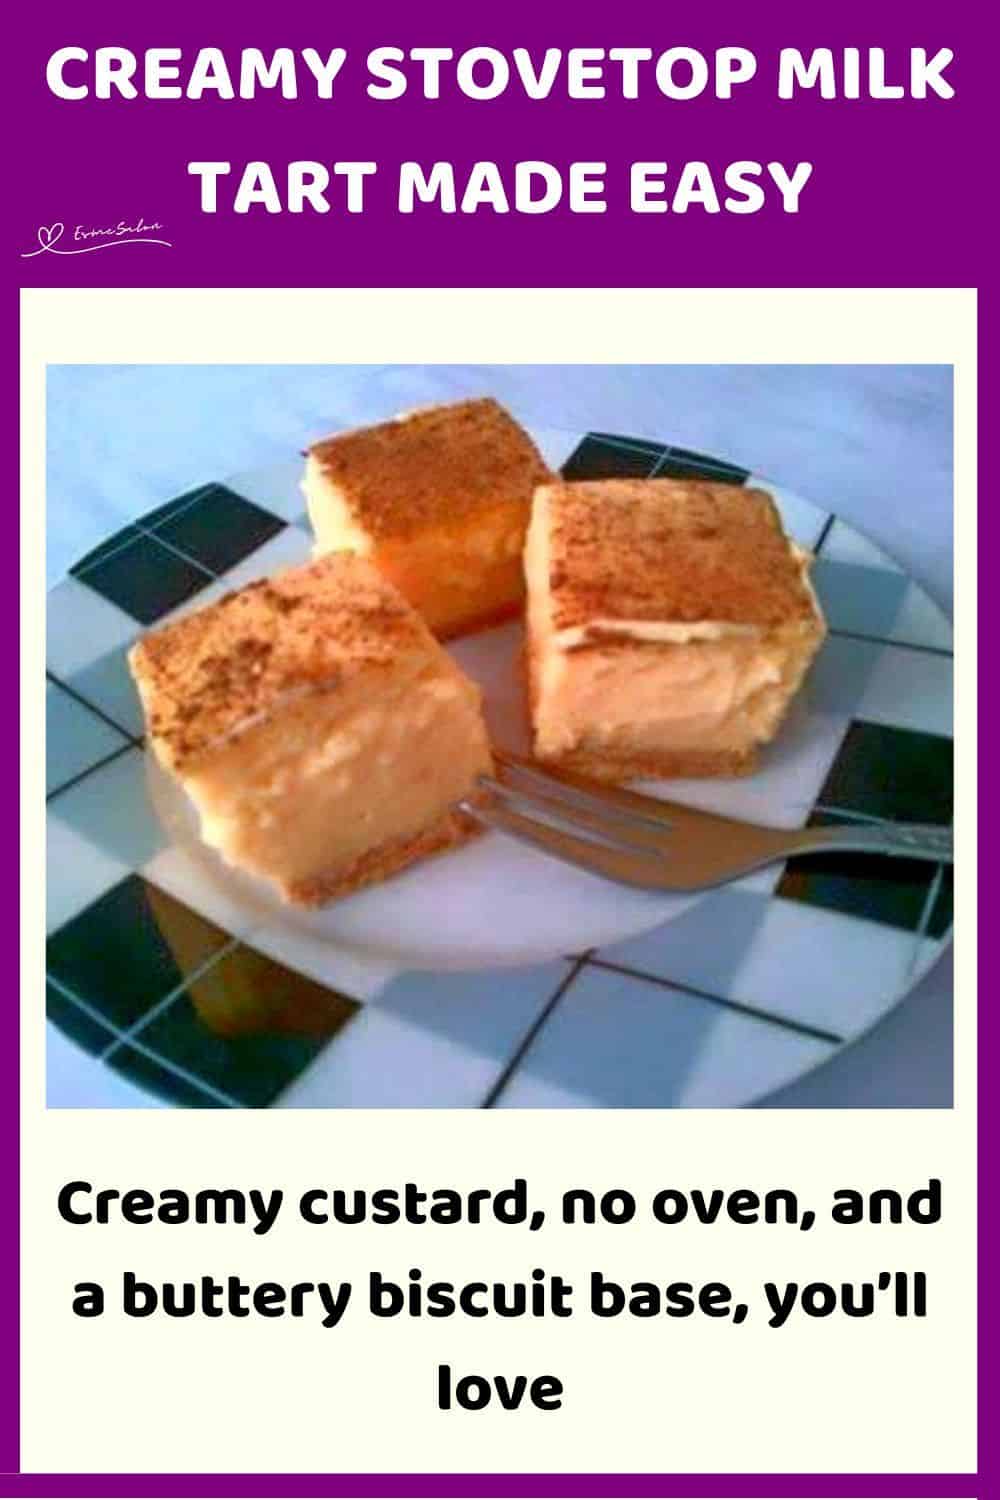
Creamy Stovetop Milk Tart with Tennis Biscuits. A classic dessert made smooth, rich, and stress-free.

Creamy Custard with a Buttery Tennis Biscuit Base

Why you’ll love and enjoy Creamy Stovetop Milk Tart with Tennis Biscuit Base:
It’s rich, comforting, and made without an oven. This is the kind of milk tart you make once and then keep getting asked for again.
Print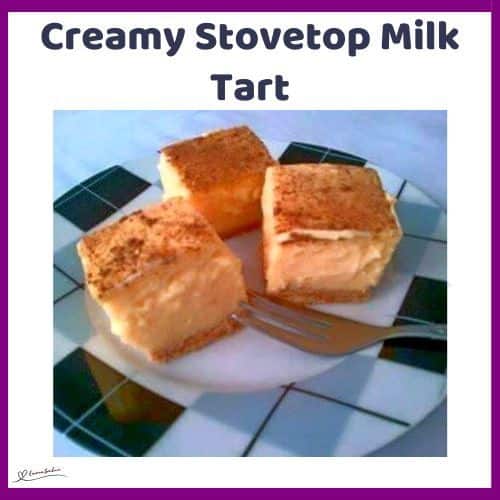
Creamy Stovetop Milk Tart
- Prep Time: 20 minutes
- Refrigerate: 6 hours
- Cook Time: 20 minutes
- Total Time: 6 hours 40 minutes
- Yield: 8–10 depending on size 1x
- Category: Cake, Cupcakes, Cookies and Tarts
- Method: Easy
Description
Creamy Stovetop Milk Tart with Tennis Biscuit Base delivers smooth custard, gentle sweetness, and a base that holds every slice. It is made on the stove and chilled to perfection without the fuss of baking.
Ingredients
Biscuit base
- 1 packet Tennis biscuits, crushed
- 4 to 6 Tbsp melted butter, enough to bind
Milk tart filling
- 1 can condensed milk (397 g)
- 3 cans – 800 ml milk total, measured using the condensed milk can
- 2 large eggs
- 1/4 cup + 1 tbsp custard powder
- 1/4 tsp salt
- 2 Tbsp butter
- 1 tsp vanilla essence
- Ground cinnamon, for dusting
Instructions
- Crush 1 packet of Tennis biscuits until fine, then mix with 4 to 6 Tbsp melted butter until the crumbs hold together when pressed.
- Press firmly into a dish to a thickness of at least 1 cm for a sturdy base.
- Place in the fridge to set while you make the filling.
- Pour 1 can condensed milk (397 g) and 2 1/2 tins milk (about 670 ml) into a pot.
- Add 1/4 tsp salt. Bring to a gentle simmer over low heat, stirring constantly. Low and slow is the key here.
- In a bowl, use the remaining 1/2 tin milk (± 130 ml) to make a smooth paste with 1/4 cup + 1 Tbsp custard powder. Make sure there are no lumps.
- Add the custard paste to the hot milk mixture and stir continuously.
- Keep the heat low. Remove from the heat once it starts to thicken slightly.
- Scoop out about 1 cup of the hot custard into a bowl.
- Quickly whisk in 2 eggs, beating well so they don’t scramble.
- Immediately pour this egg mixture back into the pot, stirring the whole time.
- Return the pot to low heat and stir until thick, creamy, and smooth. It should coat the spoon like proper custard, not runny but also not stiff.
- Remove from heat and stir in 2 Tbsp butter and 1 tsp vanilla essence until fully melted and glossy.
- Pour the custard over the chilled biscuit base.
- Let it stand on the counter for about 10 minutes before moving it to the fridge. This helps prevent condensation.
- Refrigerate for 4 to 6 hrs or overnight until fully set. Serve well chilled.
- Finish with a light dusting of cinnamon before chilling.
Notes
Created, prepared, tried, and tested by Nazley
This creamy stovetop milk tart sets beautifully with a rich custard filling and a buttery Tennis biscuit base. If you love reliable no-oven desserts, this one belongs on your dessert table

Creamy Stovetop Milk Tart with Tennis Biscuit Base appeals to anyone who enjoys classic desserts made without unnecessary effort. The smooth custard, balanced sweetness, and firm biscuit base make it satisfying from the first slice, and the simple stovetop method makes it easy to return to whenever a comforting dessert is needed.
Thanks for dropping in and checking out the recipes and what’s on offer.
If you try out this delightful recipe, please let me know, rate it, and tag me on Instagram at @_esmesalon. I’m excited to see your amazing recreations, and I’m hooked on those mouthwatering photos!
We happily share our tasty, fantastic recipes and are excited to spread some love by posting at these awesome Linky Parties.


Copyright © 2026 esmesalon.com – All rights reserved.