
As an Amazon Associate, I earn from qualifying purchases.
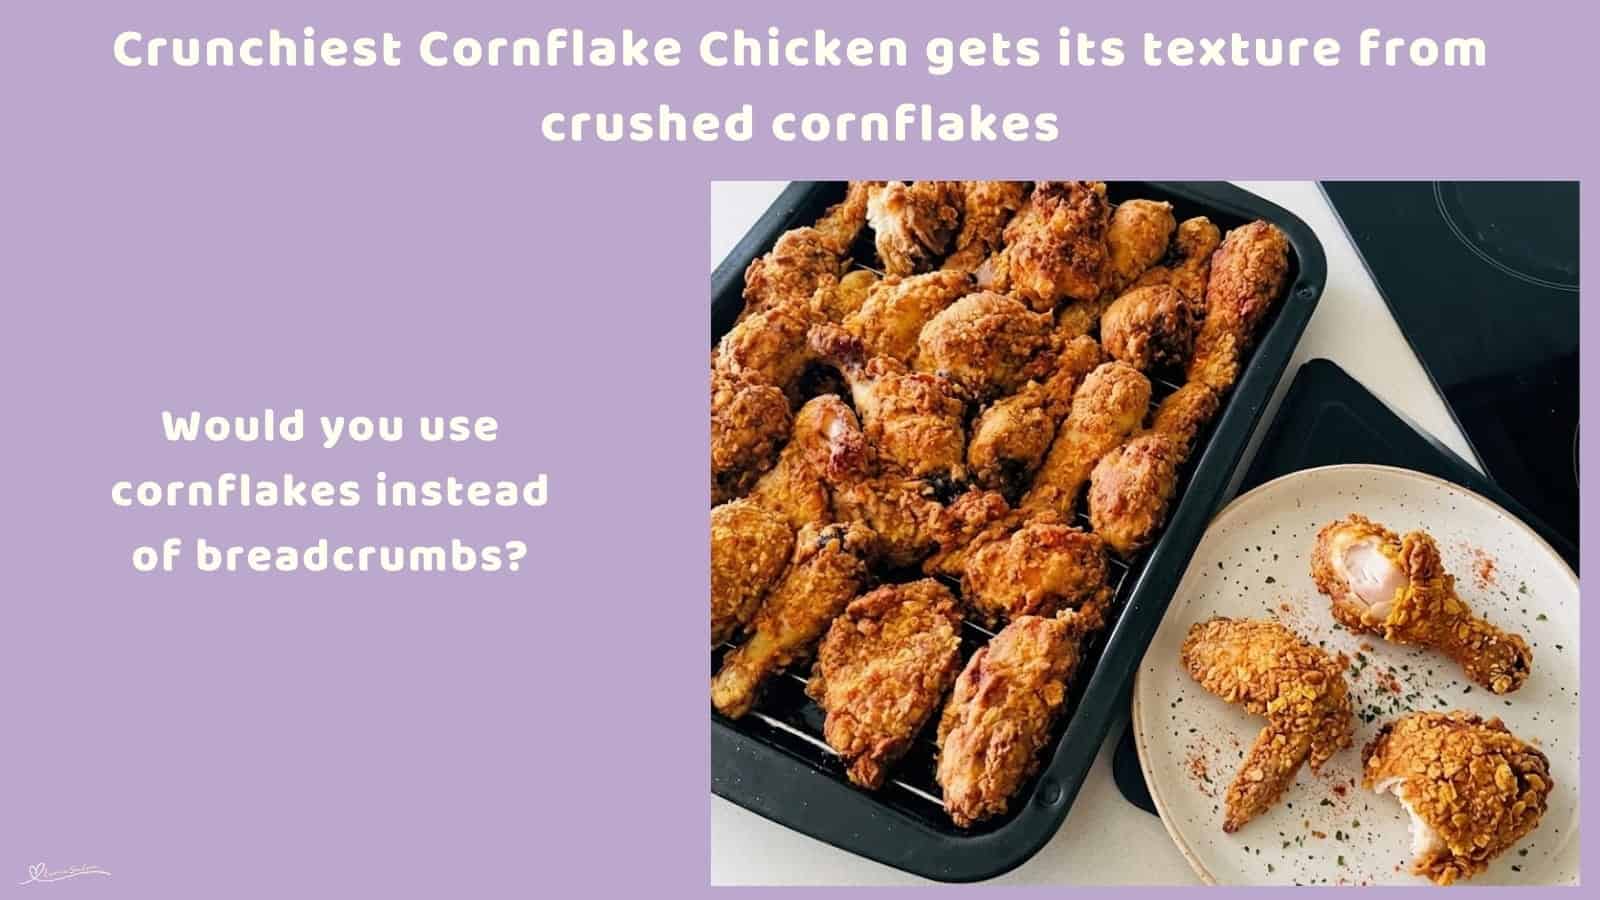
These Crunchiest Cornflake Chicken have a crisp cornflake crust and juicy seasoned chicken. Try this easy crispy chicken recipe for a family dinner with plenty of crunch.
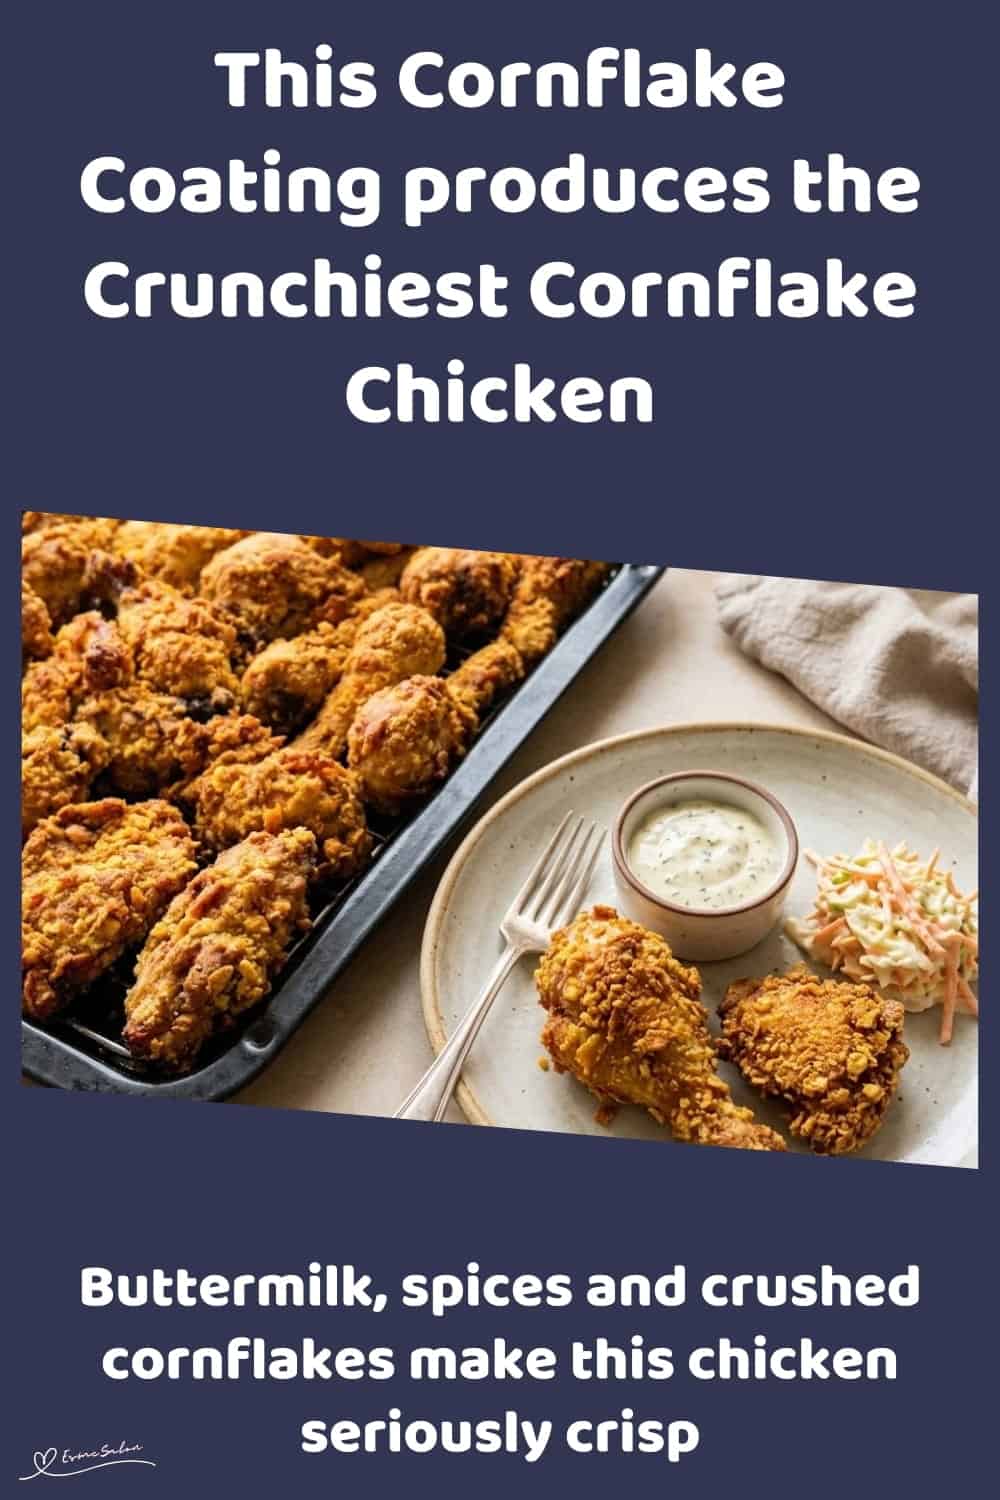
The buttermilk and spice mixture keeps every bite full of flavour and produces the Crunchiest Cornflake Chicken tucked under a crisp cornflake coating.

Why you will love and enjoy Crunchiest Cornflake Chicken
- The cornflakes give the coating a proper crunchy texture instead of a plain flour crust.
- The buttermilk helps keep the chicken juicy while adding a little tang to all those spices.
- Frying first gives you that golden crust, while the oven finishes the chicken without needing to keep frying it for ages.
Additional Information
- Can this be frozen? Yes. For the best texture, freeze the cooked chicken rather than the raw coated chicken. Let the cooked pieces cool completely, freeze them in a single layer first, then transfer them to an airtight freezer container or freezer bag. Thaw in the refrigerator and reheat in a 375⁰F (190⁰C) oven or air fryer until heated through. The coating will crisp up much better this way than it will in the microwave.
- How long can it be stored and how? Store cooked chicken in an airtight container in the refrigerator for up to 3 to 4 days. Keep it refrigerated within 2 hours of cooking and reheat until piping hot throughout.
- Ingredient substitutions
- Buttermilk: Plain cultured buttermilk works best, but plain unsweetened yogurt loosened with a little milk can work too.
- Eggs: Use 2 large beaten eggs instead of the buttermilk.
- Cornflakes: Plain unsweetened cornflakes are best. Crush them yourself so you can leave a few larger pieces for extra crunch.
- Maizena: Cornstarch can be used in the same amount.
- Self-Raising flour: Use regular all-purpose flour plus baking powder if that’s what you have. The coating may be slightly different in texture.
- Aromat: Reduce or leave it out if you’re watching the salt. The recipe already contains several seasoned spices.
- Steak and chops spice or chicken spice: You can use another all-purpose seasoning blend, but check the salt level before adding the full amount.
- Chili powder: Reduce it for a milder chicken, or add a little more if you like a proper kick.
Crunchiest Cornflake Chicken
- Prep Time: 20 minutes
- Refrigerate: 2 hours
- Cook Time: 45 minutes
- Total Time: 3 hours 5 minutes
- Yield: 16 to 20 chicken pieces 1x
- Category: Poultry Recipes
- Method: Easy Cooking
Description
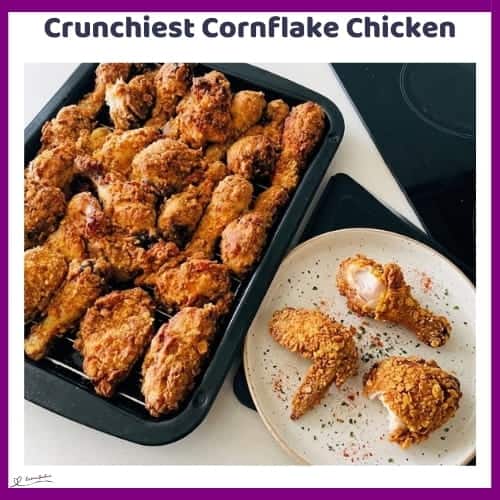
This Crunchiest Cornflake Chicken recipe gives you juicy, well-seasoned chicken with a crisp, craggy coating that actually has some crunch to it.
Ingredients
Chicken
- 16 to 20 chicken pieces of your choice, washed and patted very dry
- 2 tbsp Aromat
- 1 tsp salt
- 1 tbsp freshly ground black pepper
- 1 tbsp steak and chops spice
- 1 tbsp chicken spice
- 1 tbsp garlic and herb spice
- 1 tbsp chili powder
- 1 cup buttermilk, or 2 large eggs, beaten
Crispy Coating
- 1 1/2 cups Self-Raising flour
- 1 tbsp Maizena
- 1/2 cup cornflakes, crushed fairly finely but with a few bigger bits left for crunch
- 1/2 tsp salt
Frying
- Neutral cooking oil, enough to generously coat the bottom of a large frying pan
Instructions
- Pat the 16 to 20 chicken pieces really dry with paper towel.
- Add 2 tbsp Aromat, 1 tsp salt, 1 tbsp freshly ground black pepper, 1 tbsp steak and chops spice, 1 tbsp chicken spice, 1 tbsp garlic and herb spice and 1 tbsp chili powder. Rub everything well into the chicken so every piece is seasoned.
- Pour 1 cup buttermilk over the seasoned chicken and mix well until every piece is coated.
- Cover and refrigerate for 1 to 2 hours. If you’re using 2 large beaten eggs instead, mix them through the chicken just before coating it rather than leaving the egg coated chicken sitting for hours.
- In a large bowl, mix 1 1/2 cups Self-Raising flour, 1 tbsp Maizena, 1/2 cup crushed cornflakes and 1/2 tsp salt. Give it a good stir so the cornflakes and Maizena are spread evenly through the flour.
- Take each chicken piece from the buttermilk mixture and let the excess drip off.
- Press each piece firmly into the flour and cornflake mixture, turning it until it’s properly covered. Don’t just sprinkle the coating over the chicken. Pressing it on gives you a much better crust.
- Arrange the coated chicken pieces in a single layer on trays or plates, making sure they aren’t piled on top of each other.
- Refrigerate for at least 1 hour if you have the time. This helps the coating stick instead of sliding off when it hits the oil.
- Heat enough neutral cooking oil to generously cover the bottom of a large frying pan over medium to medium-high heat. The oil should be hot enough that a little bit of coating sizzles straight away, but it shouldn’t be smoking.
- Fry the chicken in batches, so you don’t overcrowd the pan.
- Cook for about 3 minutes on each side, or until the coating is lightly golden brown. You’re not trying to cook the chicken completely in the frying pan at this point.
- Transfer the browned chicken to a lightly greased baking tray and bake in a preheated 350⁰F (180⁰C) oven until the chicken is cooked through. Depending on the size and cut of the pieces, this can take roughly 25 to 45 minutes.
- Let the chicken rest for about 5 minutes before serving. That crunchy coating is at its best while it’s still warm.
- Tip: Crumbed pork chops can be made using the same coating and method. Just adjust the cooking time according to the thickness of the chops and cook them to the appropriate safe internal temperature.
Notes
Prepared, tried, and tested by Irene

Seasoned Chicken, Buttermilk and a Seriously Crunchy Cornflake Crust
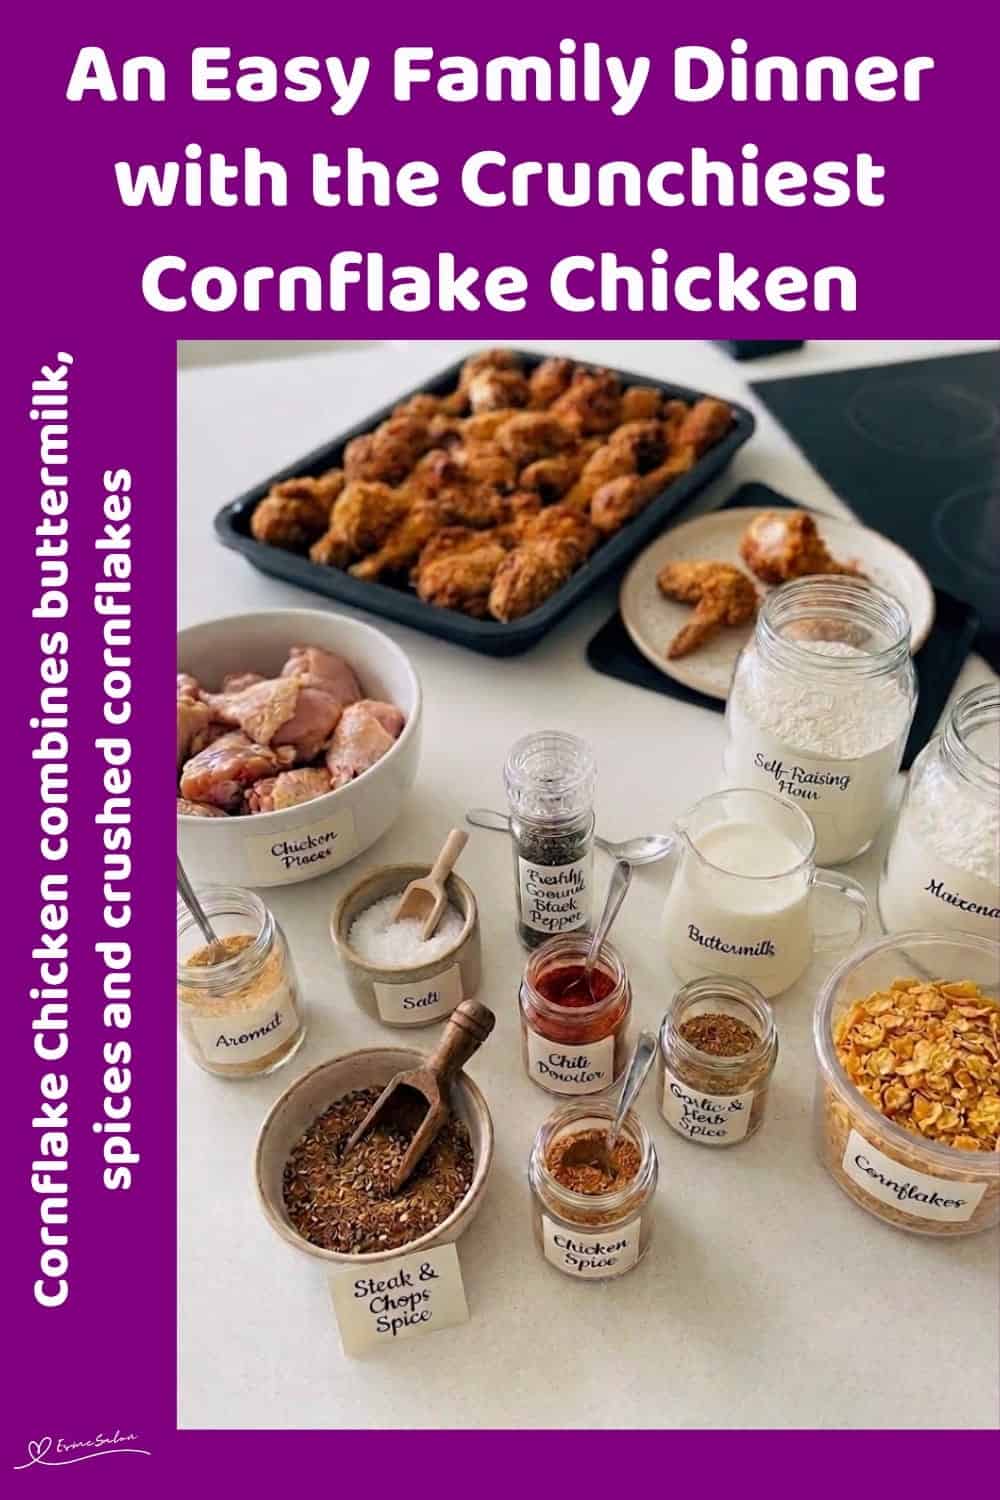
Crunchiest Cornflake Chicken delivers juicy, well-seasoned chicken wrapped in a crisp cornflake coating. The buttermilk, garlic, pepper and chili build flavour from the inside out, while the cornflakes add the satisfying crunch that makes this chicken hard to resist. The quick fry followed by oven cooking keeps the method practical while still giving the coating plenty of texture.
I am linking up with a bunch of fantastic peeps from the blogosphere who host awesome Linkups: Homestead Blog Hop; Fiesta Friday
We are featured on Weekly Wednesday at Grandma’s House DIY; The Really Crafty Link Party at Keeping It Real. Thank you so much for this honour and the shoutout.
Thanks for stopping by to check out the recipes and what’s on offer.
If you try this recipe, I’d love to hear how it turned out. Please leave a rating, share your thoughts in the comments, and tag me on Instagram at @_esmesalon. I absolutely love seeing your creations, and yes, those mouthwatering food photos always make my day!
We happily share our tasty, fantastic recipes and are excited to spread some love by posting at these awesome Linky Parties.


Copyright © 2026 esmesalon.com – All rights reserved.

Nice idea. My mom used to use corn flakes for coating and baking too.
Thanks so much for popping in and commenting, Judee. Not sure how many people prefer cornflakes vs. breadcrumbs.
Thanks for sharing with us every week Esme I’m featuring you again next Wednesday when the new To Grandma’s house we go link party starts!
Dear Tarahlynn, Mwah, thank you so much for the feature, much appreciated. Enjoy your weekend and I will be back on Wednesday.
Loved the recipe. Crunchiest Cornflake Chicken looks delicious.
Thank you so much, hope you do get an opportunity to make them at home and enjoy these
Oh my!! This looks so delicious!
Thank you so much. Crunchy outside and juicy inside.
Yummy! Sounds irresistible!!
😉