As an Amazon Associate, I earn from qualifying purchases.
Soft chocolate chip cookie meets fudgy brownie in these Fudgy Chocolate Cookie Brownie Bars. An easy chocolate dessert for baking days, sharing and sweet cravings.
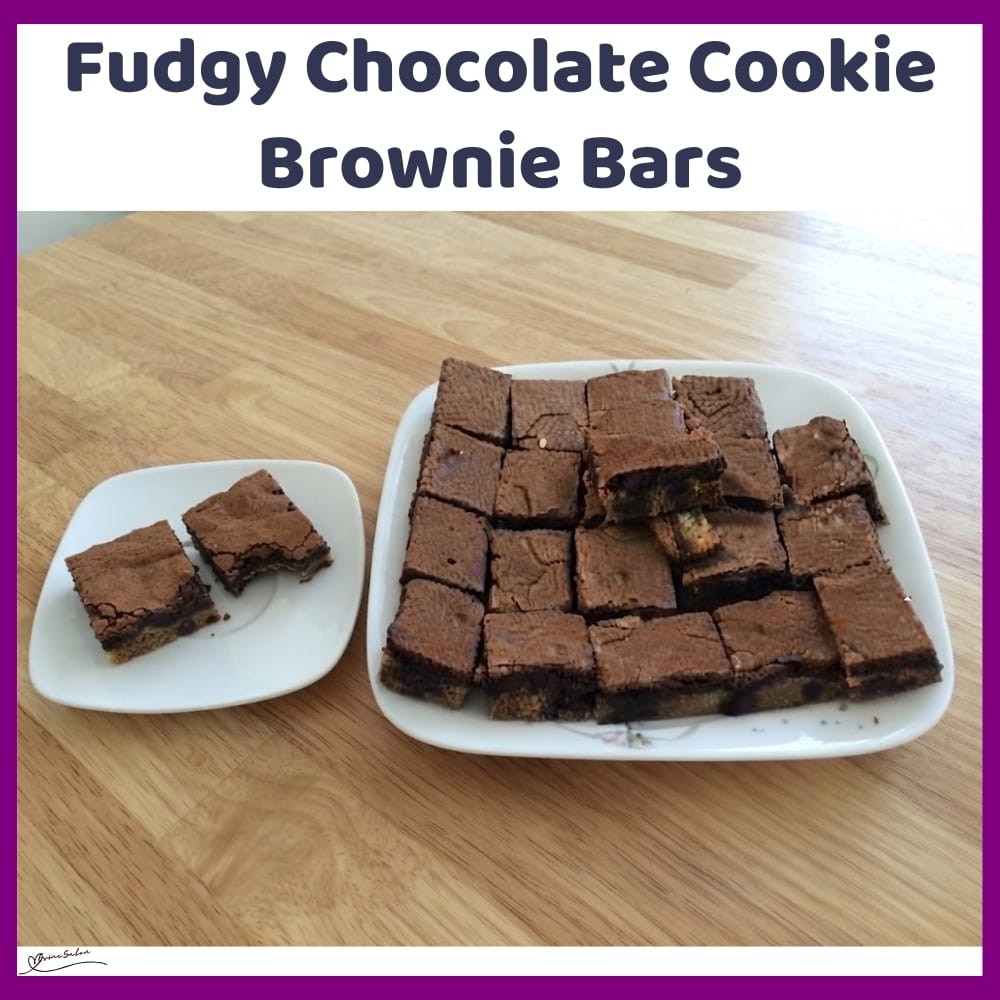
Fudgy Chocolate Cookie Brownie Bars combine a soft cookie layer with a rich brownie top. They’re made in one pan for an easy chocolate dessert.

Cookie Brownie Bars are what happens when two dessert cravings collide. You get chocolate chips, cocoa and two delicious layers in every square.
Why You Will Love and Enjoy These Fudgy Chocolate Cookie Brownie Bars
- Fudgy Chocolate Cookie Brownie Bars bring two chocolate favourites together in one easy bake, so you don’t have to choose between cookies and brownies.
- Two layers in every bite: Soft chocolate chip cookie underneath and fudgy cocoa brownie on top.
- Easy pantry ingredients: Nothing fancy is needed to make these.
- Great for sharing: Cut them into 24 bars for lunch boxes, coffee breaks or a casual dessert.
- Make ahead friendly: They keep well and are even easier to slice once fully cooled.
Fudgy Chocolate Cookie Brownie Bars
- Prep Time: 15 minutes
- Cook Time: 25 minutes
- Total Time: 40 minutes
- Yield: 24 depending on size 1x
- Category: Cake Cupcakes Cookies and Tarts
- Method: Easy baking
Description
These Fudgy Chocolate Cookie Brownie Bars give you a soft chocolate chip cookie layer topped with a rich, fudgy brownie layer. They’re the kind of bake where you get the best of both worlds in every square, and honestly, that’s hard to resist.
Ingredients
Cookie Layer
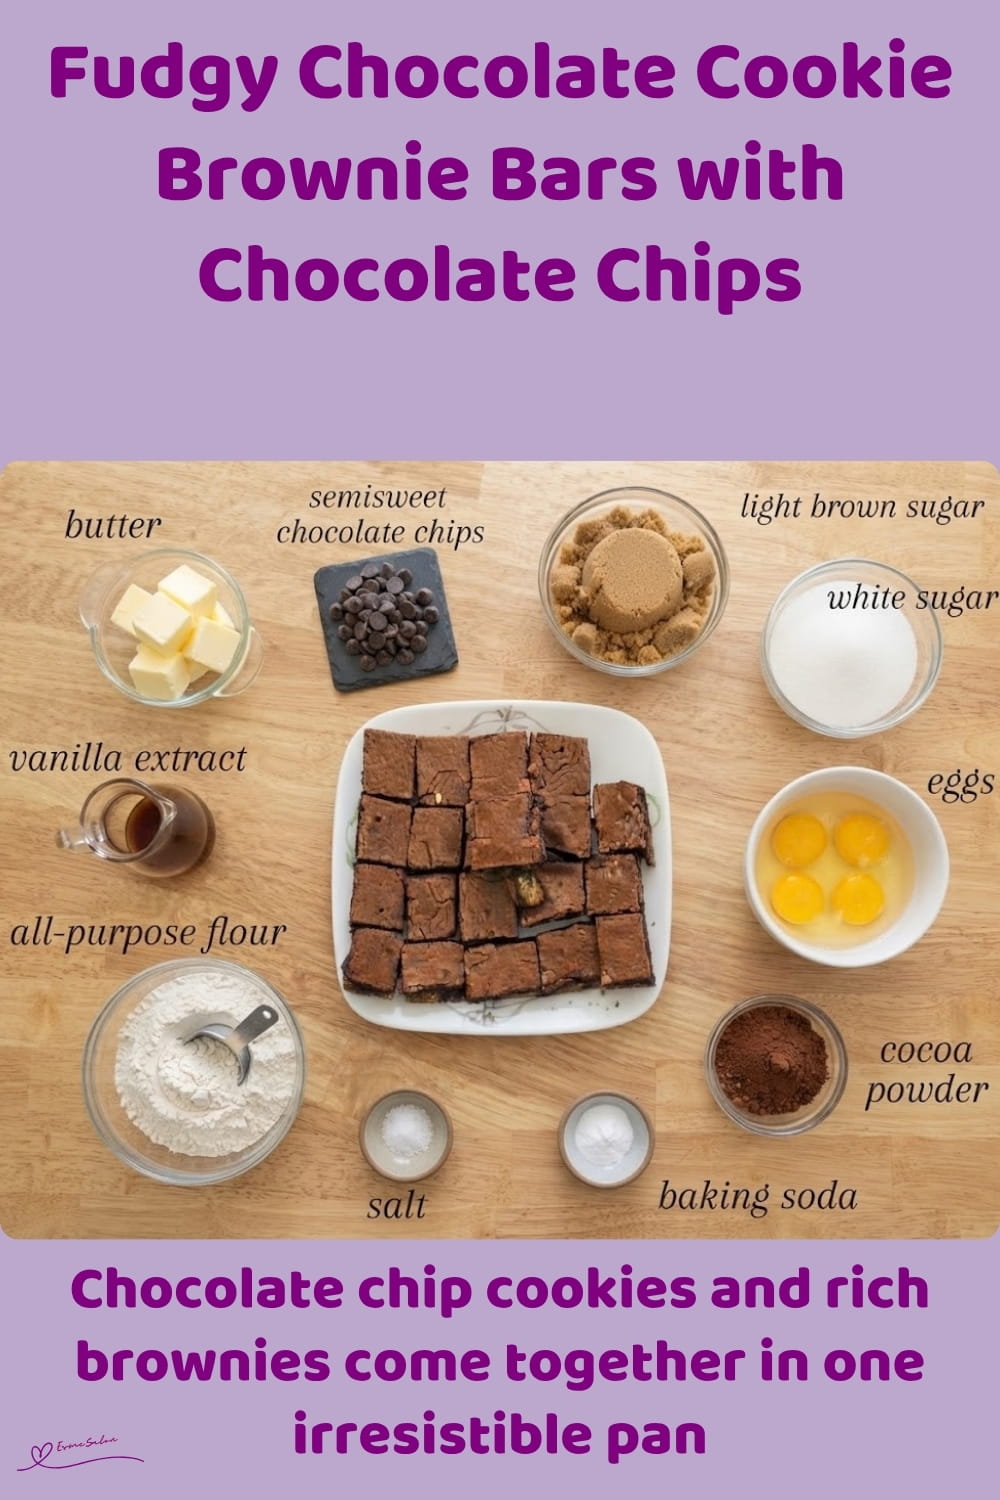
- 1/2 cup butter, softened
- 1/2 cup light brown sugar
- 1/4 cup white sugar
- 1/2 tsp vanilla extract
- 1 large egg
- 1 1/4 cups all-purpose flour
- 1/2 tsp salt
- 1/2 tsp baking soda
- 1 cup semisweet chocolate chips
Brownie Layer
- 1 cup white sugar
- 1/2 cup butter, melted
- 1 tsp vanilla extract
- 2 large eggs
- 1/3 cup cocoa powder
- 1/2 cup all-purpose flour
- 1/4 tsp baking powder
- 1/8 tsp salt
Instructions
- Preheat the oven to 350⁰F (175⁰C). Lightly grease a 9 x 13 inch baking dish, making sure the corners and sides are covered. For easier removal later, you can also line the dish with parchment paper, leaving a little overhang on the sides.
- For the cookie layer, beat 1/2 cup softened butter, 1/2 cup light brown sugar, 1/4 cup white sugar and 1/2 tsp vanilla extract in a large bowl until creamy. Add 1 large egg and beat for about 2 minutes, until the mixture looks lighter and creamy.
- In a separate bowl, whisk together 1 1/4 cups all purpose flour, 1/2 tsp salt and 1/2 tsp baking soda. Gradually stir the flour mixture into the butter mixture until you have a soft cookie dough. Don’t overmix once the flour is incorporated.
- Stir 1 cup semisweet chocolate chips into the cookie dough. Press the cookie dough evenly into the bottom of the prepared 9 x 13 inch baking dish. It can be a little sticky, so lightly dampening your fingertips can make spreading it much easier.
- For the brownie layer, stir 1 cup white sugar, 1/2 cup melted butter and 1 tsp vanilla extract together in a clean bowl. Add 2 large eggs and beat well until combined.
- Stir 1/3 cup cocoa powder into the butter mixture until smooth and well combined. Add 1/2 cup all-purpose flour, 1/4 tsp baking powder and 1/8 tsp salt, then stir just until the brownie batter comes together. Don’t keep mixing once you no longer see streaks of flour.
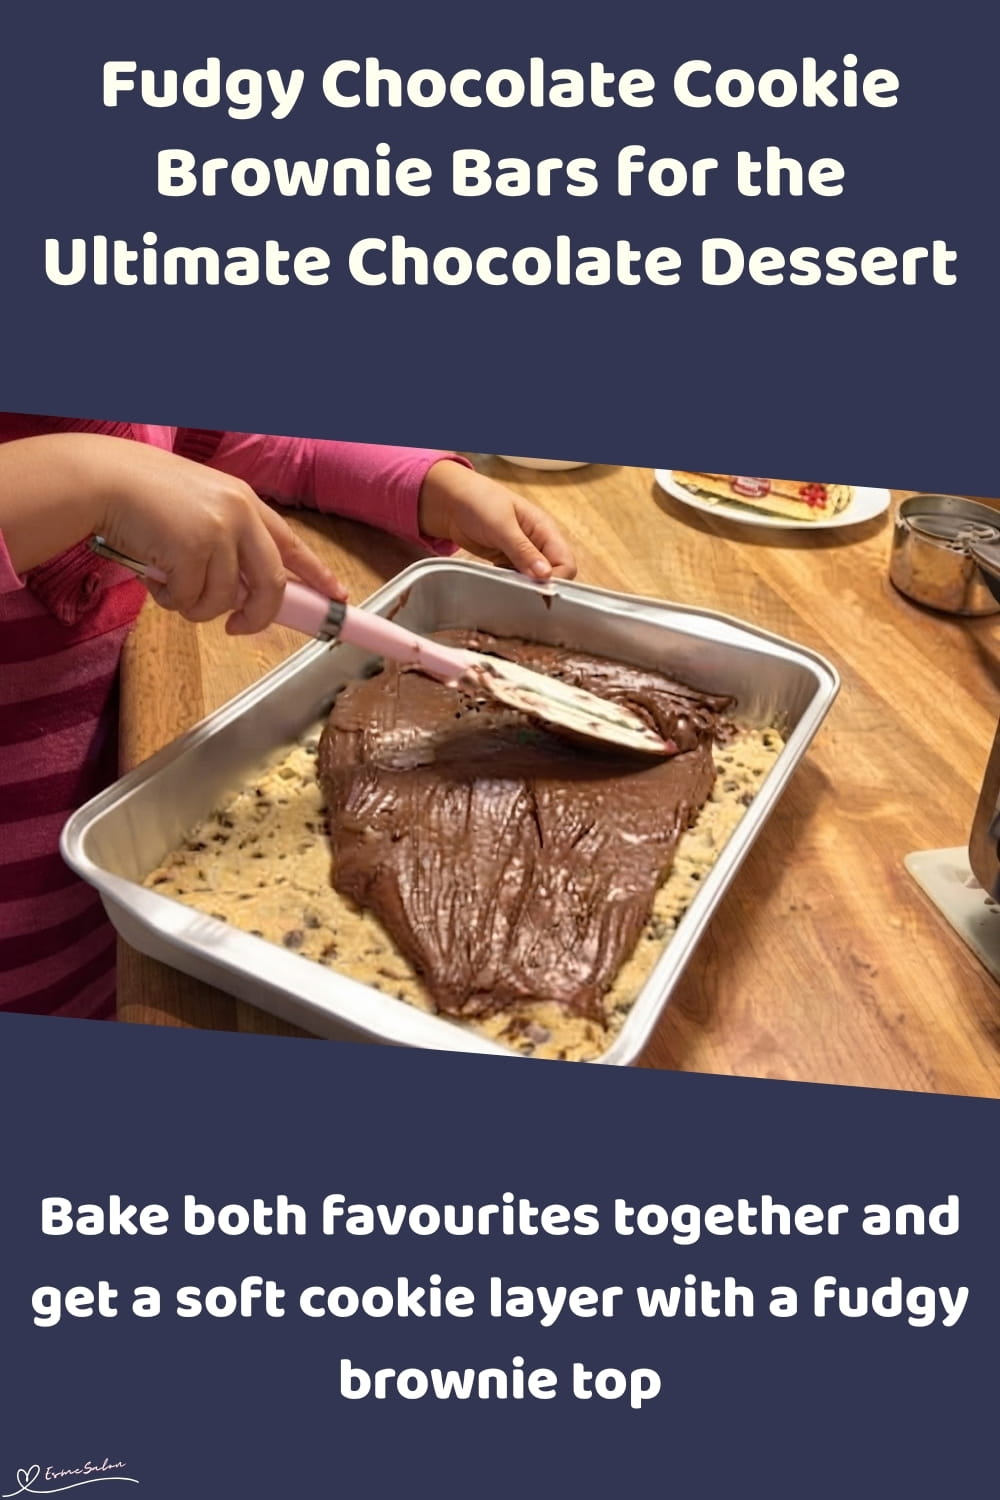
- Pour the brownie batter evenly over the cookie dough and gently spread it all the way to the edges. Try not to drag the brownie batter through the cookie layer as you spread it.
- Bake at 350⁰F (175⁰C) for 20 to 25 minutes, or until a toothpick inserted into the centre comes out with a few moist crumbs but no wet batter. The top should look set, while the centre can still have a little softness.
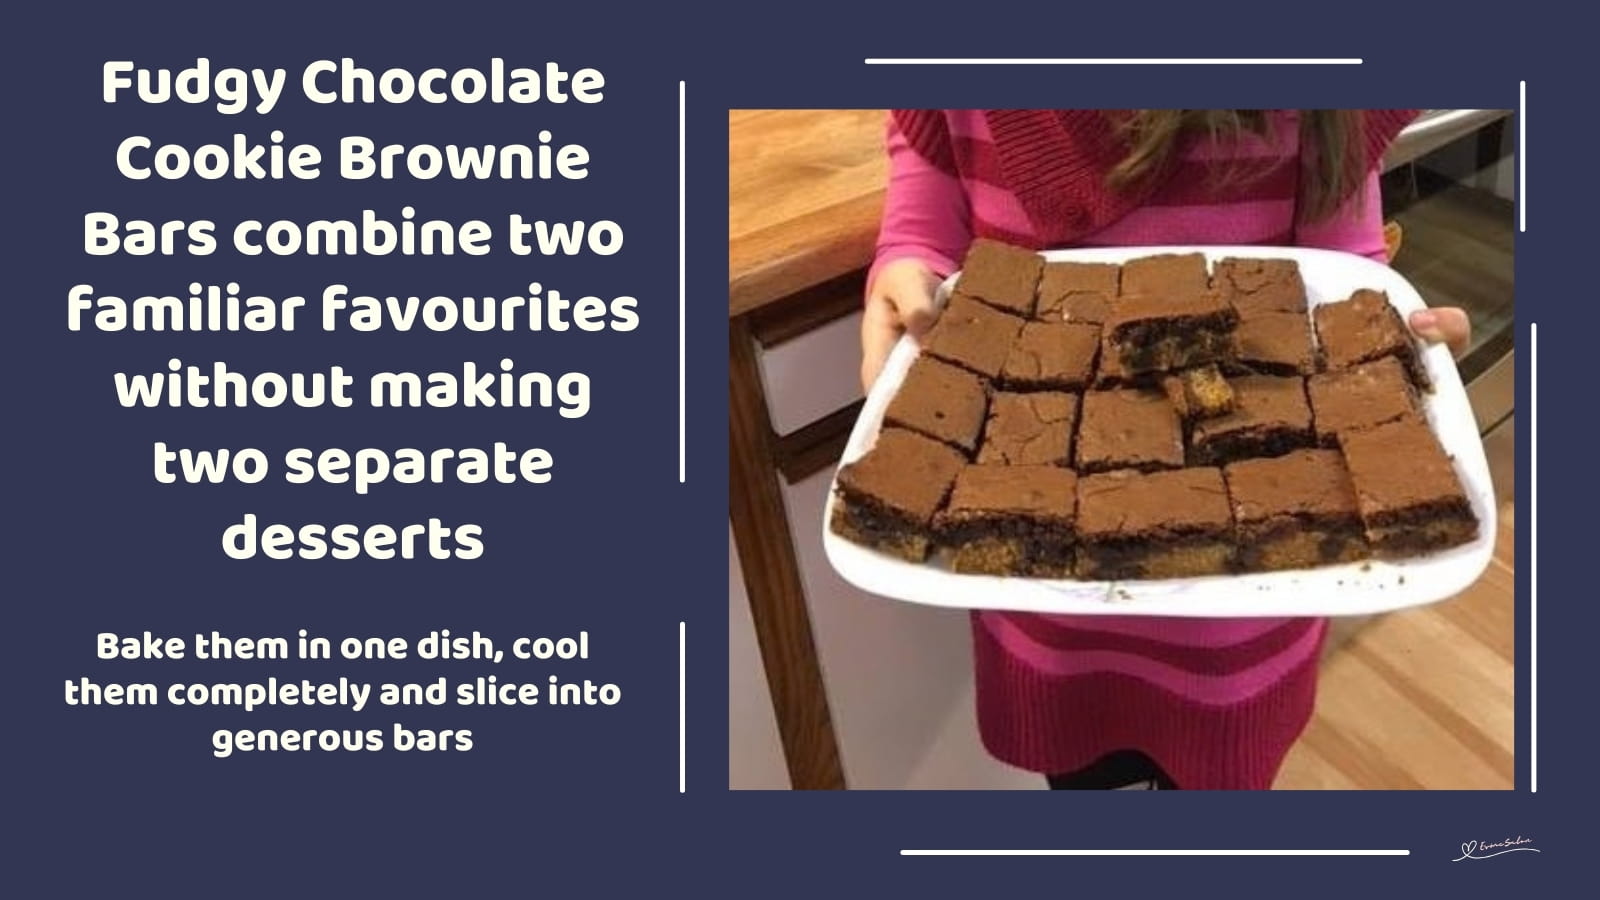
- Let the bars cool completely in the baking dish before cutting. If you cut them while they’re still warm, the brownie layer can be quite soft and the two layers may not give you those neat squares. Once cooled, lift them out using the parchment overhang, if using, and cut into 24 bars.
Notes
Prepared, tried, and tested by Nikita

Additional Information
- Why is the recipe baked in a 9 x 13 inch dish? The dish gives the cookie and brownie layers the right thickness for the stated 20 to 25 minute baking time. A smaller dish will create thicker bars and may need longer baking, while a larger dish will make thinner bars that may bake more quickly.
- How do I spread the cookie dough evenly? The dough is soft and can be sticky. Lightly dampen your fingertips and gently press the dough into the bottom of the prepared dish, working it into the corners and keeping the layer as even as possible.
- How do I add the brownie batter without mixing the layers? Pour the brownie batter gently over the cookie dough, then carefully spread it towards the edges. Avoid pressing down too firmly or repeatedly dragging the batter across the cookie layer.
- Why do the bars need to cool completely? The brownie layer is quite soft while hot and needs time to set. Cutting the bars too early can cause the layers to smear and the squares to lose their shape. For particularly neat slices, chill the completely cooled bars briefly before cutting.
- How can I tell when they’re baked? Insert a toothpick into the centre. It should come out with a few moist crumbs but no wet batter. A completely clean toothpick can mean the brownies have been baked a little too long.
- Can I use milk chocolate chips? Yes. Milk chocolate chips will give the cookie layer a sweeter flavour. Dark chocolate chips can be used when a deeper, less sweet chocolate flavour is preferred.
- Can I substitute the butter? Baking margarine can be used in the cookie layer if needed, although the flavour and texture may change slightly. Butter is preferable in the brownie layer for the best result.
- Can I use a different type of flour? All-purpose flour is used in both layers. If using self-raising flour, leave out the baking soda from the cookie layer and the baking powder from the brownie layer, as the flour already contains raising agents. The texture may still differ slightly from the original recipe.
- Can I make these ahead? Yes. They can be baked a day ahead and kept covered once completely cooled. They’re easier to cut after they’ve had time to set.
- How should I store them? Keep completely cooled bars in an airtight container at room temperature for up to 4 days. If your kitchen is very warm, refrigerate them and allow them to sit at room temperature briefly before serving.
- Can I freeze them? Yes. Cut the completely cooled bars, wrap them individually in plastic wrap and place them in a freezer-safe container or bag. They can be frozen for up to 2 months. Thaw at room temperature or in the refrigerator before serving.
- How many bars does the recipe make? Cutting the bake into 24 bars gives a good snack size. For larger dessert portions, cut fewer squares.
- Can I make smaller pieces for a party? Yes. Smaller squares work particularly well when these are being served alongside other desserts or with coffee and tea. Just make sure the bake is completely cool before cutting so the pieces hold together.
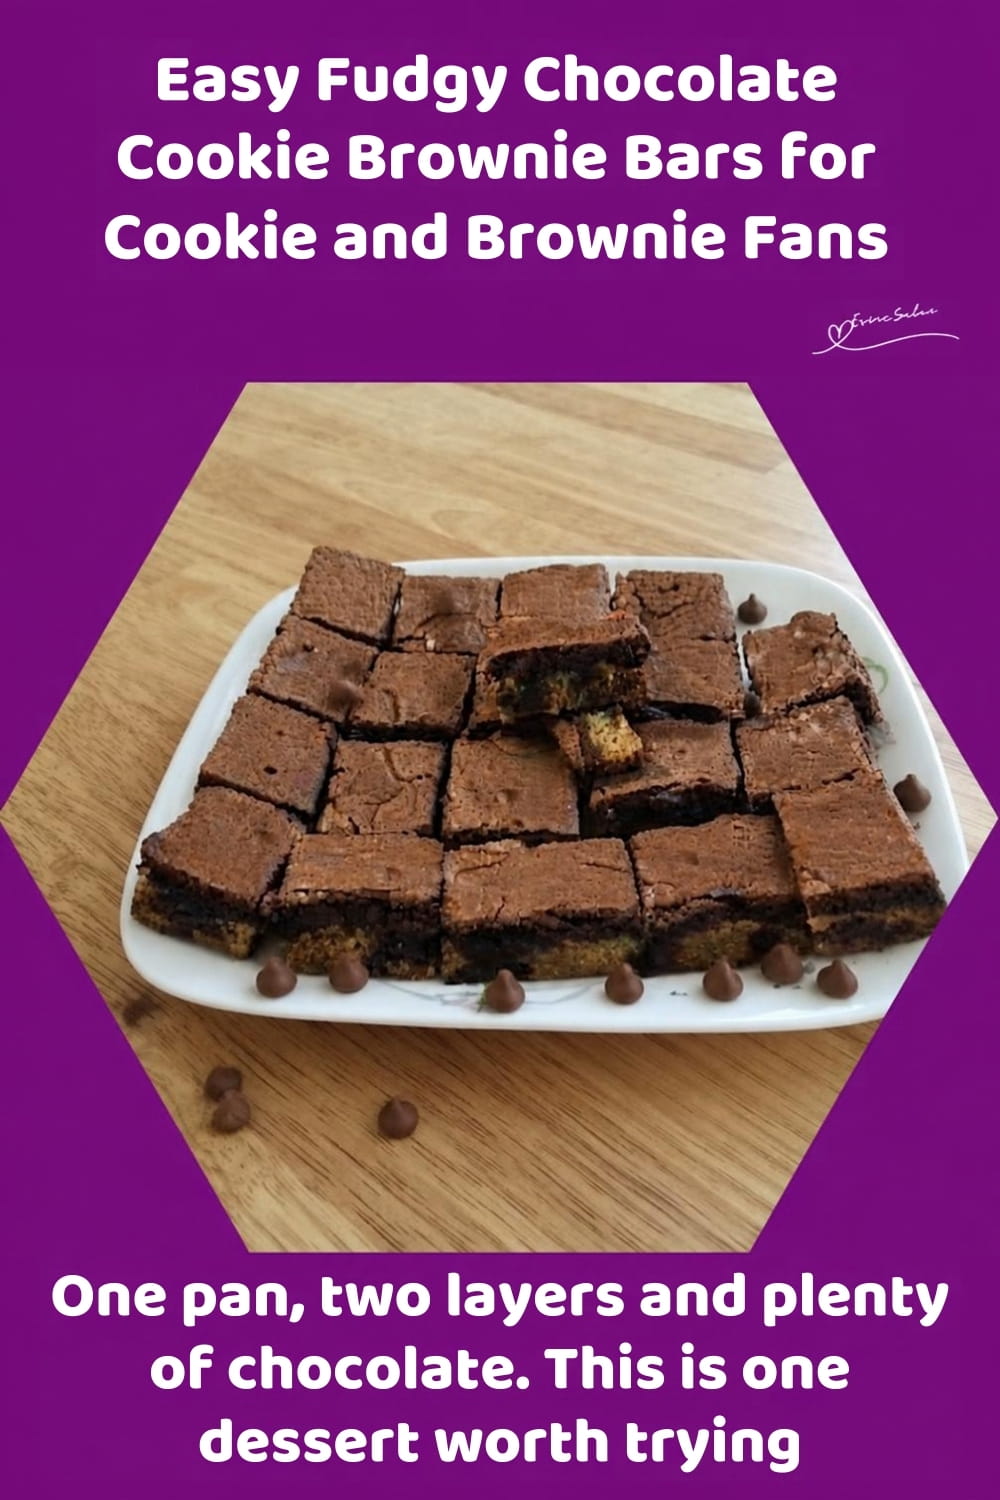
Fudgy Chocolate Cookie Brownie Bars combine a soft chocolate chip cookie layer with a rich, fudgy brownie topping in one easy bake. Each square brings chocolate chips, cocoa and two favourite dessert textures together, making this a seriously tempting treat for afternoon coffee or dessert.
Thanks so much for stopping by, checking out my recipes, and seeing what’s cooking here at EsmeSalon.
If you try this recipe, I’d love to hear how it turned out. Please leave a rating, share your thoughts in the comments, and tag me on Instagram at @_esmesalon. I absolutely love seeing your creations, and yes, those mouthwatering food photos always make my day!
We happily share our tasty, fantastic recipes and are excited to spread some love by posting at these awesome Linky Parties.


Copyright © 2026 esmesalon.com – All rights reserved.