
As an Amazon Associate, I earn from qualifying purchases.
Gravity Candy Marble Cake That Steals the Show at Any Party
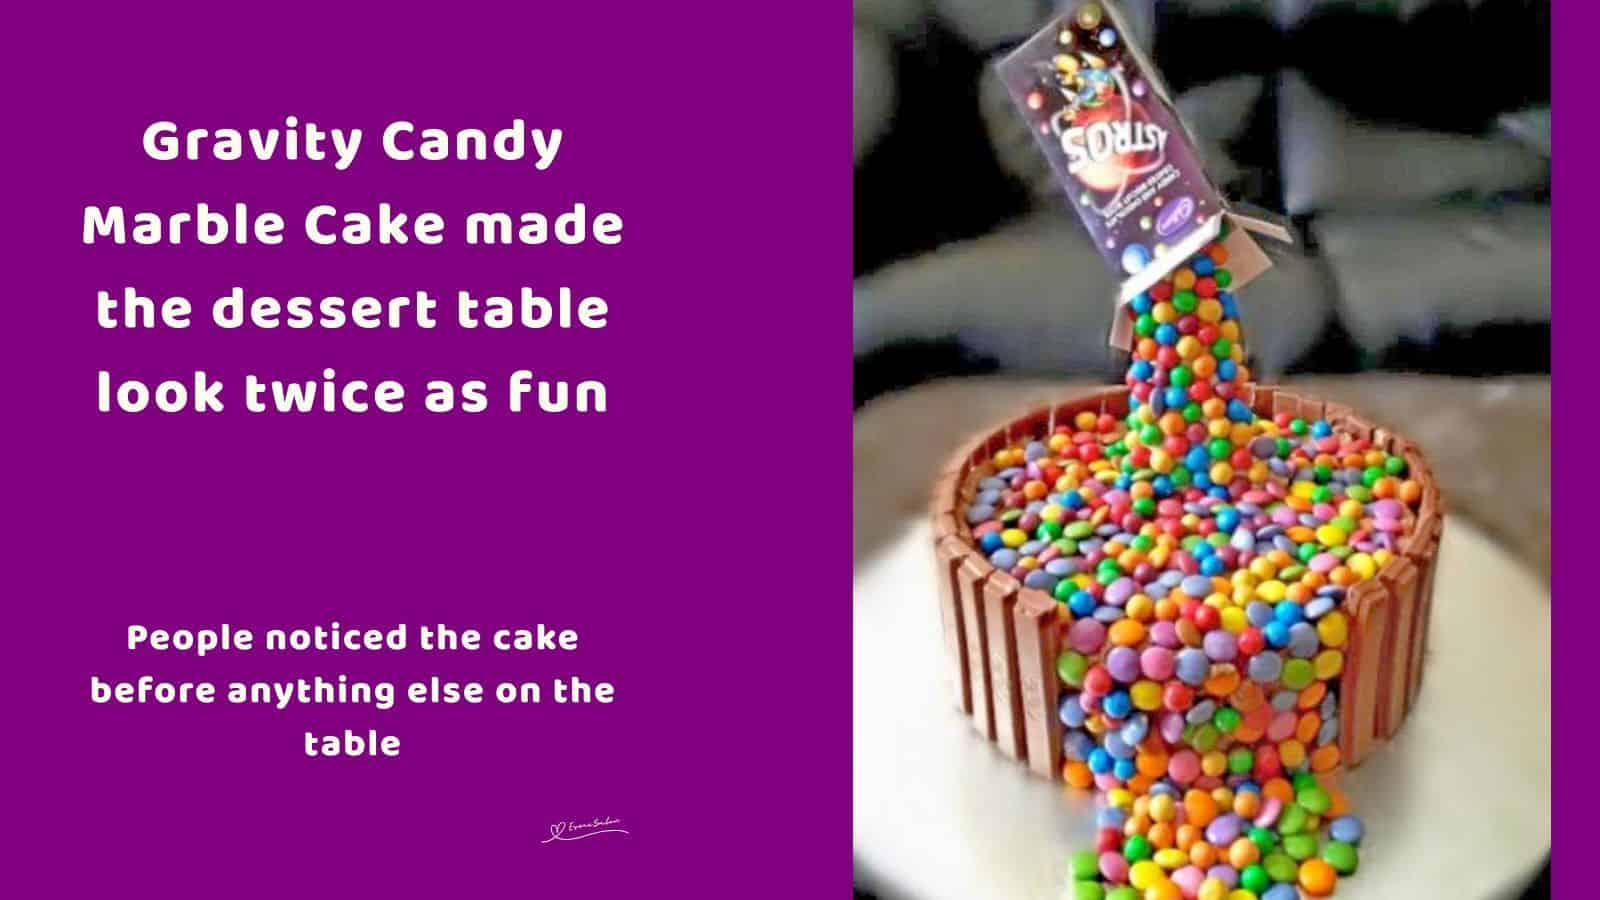
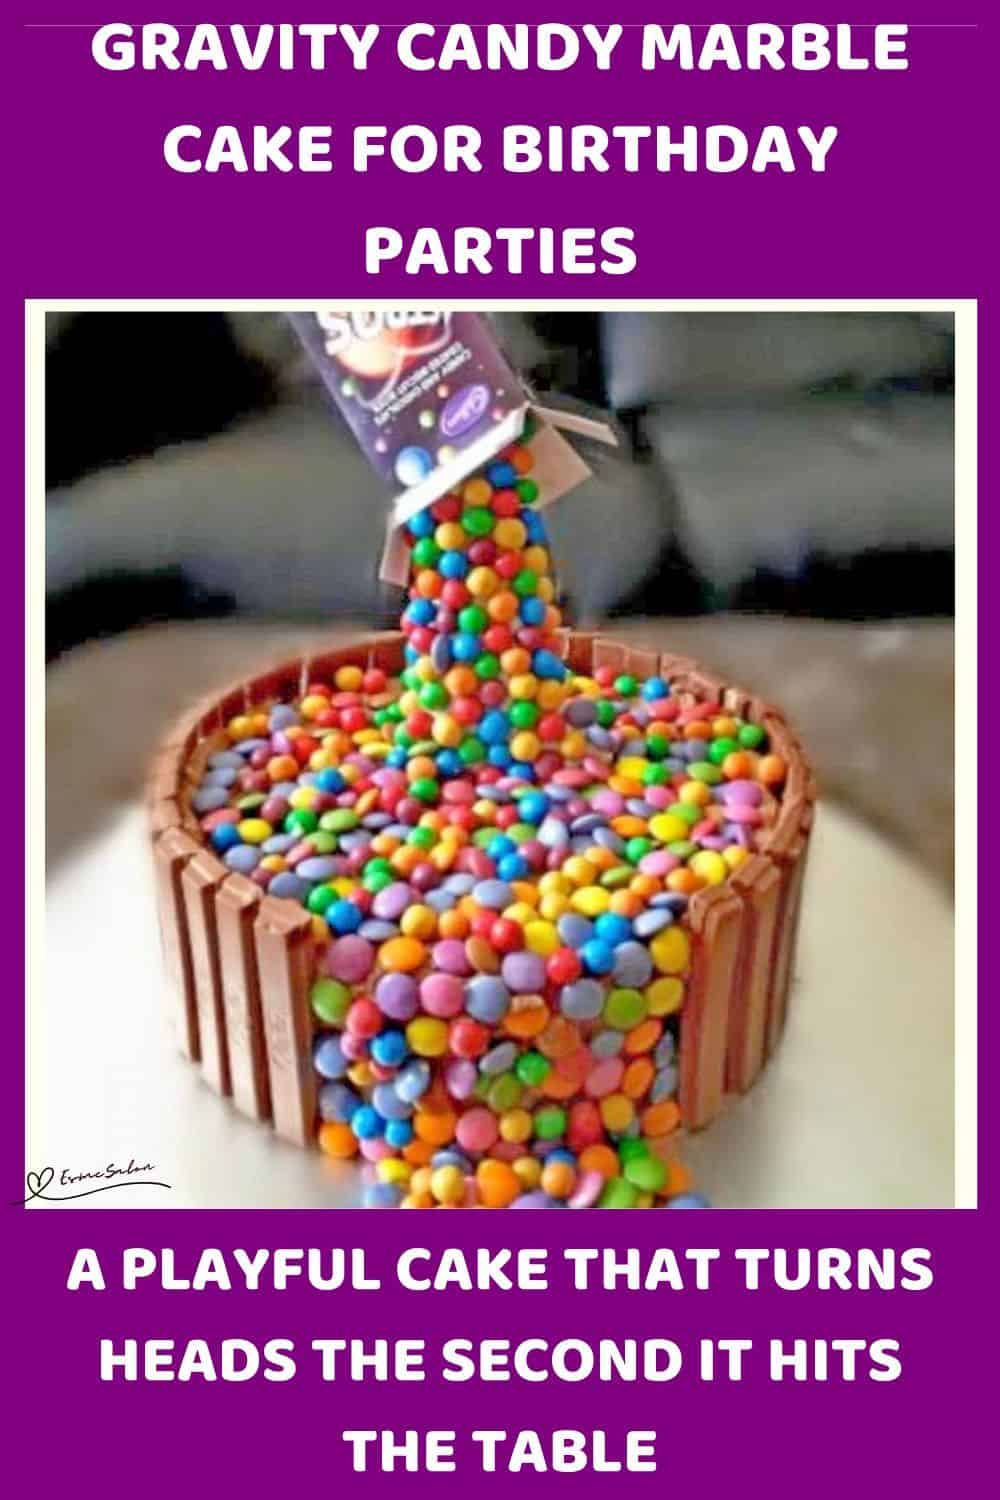
This Gravity Candy Marble Cake combines soft vanilla cocoa marble cake, creamy chocolate icing, Kit Kats, and colourful candy for a fun party dessert that looks impressive without complicated steps.

Why You Will Love and Enjoy This Gravity Candy Marble Cake
- It looks dramatic but is actually pretty simple to put together.
- The marble cake stays soft and fluffy under all the chocolate and candy.
- Kids and adults both end up hovering around this cake for “just one more piece.”
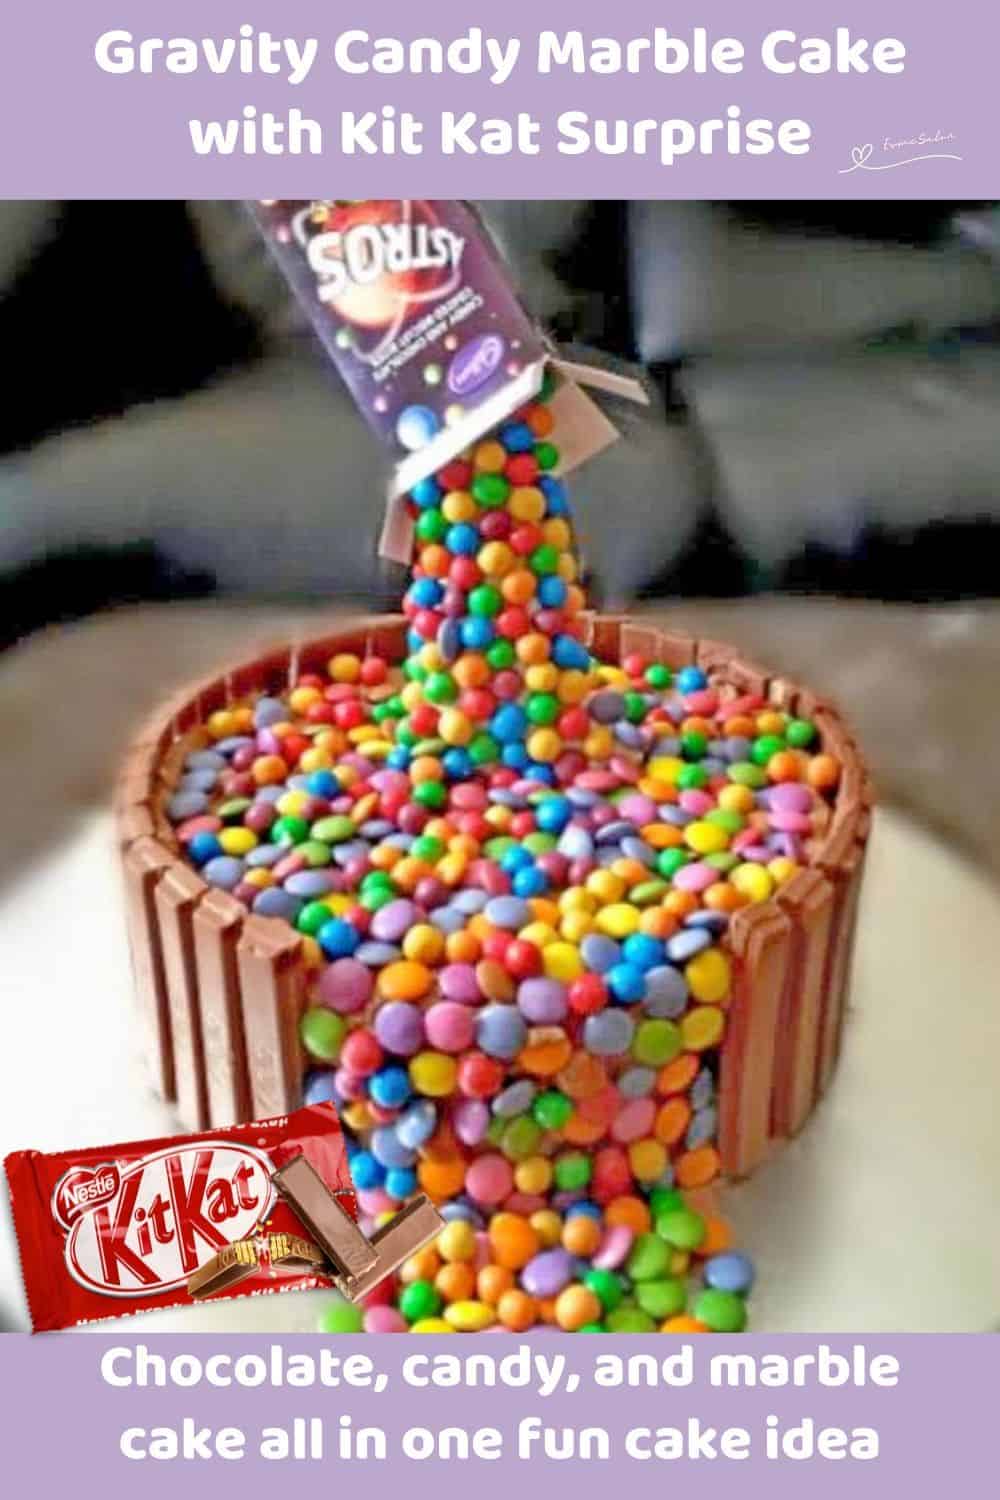
This Gravity Candy Marble Cake steals the spotlight before the candles are even lit.
Print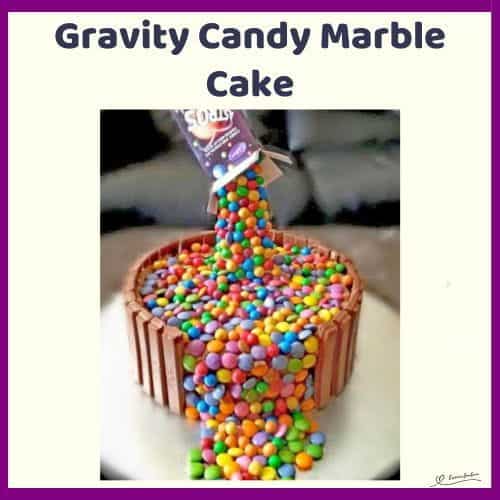
Gravity Candy Marble Cake
- Prep Time: 35 minutes
- Cooling Time: 45 minutes
- Cook Time: 35 minutes
- Total Time: 1 hour 55 minutes
- Yield: 10–12 depending on size 1x
- Category: Cake Cupcakes Cookies and Tarts
- Method: Easy baking
Description
This Gravity Candy Marble Cake is one of those cakes that looks a lot harder than it actually is. The soft vanilla and cocoa marble cake, creamy chocolate icing, crunchy Kit Kats, and colourful sweets make it a total party table showstopper
Ingredients
Marble Cake
- 2 cups all-purpose flour
- 2 tsp baking powder
- 1/4 tsp salt
- 1 cup white sugar
- 1/2 cup butter, softened
- 2 eggs
- 1 tsp vanilla essence
- 1 cup milk
- 2 tbsp cocoa powder
Chocolate Icing
- 2/3 cup – 150 g butter, softened
- 2.25 cups – 280 g icing sugar
- A few drops of vanilla essence
- 1/2 tsp – 2.5 ml milk
- 3 tbsp – 45 ml cocoa powder
For Decorating
- Kit Kat chocolate bars, broken into fingers
- Colourful candy or sweets
- 1 wooden skewer or food-safe stick
- Small candy box for the top
Instructions
Marble Cake
- Preheat your oven to 350⁰F (180⁰C).
- Grease and line a round cake tin. A deep tin works best because the decorations add a bit of weight later.
- Add the 2 cups of all-purpose flour, 2 tsp baking powder, 1/4 tsp salt, 1 cup white sugar, 1/2 cup softened butter, 2 eggs, 1 tsp vanilla essence, and 1 cup milk to a large mixing bowl.
- Beat slowly at first so flour doesn’t fly everywhere, then beat with an electric mixer for about 2 minutes until the batter is smooth and creamy.
- Scrape the bowl once or twice because butter likes to hide at the bottom sometimes.
- Reserve about 3/4 cup of the batter in a small bowl.
- Stir the 2 tbsp cocoa powder into the reserved batter until fully mixed.
- Pour the plain batter into the prepared cake tin.
- Spoon the cocoa batter over the top in random dollops.
- Using a butter knife or skewer, gently swirl the batters together for that marble effect. Don’t overmix or the swirls disappear into one colour.
- Bake for 30 to 35 minutes, or until a skewer inserted into the centre comes out clean.
- Leave the cake in the tin for about 10 minutes, then transfer to a cooling rack and let it cool completely before icing.
- If the cake is even slightly warm, the icing will slide around.
Chocolate Icing
- Beat the 150 g softened butter until creamy.
- Add the 280 g icing sugar and a few drops of vanilla essence. Beat until combined.
- Slowly add the 2.5 ml milk and 45 ml cocoa powder.
- Beat again until smooth, fluffy, and spreadable. If it feels too thick, add a tiny splash more milk.
Assemble the Gravity Candy Cake
- Spread most of the chocolate icing over the cooled cake.
- Press the Kit Kat fingers around the sides of the cake.
- Leave one small gap where the candy spill effect will go.
- Carefully push a wooden skewer into the centre of the cake at a slight angle. Make sure it feels stable before decorating.
- Pipe or spread some of the leftover icing around the skewer to create a cone shape. This helps the sweets stick properly instead of sliding off halfway through.
- Press colourful sweets onto the icing cone until the skewer is mostly covered. Let it sit for a few minutes if needed, so things firm up a little.
- Attach the candy box to the top of the skewer so it looks like sweets are pouring out. You can tape the back lightly if needed for extra support.
- Scatter extra candy over the top of the cake and around the base of the spill section to finish the effect.
Notes
Prepared, tried, and tested by Rashika

Additional Information
- Too many sweets can overpower the cake. Keeping some plain cake visible actually makes the gravity effect look cleaner and less chaotic.
- The skewer needs support. A thin skewer alone can wobble under heavy candy boxes, so a thicker food-safe stick works better for larger cakes.
- Icing: If you like thick icing or want extra coverage under the candy, you may want to make 1.5 times the icing recipe.
- The candy should go on after the icing firms slightly. If the icing is too soft, heavier sweets may slide down the cake.
- Can I make this cake ahead? Yes. Bake the cake one day ahead, wrap well, and decorate the next day.
- Do I need special tools? Not really. A skewer, spatula, and mixing bowl are enough.
- Can kids help decorate? Absolutely. The candy decorating part is usually everyone’s favourite bit.
- Can this be frozen? Yes. Freeze the undecorated cake layers for up to 2 months. Wrap tightly in plastic wrap and thaw overnight before icing and decorating.
- How long can this be stored and how? Room temperature: 2 days in an airtight container, or in the Fridge: Up to 5 days. Best served at room temperature, so the cake stays soft
Ingredient Substitute Suggestions
- Butter can be replaced with margarine in both cake and icing
- Vanilla essence can be swapped for vanilla extract
- Whole milk works best, but 2% milk also works fine
- Kit Kats can be replaced with chocolate wafer bars
- Any colourful candy can be used for the spill effect
That candy spill effect is easier than it looks.
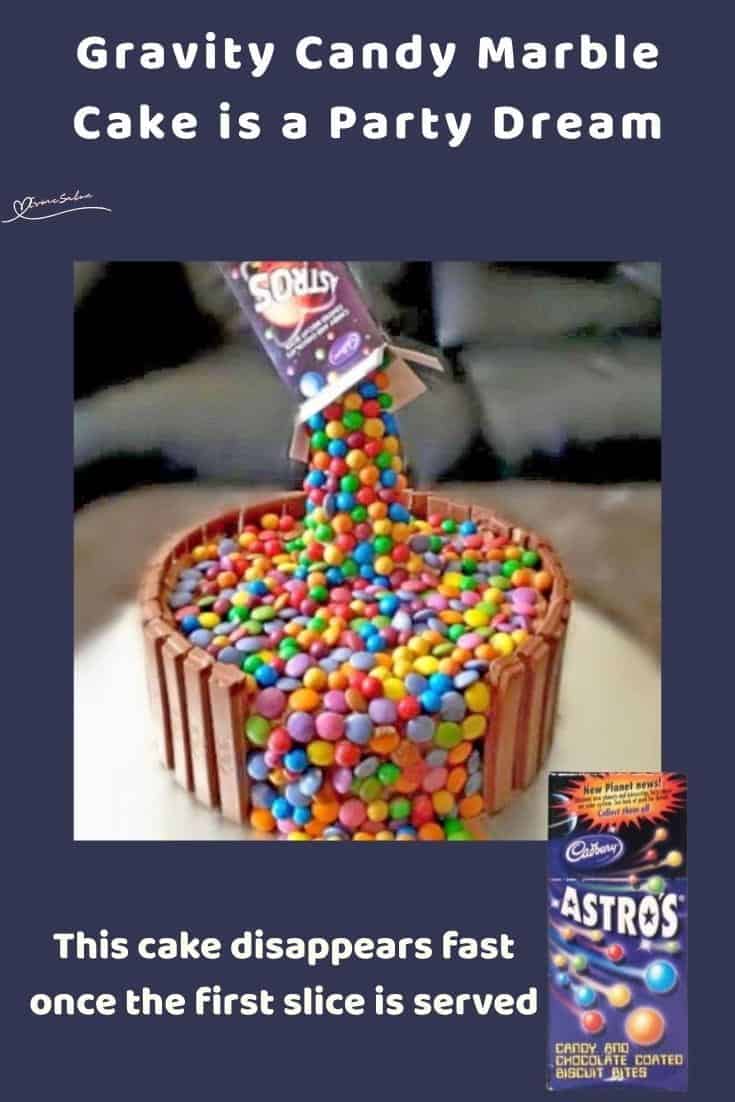
Gravity Candy Marble Cake brings together soft vanilla cocoa swirls, creamy chocolate icing, crunchy Kit Kats, and colourful sweets in one playful dessert that instantly stands out on a party table. The cake stays fluffy underneath all the decorations, while the candy spill effect adds just enough fun to make people stop, stare, and reach for a slice almost immediately.
We are featured on Inspire me Monday at Mama of Many Blessings, and on Busy Monday at A Pinch of Joy! Thank you so much for this honour and the shoutout.
Thanks for stopping by to check out the recipes and what’s on offer.
If you try this recipe, I’d love to hear how it turned out. Please leave a rating, share your thoughts in the comments, and tag me on Instagram at @_esmesalon. I absolutely love seeing your creations, and yes, those mouthwatering food photos always make my day!
We happily share our tasty, fantastic recipes and are excited to spread some love by posting at these awesome Linky Parties.


Copyright © 2026 esmesalon.com – All rights reserved.
That is so neat!
Thank you, Joanne. Try it, pretty easy to do
This looks so cool, Esme!! Saving this for my daughter’s next birthday.
Thank you so much, hope your daughter will enjoy it.