As an Amazon Associate, I earn from qualifying purchases.
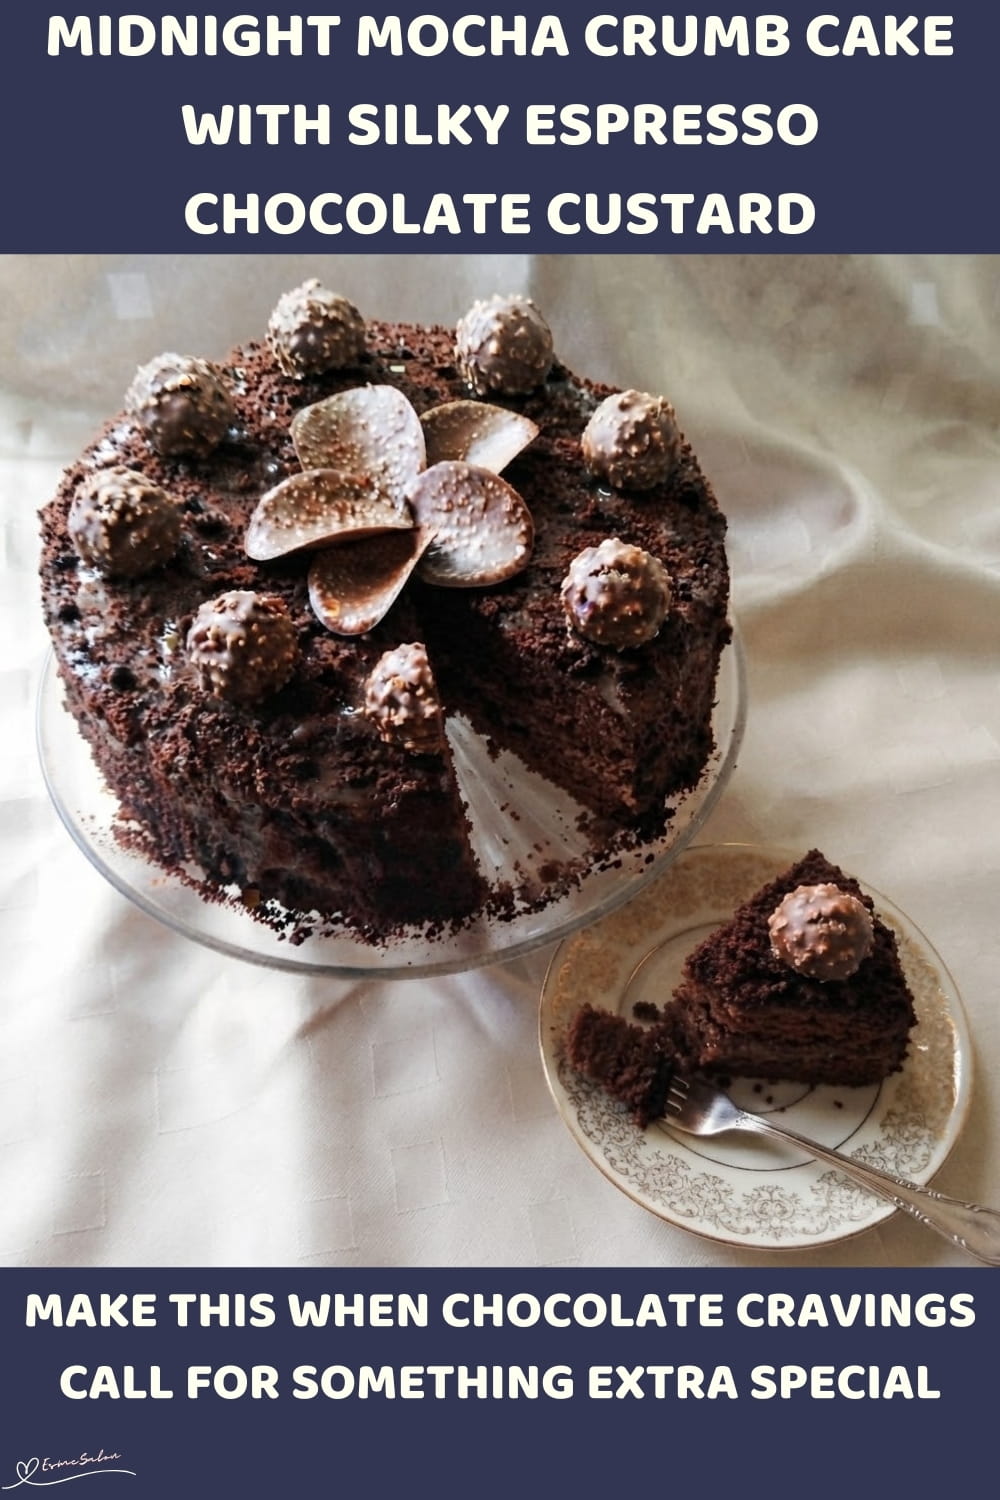
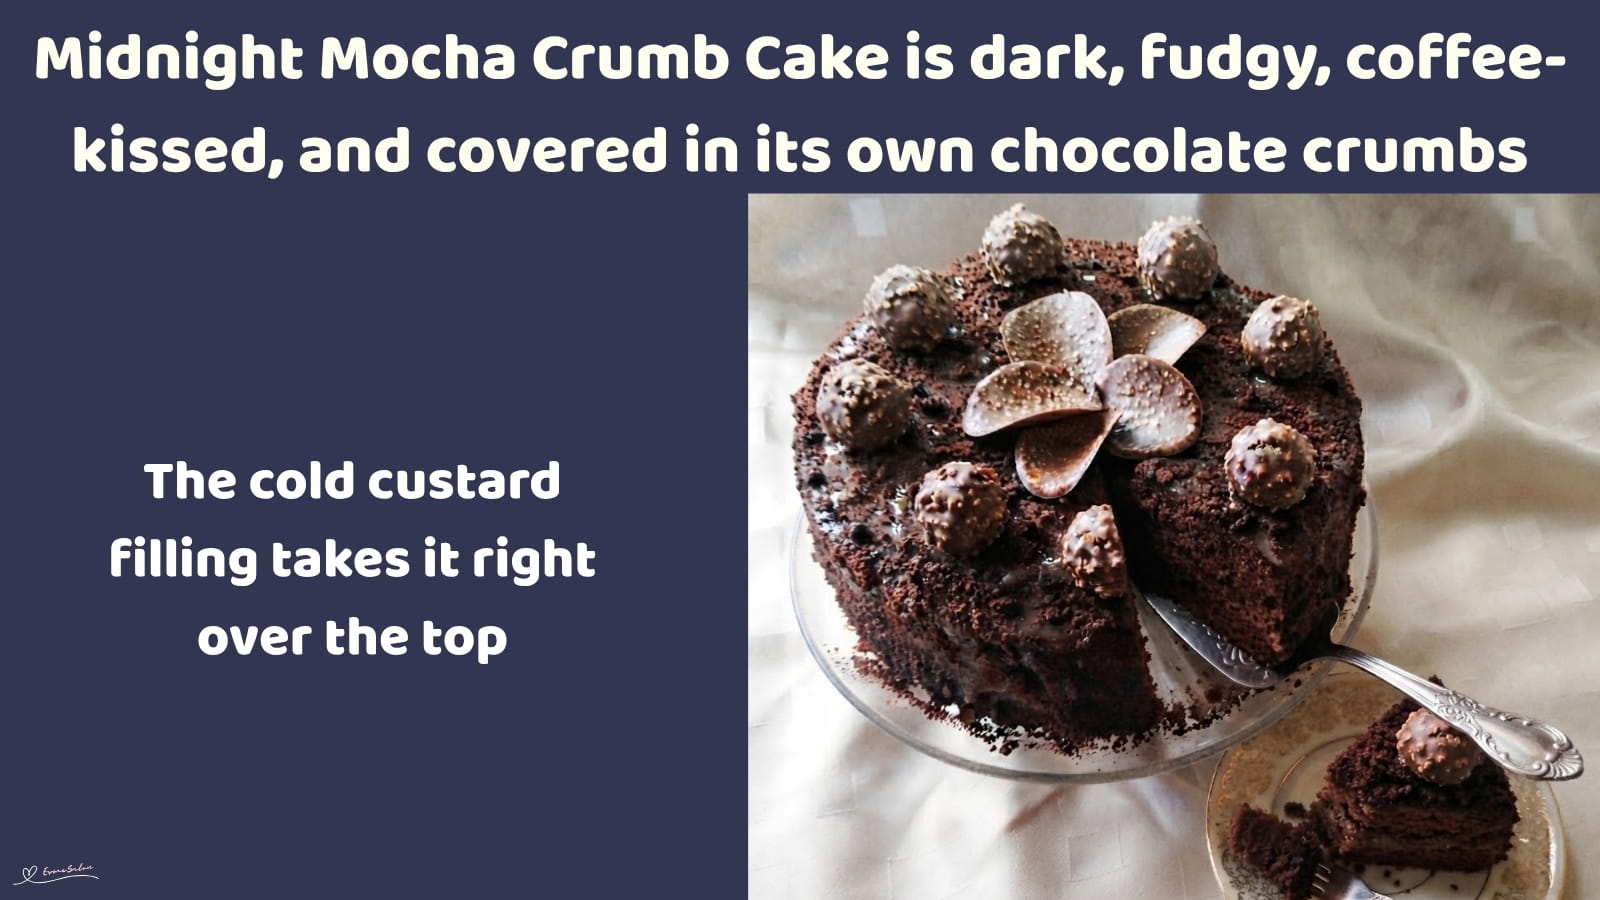
This Midnight Mocha Crumb Cake has rich chocolate layers and silky espresso custard. A decadent chocolate dessert for birthdays, dinner parties and serious sweet cravings.
This Midnight Mocha Crumb Cake balances rich chocolate with the depth of espresso. Which would you want first, the cake or the custard?

Four layers, rich chocolate custard and a clever crumb coating make this cake hard to resist.
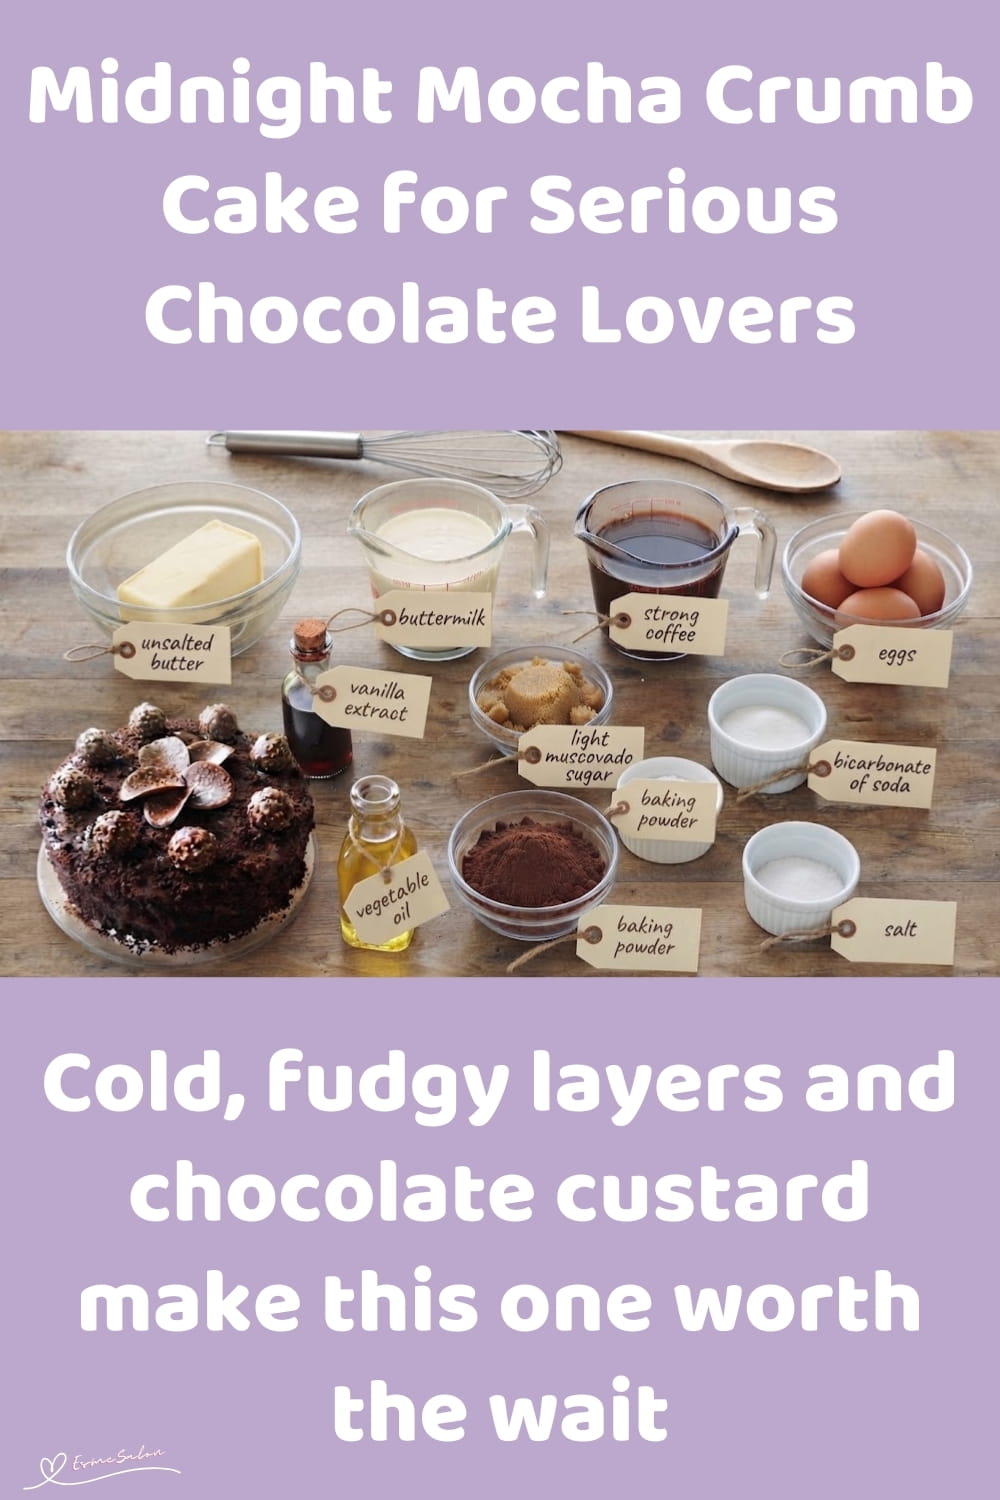
Why You Will Love and Enjoy Midnight Mocha Crumb Cake
- Midnight Mocha Crumb Cake is made for serious chocolate cravings, with espresso adding extra depth without taking over. The cold chocolate custard makes every slice rich, soft and fudgy.
- Deep cocoa flavour with a gentle espresso kick
- Silky chocolate custard between every layer
- The crumb coating hides any less-than-perfect cake edges
- Even better after resting in the refrigerator
- Can be made up to 2 days ahead
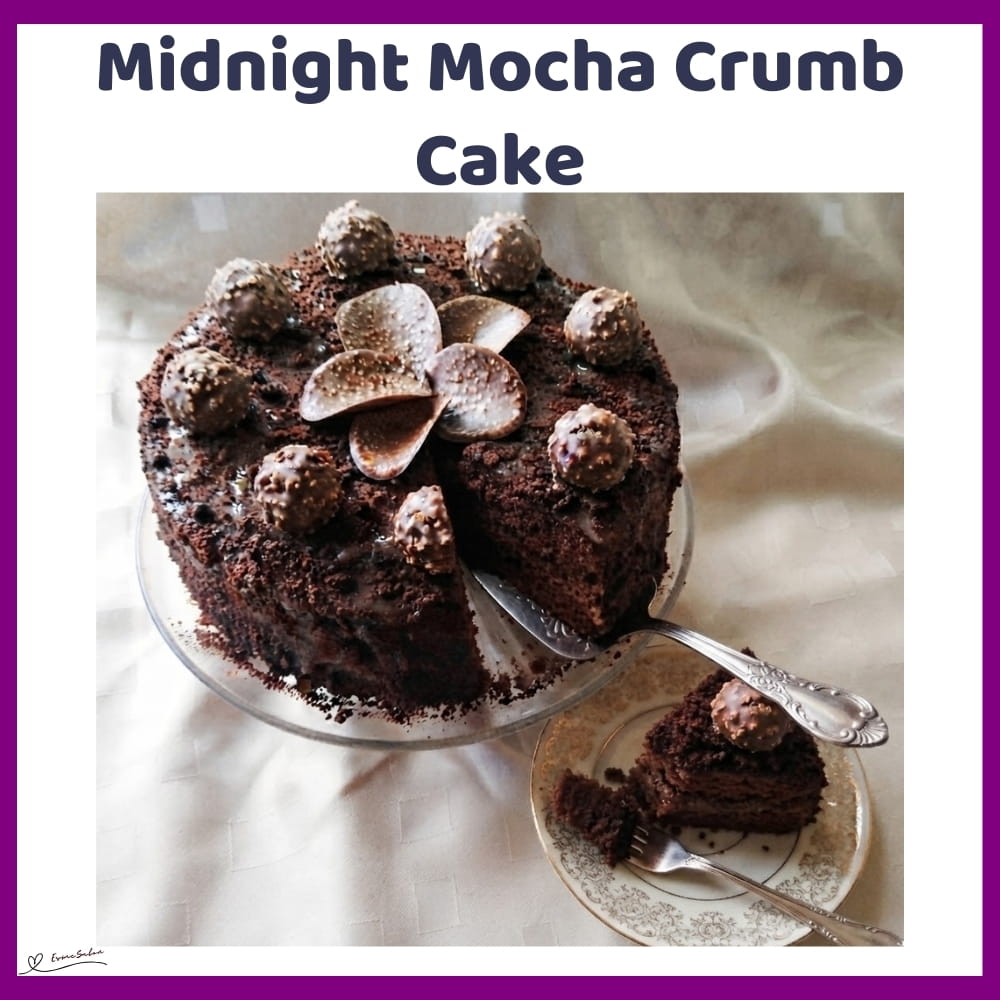
Midnight Mocha Crumb Cake
- Prep Time: 40 minutes
- Refrigerate: 5 hours
- Cook Time: 30 minutes
- Total Time: 6 hours 10 minutes
- Yield: 10–12 depending on size 1x
- Category: Cake Cupcakes Cookies and Tarts
- Method: Easy baking
Description
This is a seriously chocolatey cake with tender cocoa layers, espresso and a silky chocolate custard tucked between every layer. It’s covered in fine cake crumbs, then chilled until everything turns fudgy, rich and wonderfully indulgent.
Ingredients
Cake
- 140 g unsalted butter, plus extra for greasing
- 100 ml vegetable oil
- 140 ml buttermilk
- 100 ml strong coffee, made with 1 tsp espresso powder
- 2 large eggs, at room temperature
- 1 tsp vanilla extract
- 250 g light muscovado sugar
- 250 g plain flour
- 1 tsp bicarbonate of soda
- 2 tsp baking powder
- 50 g cocoa powder
- 1/4 tsp salt
Chocolate Espresso Custard
- 250 g golden caster sugar
- 500 ml full-fat milk
- 140 g chocolate, 70% to 85% cocoa solids, broken into small cubes
- 50 g cornflour
- 2 tsp espresso powder
- 2 tsp vanilla extract
- 1/4 tsp salt
Instructions
- Make the custard first because it needs plenty of time to cool and set. In a large saucepan, whisk together 250 g golden caster sugar, 500 ml full-fat milk, 50 g cornflour and 2 tsp espresso powder until the cornflour has completely dissolved.
- Add 140 g chocolate and place the saucepan over medium heat. Whisk constantly as the mixture heats, making sure you scrape across the bottom and into the corners of the pan. Bring it gently to a boil and keep whisking until the chocolate has melted and the custard is thick, smooth and glossy. This should take about 5 to 7 minutes from cold, but don’t rely only on the clock. The custard should visibly thicken.
- Remove the saucepan from the heat and whisk in 2 tsp vanilla extract and 1/4 tsp salt. Scrape the hot custard into a wide, shallow bowl so it cools more quickly. Press plastic wrap directly onto the surface to prevent a skin forming. Let it cool at room temperature, then refrigerate for at least 3 hours, or until completely cold and set.
- When you’re ready to bake, heat the oven to 350⁰F (180⁰C), or 320⁰F (160⁰C) fan. Grease two 20 cm sandwich tins with a little unsalted butter and line the bases with parchment paper.
- Melt 140 g unsalted butter in a saucepan over low heat. Remove it from the heat and whisk in 100 ml vegetable oil, 140 ml buttermilk, 100 ml coffee made with 1 tsp espresso powder and 2 large room temperature eggs. Whisk in 1 tsp vanilla extract until everything is well combined.
- In a large bowl, whisk together 250 g plain flour, 1 tsp bicarbonate of soda, 2 tsp baking powder, 50 g cocoa powder, 250 g light muscovado sugar and 1/4 tsp salt. If the muscovado sugar has stubborn lumps, break them up with your fingers. There’s no need to sift everything if you whisk it well.
- Pour the wet mixture into the dry ingredients and whisk just until you have a smooth batter. Don’t overmix it once the flour disappears.
- Divide the batter evenly between the two prepared tins and gently level the tops. Bake for 25 to 30 minutes, or until the cakes have risen and a skewer inserted into the centre comes out clean or with a few moist crumbs attached.
- Leave the cakes in their tins for 10 minutes, then carefully turn them out onto a wire rack and peel away the parchment. Let them cool completely before cutting. Warm cake and custard are not a good combination here, so give them the time they need.
- Once the cakes are completely cool, use a large serrated knife to trim any domed tops so the cakes are level. Cut each cake horizontally through the middle so you have four layers.
- Choose the least neat layer, along with any cake trimmings, and pulse them in a food processor until you have fine crumbs. You want crumbs rather than a paste, so use short pulses. Tip the crumbs into a large bowl and set aside.
- Place one cake layer on a serving plate and spread with 1/4 of the chilled chocolate espresso custard. Add a second cake layer and spread with another 1/4 of the custard. Top with the third cake layer.
- Spoon the remaining 1/2 of the custard over the top and use a small offset spatula or the back of a spoon to spread it over the top and down the sides. It doesn’t have to look perfect at this stage because the cake crumbs will cover everything.
- Refrigerate the cake for about 15 minutes to firm the custard. This makes the final crumb coating much easier.
- Hold the cake over the bowl of crumbs and gently press the crumbs onto the top and sides, working around the cake until it’s completely covered. Any excess crumbs can be brushed away from the serving plate.
- Refrigerate the finished cake for at least 2 hours before serving. Serve it cold. Honestly, it gets even better after a longer rest because the cake softens and the chocolate custard settles into the layers.
Notes
Prepared, tried, and tested by Preshana

Additional Information
- Why is the custard made first? It needs at least 3 hours to become completely cold and firm. Warm or loose custard can slide between the cake layers and make the crumb coating difficult to apply.
- How thick should the custard be? The finished custard should be thick, glossy and able to hold its shape when spread. Keep whisking constantly as it cooks, particularly around the bottom and corners of the saucepan.
- Why use a wide, shallow bowl? It allows the hot custard to cool more quickly and evenly. Press plastic wrap directly onto the surface while it cools to prevent a skin from forming.
- What if the chilled custard is too firm? Let it sit at room temperature for 10 to 15 minutes, then stir vigorously until it becomes spreadable. Don’t heat it because warm custard can cause the cake layers to slide.
- Can I use a different chocolate? Yes. Chocolate containing 70% to 85% cocoa solids works well. A lower cocoa percentage can also be used, but the custard will be sweeter and less intensely chocolatey.
- Can I leave out the espresso? Yes. Espresso deepens the chocolate flavour rather than making the cake strongly coffee flavoured. Replace the 100 ml coffee with 100 ml milk and omit the espresso powder from the custard if preferred.
- Can instant coffee be used? Yes. Finely powdered instant coffee can replace espresso powder, although espresso powder gives a deeper flavour.
- What can replace the buttermilk? Use 140 ml plain yogurt thinned with a little milk, or mix 140 ml milk with about 1 1/2 tsp lemon juice and let it stand for 5 to 10 minutes before using.
- What can replace light muscovado sugar? Soft brown sugar is a good substitute and will provide similar moisture and caramel notes.
- What oil works best? Sunflower or canola oil are good neutral choices. Avoid strongly flavoured oils that may compete with the chocolate.
- What if the cakes dome? Trim the cakes level once completely cool. The trimmings are used to make the chocolate crumb coating, so they don’t need to be perfectly neat.
- Why is only three of the four cake layers used? The fourth layer and any trimmings are pulsed into fine crumbs and used to cover the finished cake. This creates the distinctive dark crumb coating.
- Why does the finished cake need to chill? Chilling firms the custard and gives the cake time to absorb moisture from the filling. The texture becomes softer and fudgier as it rests.
- Can the cake be frozen? Yes. Wrap the fully assembled cake well in plastic wrap followed by foil and freeze for up to 1 month. Thaw it overnight in the refrigerator. The crumb coating may soften slightly, but the cake will remain delicious.
- How should the cake be stored? Keep the finished cake covered in the refrigerator for up to 2 days. Because the filling contains milk, avoid leaving it at room temperature for extended periods.
- Can it be made ahead? Yes. The completed cake can be made up to 2 days ahead and kept refrigerated. In fact, giving it extra chilling time helps the layers become softer and fudgier.
- Should it be served cold? Cold is best for a firm custard and clean slices. If you prefer a softer texture, let a slice sit at room temperature for a few minutes before serving.
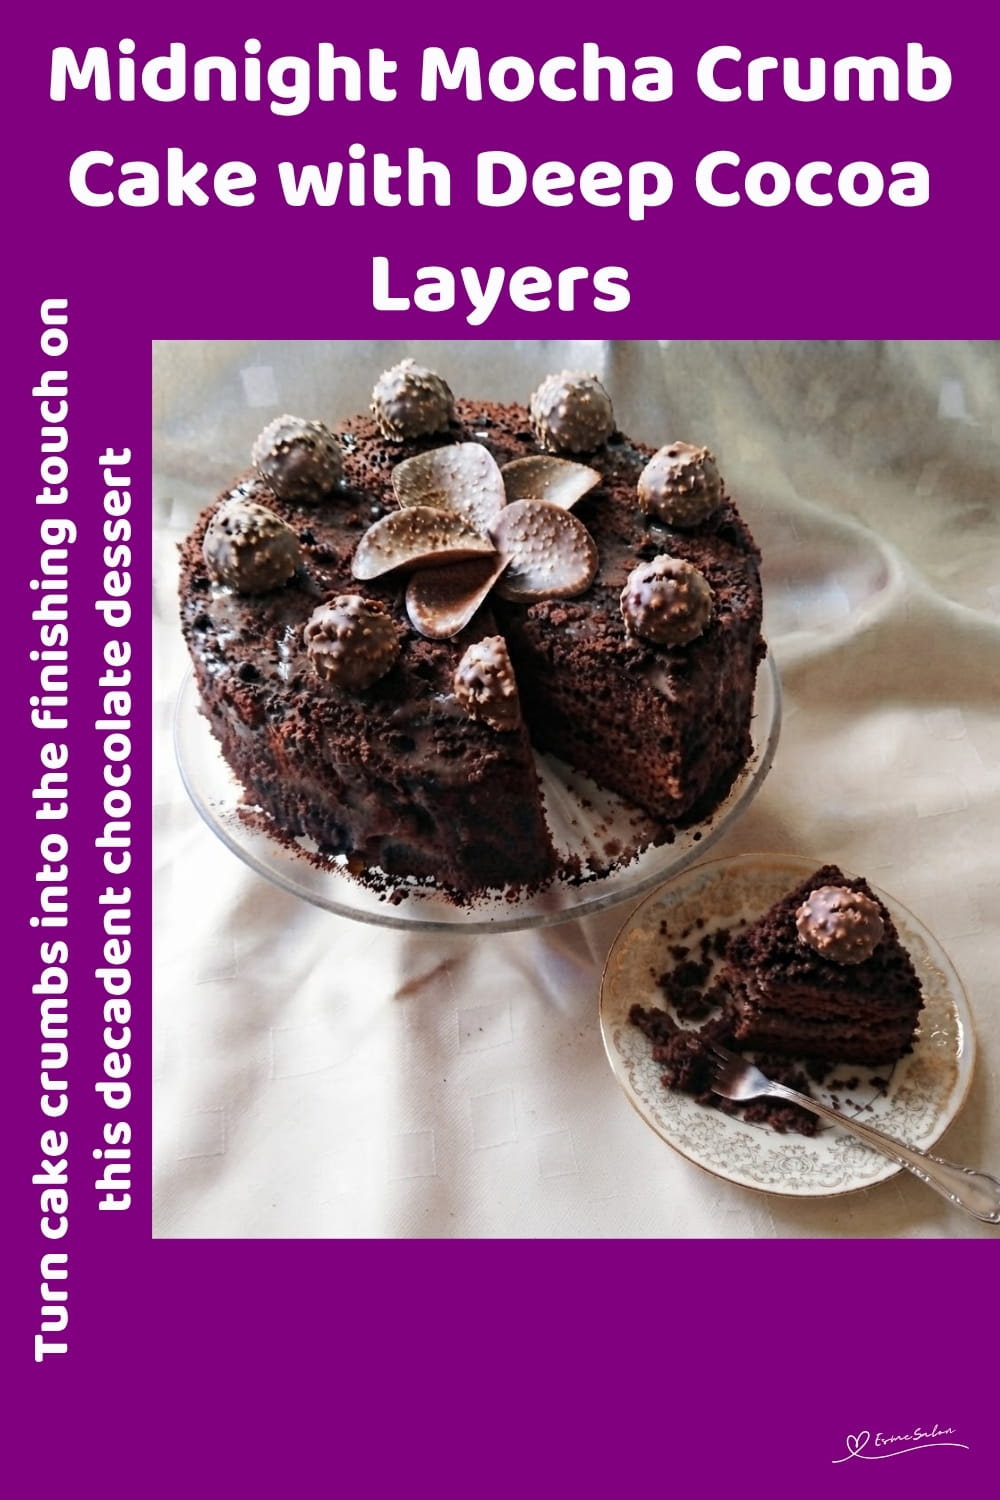
Midnight Mocha Crumb Cake delivers deep chocolate flavour, silky espresso custard and a fudgy texture in every slice. The fine chocolate crumb coating adds another layer of indulgence while covering those little baking imperfections. It’s rich enough for a celebration but practical enough to prepare ahead, chill overnight and serve straight from the refrigerator.
Thanks so much for stopping by, checking out my recipes, and seeing what’s cooking here at EsmeSalon.
If you try this recipe, I’d love to hear how it turned out. Please leave a rating, share your thoughts in the comments, and tag me on Instagram at @_esmesalon. I absolutely love seeing your creations, and yes, those mouthwatering food photos always make my day!
We happily share our tasty, fantastic recipes and are excited to spread some love by posting at these awesome Linky Parties.


Copyright © 2026 esmesalon.com – All rights reserved.