
As an Amazon Associate, I earn from qualifying purchases.
Easy South African Homemade Paper Thin Soft Rotis
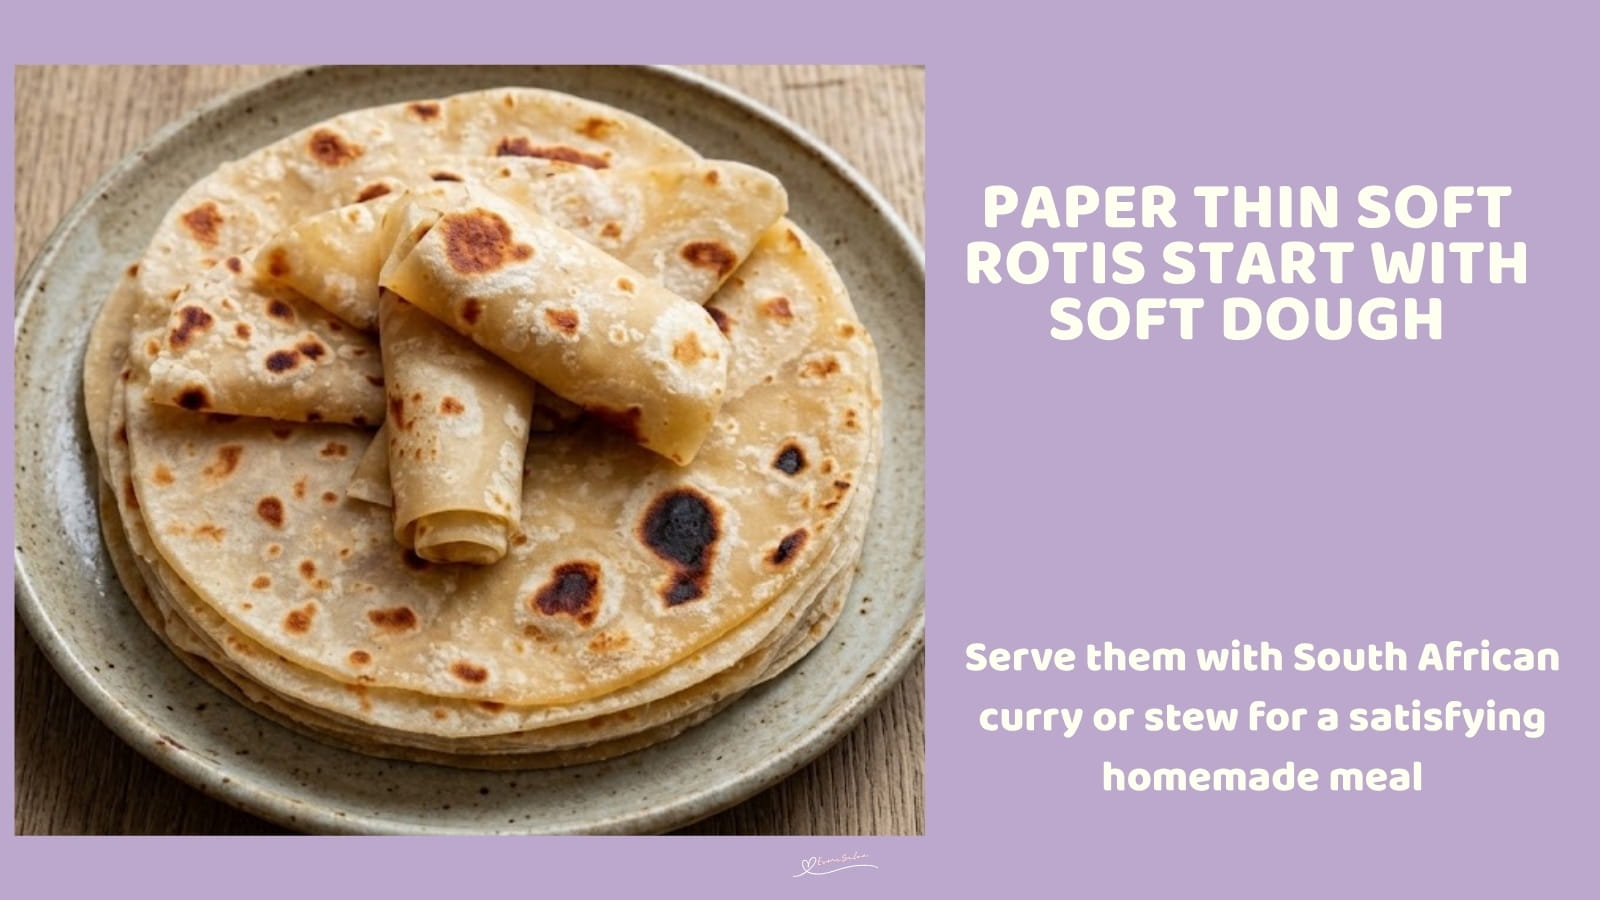
Paper Thin Soft Rotis are ready for your next curry night. Soft, flexible, and made with everyday ingredients. How do you like your rotis, paper thin or a little thicker?

Can five everyday ingredients really make rotis this tender?
Why You Will Love and Enjoy Paper Thin Soft Rotis
- These homemade rotis are soft, flexible, and just right for soaking up your favourite curry sauce. The dough uses everyday pantry ingredients, and you don’t need yeast or a complicated process. Make them thin for wrapping, or slightly thicker for a satisfying side with supper.
- Soft and pliable: Perfect for folding, wrapping, and scooping.
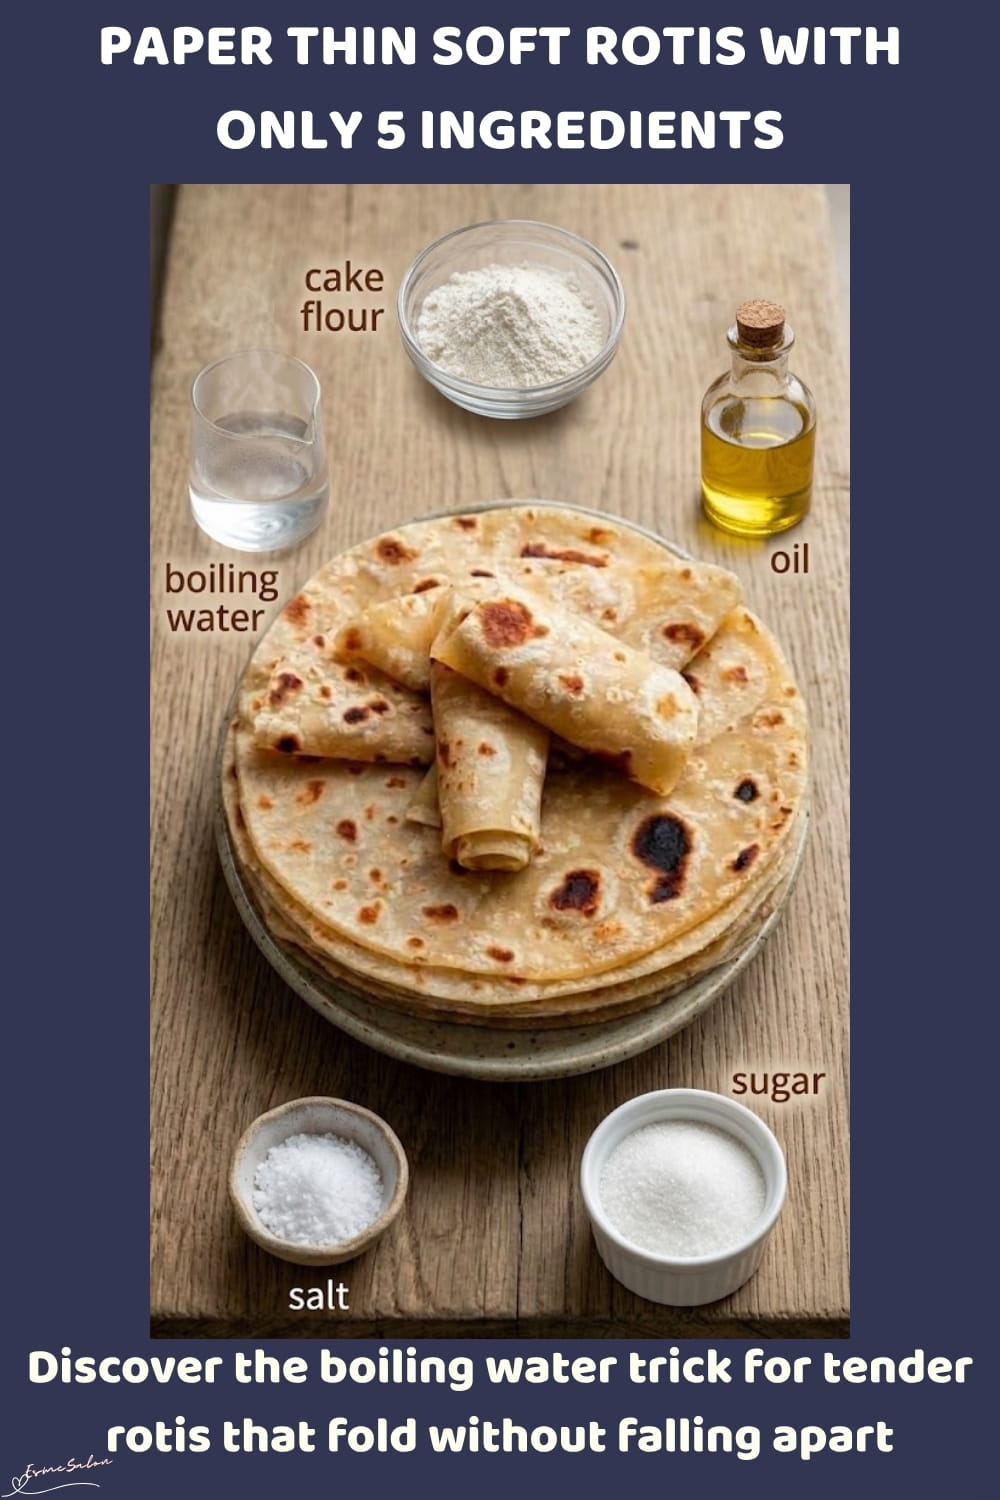
- Everyday ingredients: Cake flour, oil, sugar, salt, and boiling water are all you need.
- Easy to adapt: Make them plain or add an oil or ghee layer for a more delicate finish.
- Quick cooking: Once the dough is ready, the rotis cook in just a few minutes.

Paper Thin Soft Rotis
- Prep Time: 25 minutes
- Rest Time: 20 minutes
- Cook Time: 30 minutes
- Total Time: 1 hour 15 minutes
- Yield: 16 to 20 rotis 1x
- Category: Dinner Recipes
- Cuisine: South African Indian
Ingredients
- 4 cups cake flour
- 1/2 cup oil
- 1 tbsp sugar
- 1 tsp salt
- 2 cups boiling water
Optional for extra layers
- A little extra oil or ghee for brushing between layers
Instructions
- Add 4 cups cake flour, 1/2 cup oil, 1 tbsp sugar, and 1 tsp salt to a large mixing bowl. Rub everything together with your fingertips until the mixture resembles coarse crumbs.
- Carefully pour in 2 cups boiling water, stirring with a sturdy spoon until the flour starts coming together. The mixture will be very hot. Once it’s cool enough to handle, bring everything together into a soft, smooth dough. If needed, use the spoon to gather any loose flour from the sides of the bowl.
- Cover the dough and let it rest for 15 to 20 minutes. This gives the flour time to absorb the water and makes the dough easier to roll.
- Lightly flour your work surface and roll the dough into a large, thin rectangle. If it’s easier to manage, divide the dough into two portions and roll each one out separately.
- For layered rotis, brush the rolled dough lightly with oil or ghee, then roll it up tightly like a Swiss roll. Cut it into portions weighing about 50 to 60 g each. If you prefer slightly thicker rotis, make the portions around 70 g. If you’d rather skip the extra layering, simply divide the dough into portions and roll each one out thinly.
- Roll each portion into a thin circle, keeping the thickness as even as possible. Use just enough flour on the work surface to prevent sticking, as too much can leave excess flour on the cooked rotis.
- Heat a heavy frying pan or skillet over medium to medium-high heat. It needs to be hot enough to cook the rotis quickly without scorching them. Don’t add oil to the pan.
- Place one roti in the dry pan and cook until small bubbles appear and the underside develops a few light brown spots. Flip it over and cook the other side, then flip once more if needed to finish cooking. Avoid repeatedly turning it or pressing down with a spatula, as this can stop it from puffing up properly.
- Remove the cooked roti as soon as it’s done. Stack the rotis in a clean kitchen towel or a covered container to keep them soft while you cook the remaining portions.
- Keep your rolled rotis ready beside the stove because they cook quickly. Once you get going, you’ll want the next one waiting while the previous one finishes.
- Serve warm with curry, stew, beans, or any dish that needs a soft roti to scoop up every last bit of sauce.
Notes
Prepared, tried, and tested by Rashida

Additional Information and Tips
- Why use boiling water? Boiling water helps hydrate the flour and produces a soft dough. Stir with a sturdy spoon at first because the mixture will be too hot to handle safely.
- Why should the dough rest? Rest the dough, covered, for 15 to 20 minutes. This allows the flour to absorb the water and makes the dough easier to roll without springing back.
- How thin should I roll the rotis? Roll the dough evenly and thinly for flexible rotis. If you prefer a thicker result, use portions of around 70 g instead of 50 to 60 g.
- How many rotis will this recipe make? The yield depends on the weight of each portion and how thinly you roll the dough. For a reliable count, weigh the finished dough and divide it into portions of 50 to 60 g, or around 70 g for thicker rotis.
- Do I have to use the Swiss roll method? No. Brushing the rolled dough with a little oil or ghee and rolling it up like a Swiss roll creates layers, but it’s optional. You can portion the dough directly and roll each piece into a thin circle.
- Can I use all-purpose flour instead of cake flour? Yes. All-purpose flour can work, although the texture may be slightly different. Since different flours absorb water differently, add the boiling water carefully and assess the dough before adding any extra flour.
- Can I substitute the oil? Melted butter or ghee can replace the oil, although the flavour and texture may change. Ghee is also a good option for brushing between layers.
- Why is my dough sticky? Flour brands and measuring methods affect how much water the dough absorbs. Allow the dough to rest first, then lightly flour your hands and work surface as needed. Too much extra flour can make the cooked rotis firm.
- Why aren’t my rotis puffing up? Uneven thickness, a pan that’s too cool, or pressing down on the roti can interfere with puffing. Roll the dough evenly, cook over medium to medium-high heat, and let the roti cook without pressing it down.
- How many times should I flip a roti? Cook the first side until bubbles appear and light brown spots develop, then flip it. Cook the other side and give it one final flip if needed. The aim is quick, even cooking rather than repeated flipping.
- How do I keep the rotis soft after cooking? Stack the cooked rotis and cover them with a clean kitchen towel or keep them in a covered container. This helps retain moisture and prevents the edges from drying out.
- How do I know when they’re cooked? Look for small bubbles and light brown spots on both sides. The rotis should be cooked through but remain flexible. Cooking them for too long can make them dry and brittle.
- Can I prepare the dough ahead? Yes. Cover it well and refrigerate it for up to 24 hours. Let it sit until it’s pliable enough to roll, as chilled dough may feel firmer.
- How long can I store cooked rotis? Keep cooled rotis in an airtight container in the refrigerator for up to 3 to 4 days. Reheat them gently in a covered pan or microwave before serving.
- Can I freeze cooked rotis? Yes. Cool them completely, place parchment between the rotis, and seal them in a freezer-safe bag or container. Freeze for up to 2 to 3 months for best quality. Thaw and reheat gently, using a slightly damp paper towel if needed to help restore softness.
- What is the best pan to use? A heavy frying pan or skillet works well because it retains heat and cooks the rotis evenly. Heat it over medium to medium-high heat and cook the rotis without adding oil to the pan.
- Can I make the rotis without extra oil or ghee between the layers? Yes. The dough already contains oil, so you can skip the optional brushing step. The finished texture will depend on how you portion, roll, and cook the dough.
- Why are my rotis tough or dry? They may have been cooked too long, rolled with too much extra flour, or left uncovered after cooking. Work efficiently, remove each roti once cooked, and keep the stack covered until serving.
- Can I use these rotis for wraps? Yes. Roll them thin and keep them soft under a clean towel after cooking. Once cooled slightly, they can be filled and folded, provided they’re flexible enough for your chosen filling.
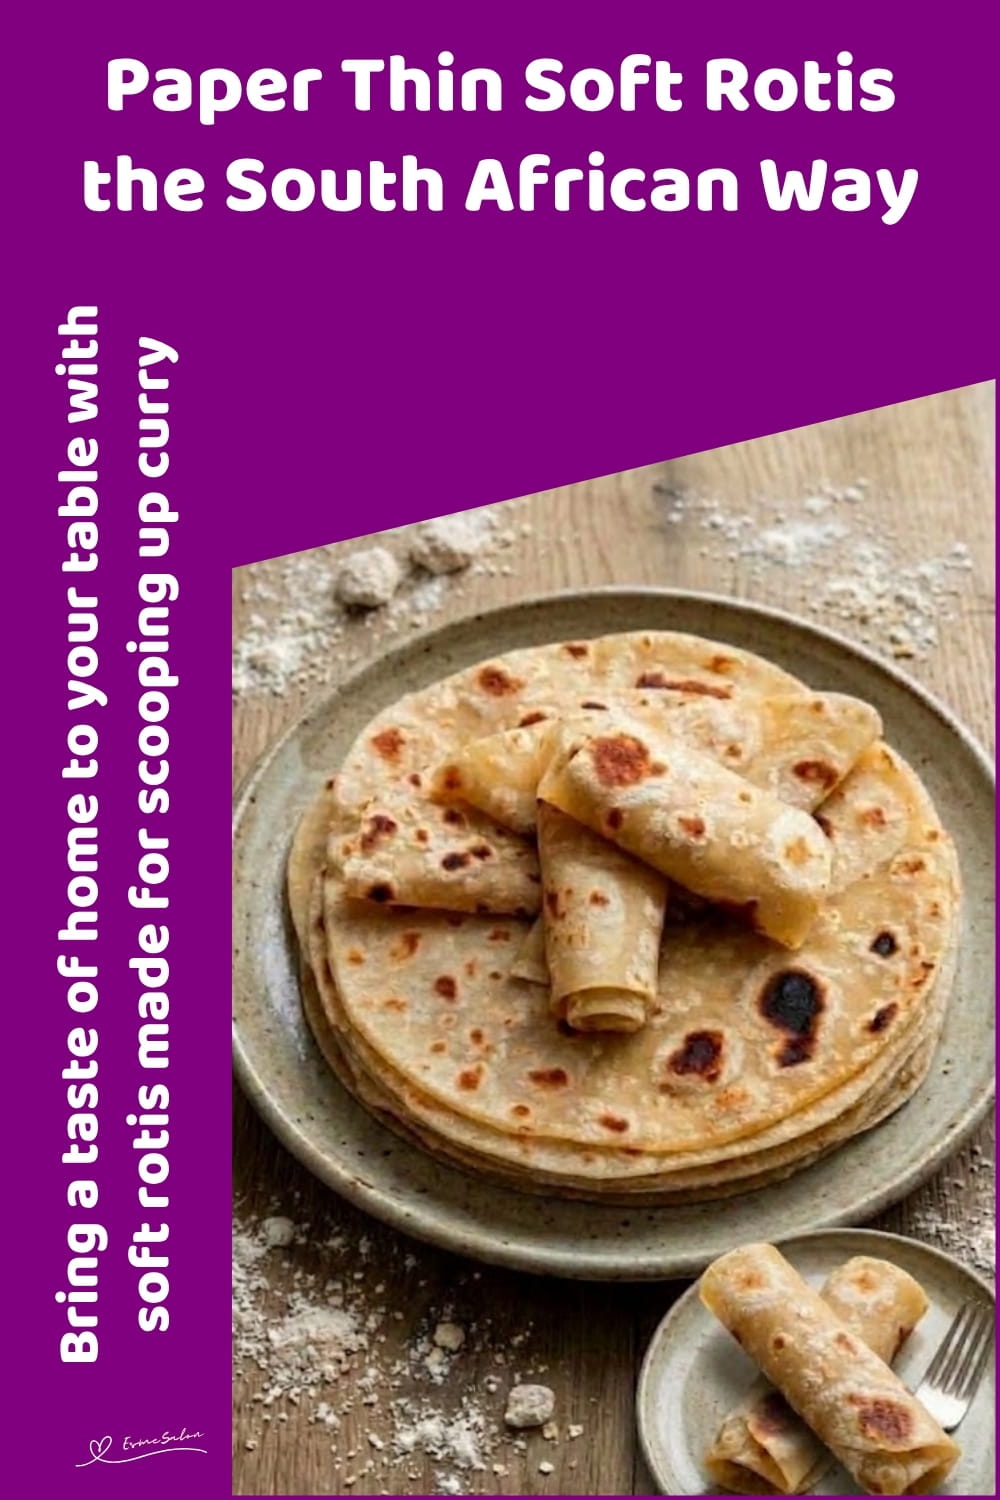
These Paper Thin Soft Rotis bring tender homemade flatbreads to the table without complicated steps. The boiling water dough, easy rolling method, and quick pan cooking make them a practical choice for curry nights, hearty stews, and family suppers. Serve them warm and enjoy every soft, flexible bite.

Thanks so much for stopping by, checking out my recipes, and seeing what’s cooking here at EsmeSalon.
If you try this recipe, I’d love to hear how it turned out. Please leave a rating, share your thoughts in the comments, and tag me on Instagram at @_esmesalon. I absolutely love seeing your creations, and yes, those mouthwatering food photos always make my day!
We happily share our tasty, fantastic recipes and are excited to spread some love by posting at these awesome Linky Parties.


Copyright © 2026 esmesalon.com – All rights reserved.