
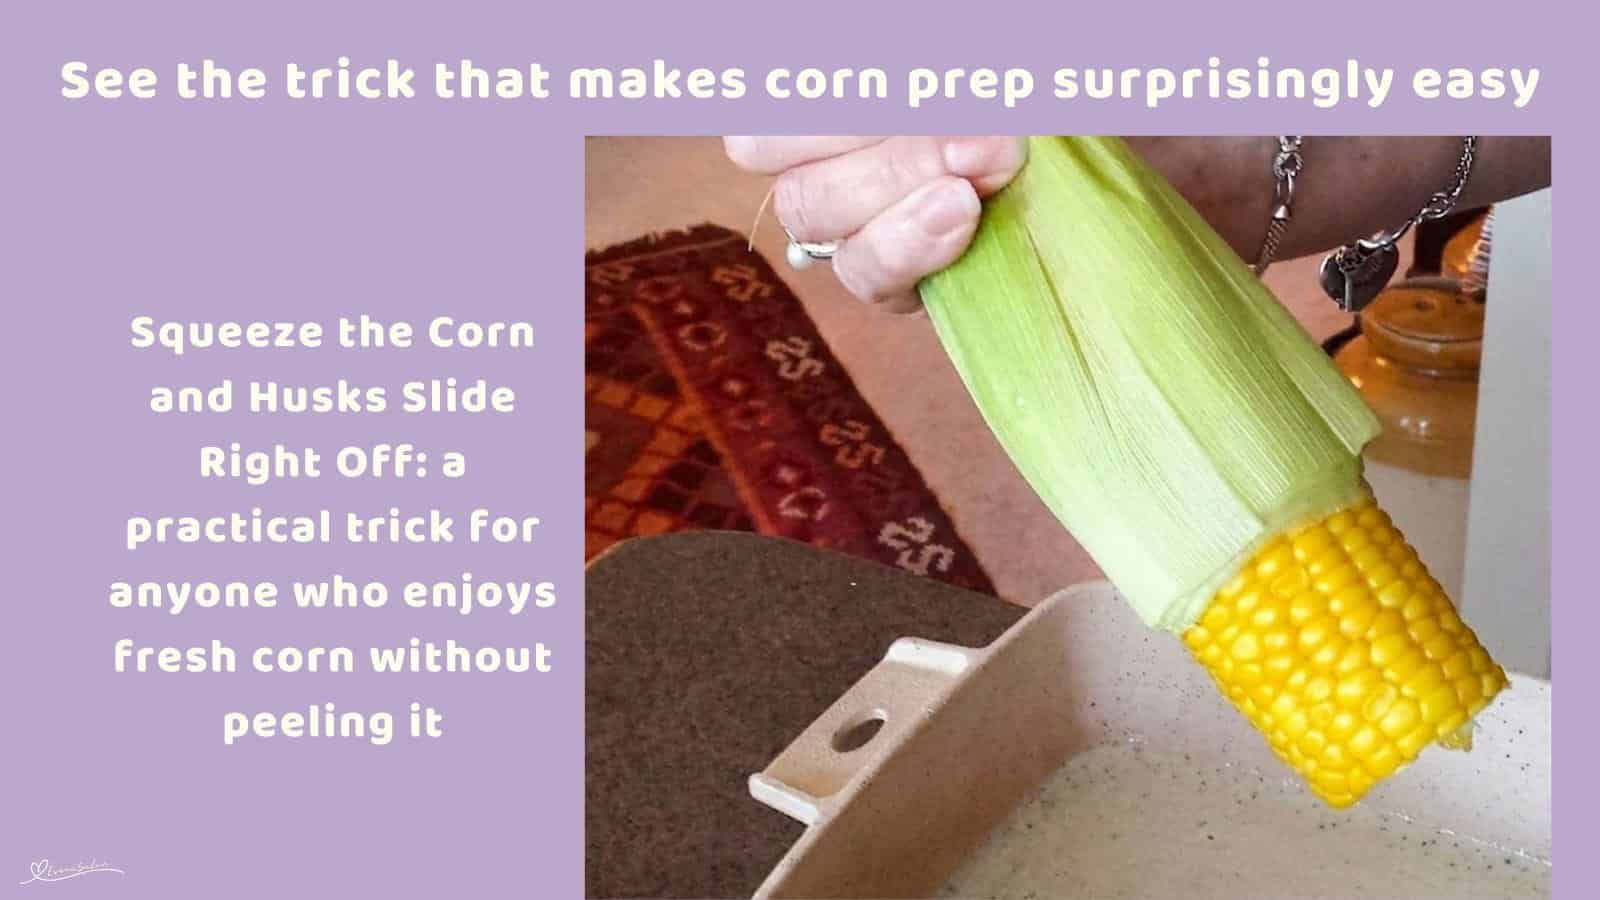
The Easiest Way to Cook Corn: Squeeze the Corn and Husks Slide Right Off
Squeeze the Corn and Husks Slide Right Off makes cooking fresh corn on the cob wonderfully easy, with a microwave method that helps remove the husks and corn silk with very little fuss.

This method of preparing your corn on the cob offers a practical way to deal with husks and silk after cooking. It’s been tested several times to make sure this handy trick really works.
Additional Information
- Can this be frozen? Yes, you can freeze cooked corn. Let the cooked corn cool completely, remove it from the cob if preferred, and place it in an airtight freezer container or freezer bag. For the best texture, use frozen corn within 3 to 6 months.
- How long can it be stored and how? Cooked corn can be stored in the refrigerator for up to 3 to 4 days. Keep it in an airtight container and refrigerate it within 2 hours of cooking. You can reheat it gently in the microwave, adding a small splash of water to help prevent it from drying out.
Substitute Suggestions
- This method is really about the corn and the steaming process, so there aren’t many ingredient substitutions needed. You can use fresh sweet corn of different sizes, but remember that larger ears may need a little extra cooking time.
- If you don’t have a microwave-safe bowl with a matching lid, you can cover the bowl with microwave-safe plastic wrap, leaving a small vent for steam, or use another microwave-safe cover designed for microwave cooking.
A Few Extra Tips
- One ear: Start with about 2 minutes.
- Two ears: Start with about 4 to 5 minutes.
- Larger ears: They may need a little extra time.
- Smaller ears: Check them sooner so they don’t overcook.
- Microwaves vary: Treat the cooking times as a starting point, not a hard rule.
- Don’t skip the cooling time: The corn and husks will be very hot straight from the microwave.
- Check for stray silk: The method removes most of the husk and silk, but an occasional stubborn strand may still need a quick swipe.
I’ve tested this method several times because, honestly, I wanted to be sure it wasn’t just a fluke. It really is that easy, so if you’ve always dreaded peeling corn and picking off all those little hairs, give this one a try.
Print
Squeeze the Corn and Husks Slide Right Off
- Prep Time: 2 minutes
- Cook Time: 5 minutes
- Total Time: 7 minutes
- Yield: 1–2 servings depending on size 1x
- Category: Vegetables
- Method: Easy Cooking
Description
I’ve made corn this way several times now, just to make sure it really works, and yes, it does. The best part is that when you squeeze the cooked corn out of the husk, the leaves and those pesky little corn hairs slide right off.
Ingredients
- 1 to 2 ears of fresh corn on the cob
- 1/4 cup water
Instructions
- Cut off the very top, pointy end of 1 to 2 ears of fresh corn on the cob. You don’t need to remove the husks or silk first. That’s the whole point of this little trick.
- Place 1/4 cup water in a microwave-safe bowl.
- Add 1 to 2 ears of fresh corn on the cob, still in their husks, and cover the bowl with a microwave-safe lid. The water helps create steam while the corn cooks.
- Microwave 2 ears of fresh corn on the cob for approximately 4 to 5 minutes, or 1 ear of fresh corn on the cob for about 2 minutes. The exact time will depend on the size of your corn, how many ears you’re cooking at once, and the strength of your microwave.
- Don’t overcook the corn. If it needs more time, add another 30 seconds and check again. You can always cook it a little longer, but you can’t undo overcooked corn.
- Carefully remove the bowl from the microwave and let the corn cool for a few minutes. It needs to be warm enough to handle, but you definitely don’t want to burn your hands.
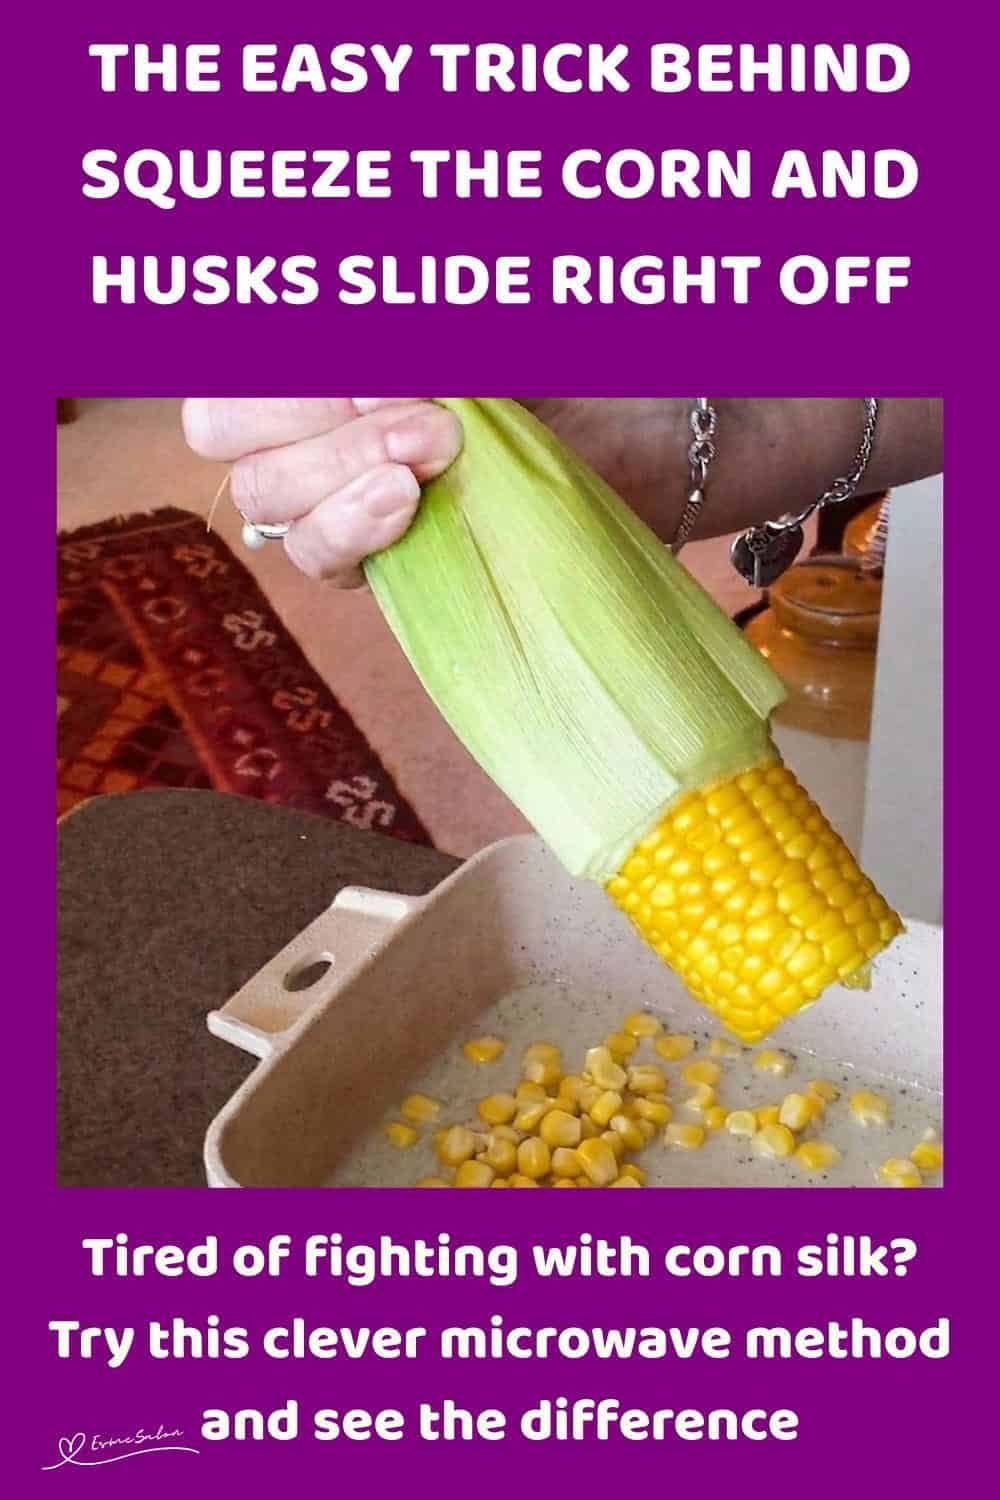
- Hold 1 ear of fresh corn on the cob at the pointy end you cut off. Give the husk a gentle squeeze and push from that end. The cooked corn should slide out, leaving the husk and most, if not all, of the corn silk behind. Give the cob a quick check and remove any stray silk that might still be hanging around.
- Serve the hot corn straight away with your favourite toppings. I like butter and a little salt, but that’s entirely up to you.
Notes
Prepared, tried, and tested by Esme Slabs: SA Tasty Recipes – Saffas Daily Recipes and EsmeSalon Homemade Recipes

Microwave Corn with a Simple Water Steam
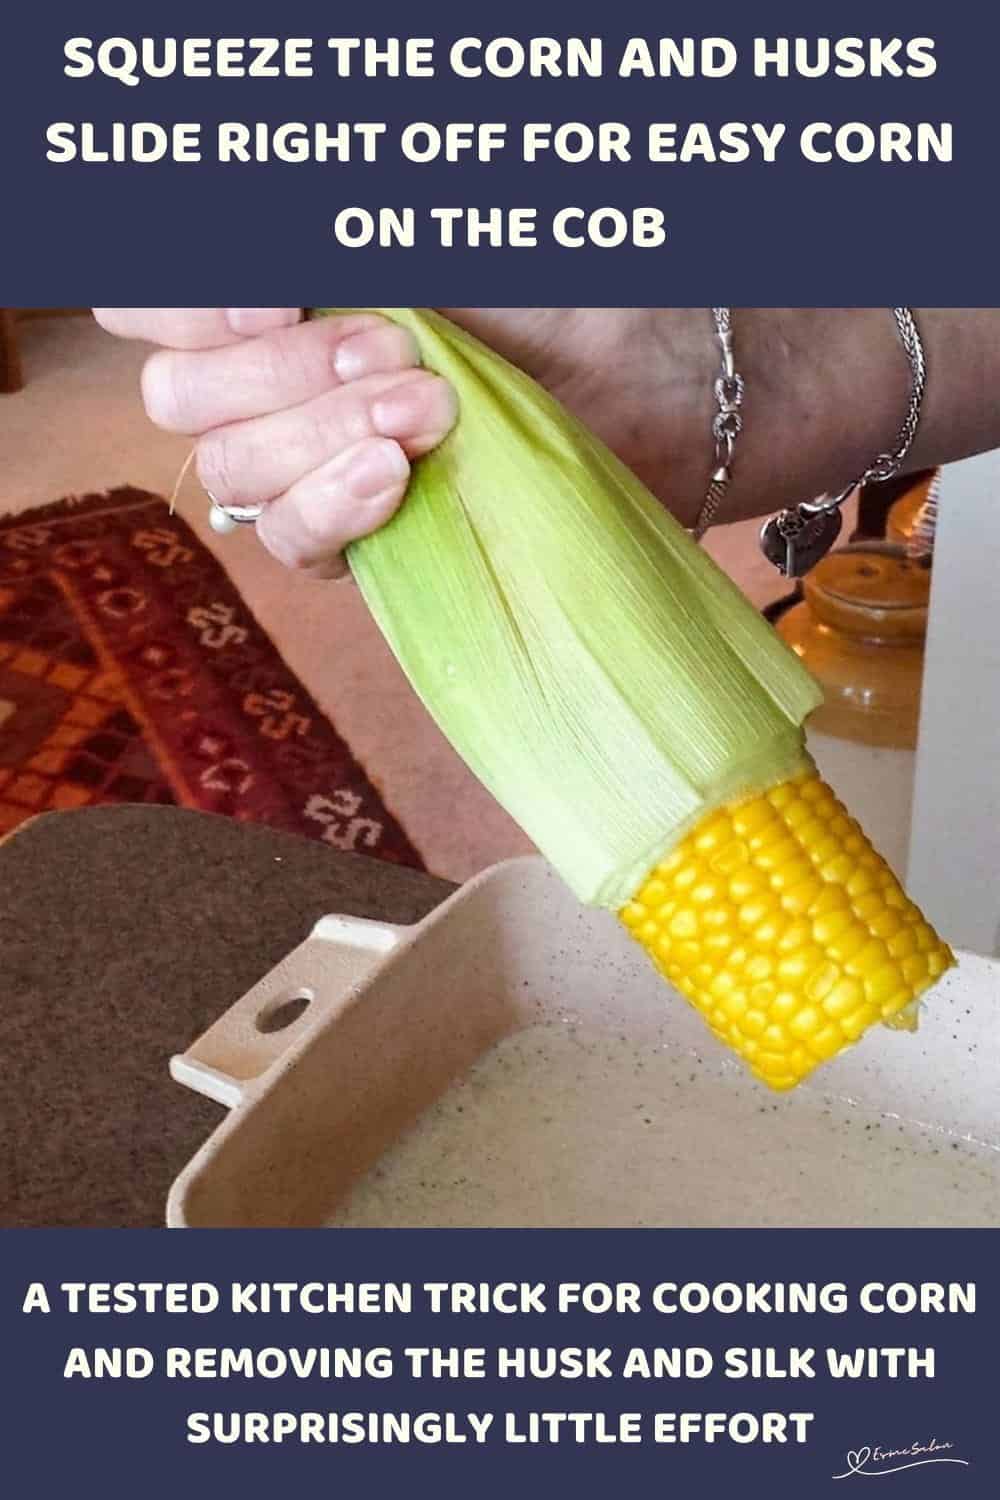
Squeeze the Corn and Husks Slide Right Off makes fresh corn easier to cook and far less frustrating to peel. The microwave does the work, the husk stays in place while the corn cooks, and the final squeeze helps separate the tender corn from the husk and silk. It’s a clever kitchen trick that saves time and makes enjoying corn on the cob that much easier.
I am linking up with a bunch of fantastic peeps from the blogosphere who host awesome Linkups: Homestead Blog Hop
We are featured on Busy Monday at A Pinch of Joy! Thank you so much for this honour and the shoutout.
Thanks for stopping by to check out the recipes and what’s on offer.
If you try this recipe, I’d love to hear how it turned out. Please leave a rating, share your thoughts in the comments, and tag me on Instagram at @_esmesalon. I absolutely love seeing your creations, and yes, those mouthwatering food photos always make my day!
We happily share our tasty, fantastic recipes and are excited to spread some love by posting at these awesome Linky Parties.


Copyright © 2026 esmesalon.com – All rights reserved.

How did I not know this? I’ve been doing it the hard way ????
Give it a try, Leslie, hope it works for you. That’s the only way I do it
Hi, Esme. This is interesting. It’s been pinned. Question about the lid. Does it just lay to cover the bowl of water or is it snapped into place on the bowl? I have pyrex glass dishes with lids. Not sure if those lids are micro safe as well.
Have a fun week.
All the best.
Debra @ Life Captured
Hi Debra, the lid only covers the bowl of water to create steam; no need to snap. You can even cover it with cling wrap and pierce some small holes.
Very helpful! Thank you 🙂
Thanks Linda – It’s so simple but effective.
Great tip – thank you, Esme!
The only way to do it, so easy !!
Will definitely try!
????