
As an Amazon Associate, I earn from qualifying purchases.
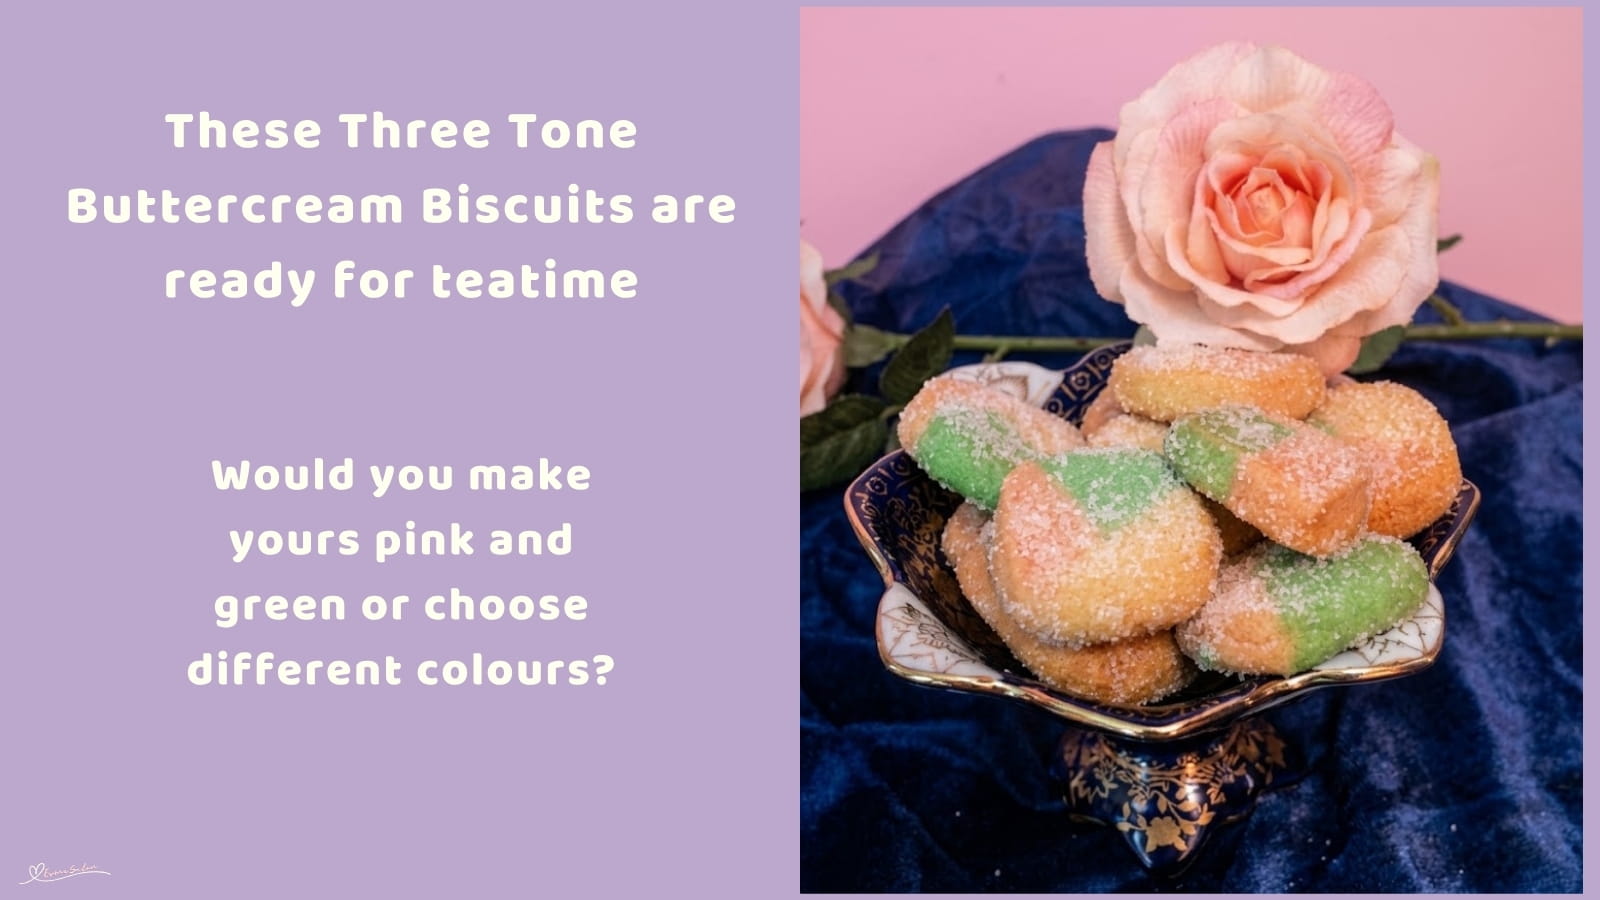
These Three Tone Buttercream Biscuits combine plain, pink and green dough in one cheerful little slice
A biscuit doesn’t need fancy icing or complicated decorations to stand out. Three colours, a neat triangular shape and a buttery bite are more than enough for these Three Tone Buttercream Biscuits.

If you were making these for a special occasion, which three colours would you choose, and why?
Why you will love and enjoy these Three Tone Buttercream Biscuits
- They’re buttery, tender and lovely with a cup of tea or coffee.
- The three coloured layers make each biscuit look special without needing icing or decorations.
- You can prepare the dough ahead, chill it and slice it when you’re ready to bake.

Three Tone Buttercream Biscuits
- Prep Time: 35 minutes
- Refrigerate: 15 minutes
- Cook Time: 20 minutes
- Total Time: 1 hour 10 minutes
- Yield: 30 to 40 biscuits, depending on thickness 1x
- Category: Cake Cupcakes Cookies and Tarts
- Method: Easy baking
- Cuisine: South African
Description
These pretty three tone biscuits bring a little colour to your biscuit tin, with green, pink and plain dough shaped into a lovely triangular pattern. They’re buttery, tender and just right with a cup of tea, whether you’re sharing them with visitors or sneaking one while the kettle boils.
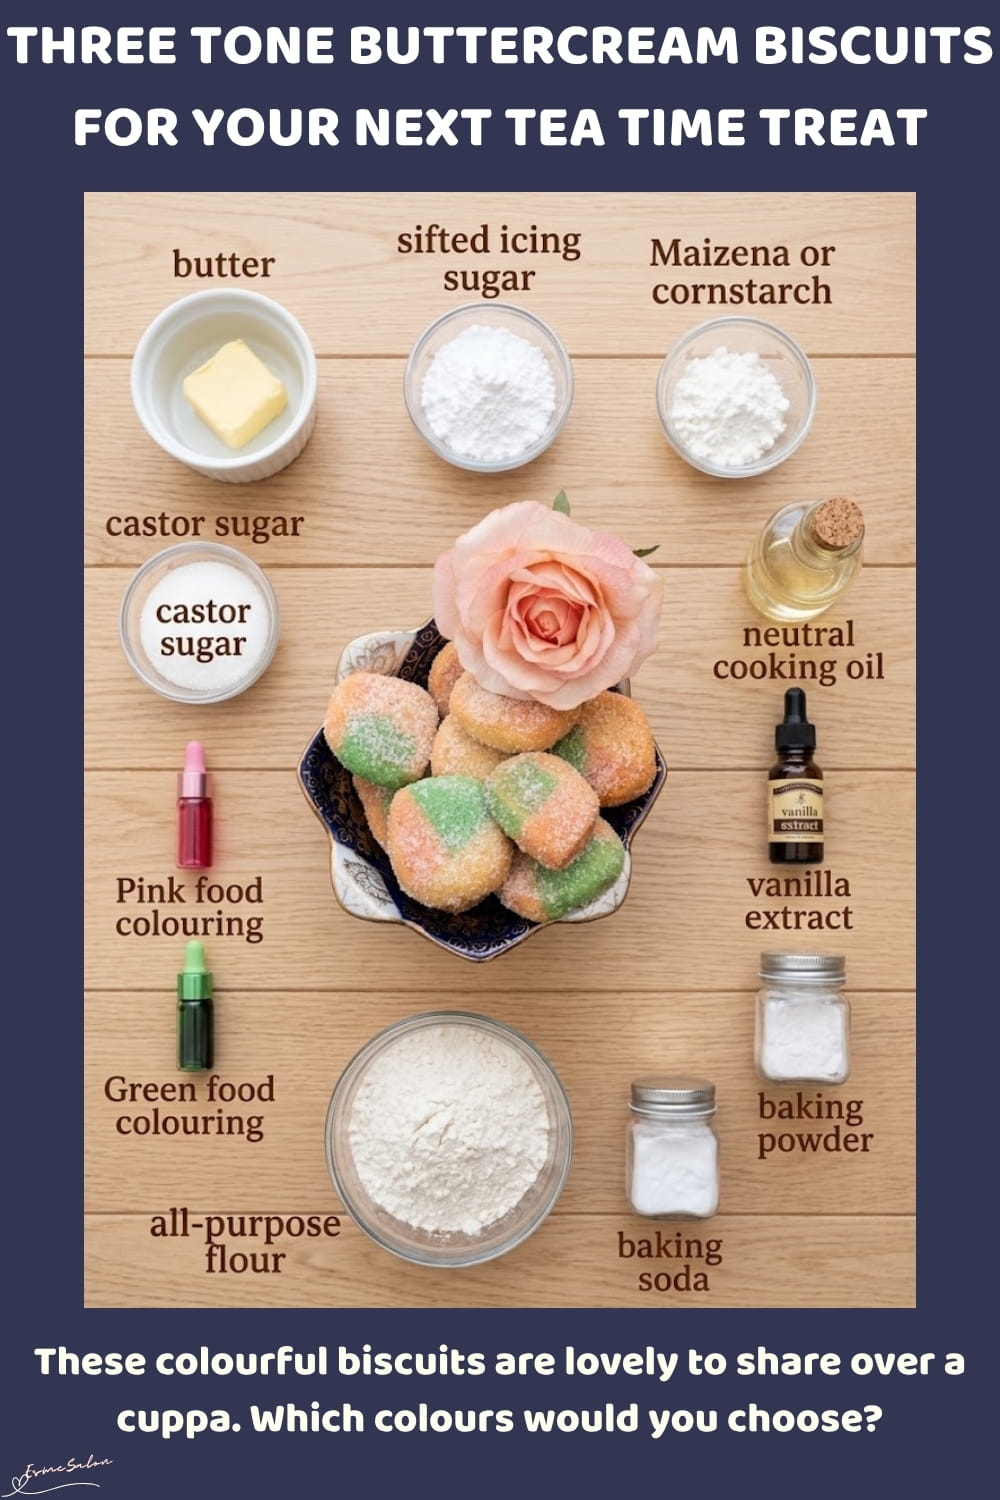
Ingredients
- 1 cup plus 1 1/2 tablespoons – 250 g butter, softened
- 1 cup sifted icing sugar
- 3 tbsp Maizena or cornstarch
- 1/2 cup neutral cooking oil
- 1 tsp vanilla extract
- 1/4 tsp baking powder
- A pinch of baking soda
- 3 cups all purpose flour, sifted, plus more as needed
- Green food colouring
- Pink food colouring
- 2 to 3 tbsp castor sugar, or as needed for coating
Instructions
- Beat the 250 g softened butter and 1 cup sifted icing sugar together until creamy, light and well combined.
- Add 3 tbsp Maizena, 1/2 cup oil, 1 tsp vanilla extract, 1/4 tsp baking powder and a pinch of baking soda. Mix until everything is evenly incorporated.
- Gradually add the first 3 cups of sifted all purpose flour, mixing as you go. Add a little more flour, 1 tbsp at a time, only if needed. You’re looking for a soft dough that holds together without sticking excessively to your hands. Don’t add too much flour, or the biscuits may turn out dry.
- Divide the dough into three equal portions. Leave one portion plain, colour the second green and the third pink. Add the food colouring a little at a time and knead gently until each colour is evenly distributed.
- Place each portion between sheets of wax paper or baking parchment. Roll the dough into long, even strips of similar thickness. Aim for three strips that are roughly the same length and width so the finished biscuits have a neat pattern.
- Place the green strip on the bottom and the pink strip beside it. Lay the plain strip on top, keeping the edges as even as possible. Gently press the strips together so they hold their shape.
- Use the paper to help lift and shape the dough into a triangular log. Fold the paper around the dough and use the flat side of a knife or a bench scraper to straighten the sides and sharpen the edges. Work gently so the colours stay distinct.
- Wrap the shaped dough and refrigerate for 15 minutes, or until firm enough to slice cleanly. If it still feels soft, give it a little longer in the fridge.
- Preheat your oven to 320⁰F (160⁰C). Line a baking tray with baking parchment.
- Unwrap the chilled dough and cut it into slices about 5 to 7 mm thick. Arrange the biscuits on the prepared tray, leaving a little space between them.
- Bake for 15 to 20 minutes, checking from the 12 minute mark. The biscuits should be set and lightly coloured underneath, but the tops should remain fairly pale so the pink and green colours stay pretty. Baking time will depend on their thickness and your oven.
- Leave the biscuits on the tray for about 5 minutes before transferring them carefully to a wire rack. While they’re still slightly warm, gently coat them in castor sugar if it sticks easily. If they’ve cooled completely, brush them very lightly with water or milk before dipping them in the sugar.
Notes
Prepared, tried, and tested by Rashida
Nutrition
- Serving Size: 1
- Calories: 124
- Sugar: 4 g
- Sodium: 32.5 mg
- Fat: 8.1 g
- Saturated Fat: 3.6 g
- Trans Fat: 0 g
- Carbohydrates: 11.9 g
- Fiber: 0.3 g
- Protein: 1.1 g
- Cholesterol: 13.4 mg

Additional Information and Tips:
- How much flour should I use? Start with 3 cups of sifted all-purpose flour, then add extra gradually until the dough is soft and manageable. Too much flour can leave the biscuits dry or crumbly, so avoid adding it all at once.
- Should the butter be softened or melted? Use 250 g softened butter. It creams more easily with the icing sugar and helps create a consistent dough. Melted butter can change the texture and make shaping more difficult.
- Can I use cornstarch instead of Maizena? Yes. Maizena is a cornstarch product, and ordinary cornstarch is a suitable substitute. It helps give the biscuits a tender texture.
- What can I use instead of butter? A firm baking margarine suitable for creaming can work, although the flavour and texture may differ. Avoid soft tub spreads, which can make the dough too loose.
- Which oil works best? Use a neutral oil such as canola or sunflower oil. Strongly flavoured oils may affect the taste.
- Can I use self-raising flour? You can, but the biscuits may rise or spread differently because the original recipe already includes baking powder and baking soda. All-purpose flour is the more reliable choice for following this recipe as written.
- Which food colouring should I use? Gel food colouring is ideal because a small amount gives a strong colour without adding much moisture. Add it gradually and knead gently until the colour is even.
- How do I stop the colours from blending? Keep the dough cool, roll the strips to similar sizes and press them together gently. Chill the shaped log until firm before slicing.
- Why is my dough too sticky or crumbly? If it’s sticky, add flour 1 tbsp at a time. If it’s crumbly, mix it a little longer first. If it still won’t hold together, add a small amount of oil, about 1 tsp at a time, until it comes together.
- How long should I chill the dough? Start with 15 minutes in the refrigerator. If the log is still soft or squashes when sliced, chill it longer until it’s firm enough to cut neatly.
- How thick should the slices be? Aim for 5 to 7 mm thick. Thinner slices bake faster, while thicker ones may need extra time.
- What temperature should I use, and how long do they bake? Bake at 320⁰F (160⁰C) for approximately 15 to 20 minutes. Begin checking around 12 minutes because oven temperatures and biscuit thickness vary. The biscuits should be set and lightly coloured underneath, while the tops remain fairly pale.
- How do I get castor sugar to stick? Coat the biscuits while they’re still slightly warm. If they’ve cooled completely, brush them very lightly with water or milk before dipping them in castor sugar.
- How long will the biscuits keep? Once completely cool, store them in an airtight container in a cool, dry place for about 1 to 2 weeks. Keep them away from moisture and direct sunlight to preserve their texture.
- Can I freeze the biscuits? Yes. Freeze fully cooled baked biscuits in an airtight, freezer-safe container, separating layers with baking parchment. For best quality, use within 2 to 3 months and thaw at room temperature while covered.
- You can also freeze the shaped, unbaked dough log, tightly wrapped, for about 2 months. Thaw it in the refrigerator until firm enough to slice, then bake as directed.
- Can I prepare the dough ahead? Yes. Shape the dough log, wrap it well and refrigerate it until you’re ready to slice and bake. If it becomes too firm, let it sit briefly at room temperature until you can cut it without cracking.
- How can I keep the triangular shape neat? Use wax paper or baking parchment to help shape the dough, then straighten the sides with a flat knife or bench scraper. Wipe your knife between slices if the dough starts sticking, and keep the remaining log chilled while you work.
- Can I change the colours? Absolutely. Choose colours to suit birthdays, holidays or afternoon tea. Keep one portion plain if you want the traditional three-tone effect, or use three different food colours for a brighter finish.
- What if the biscuits brown too much? Check them early and move the tray to the centre of the oven if needed. These biscuits should stay fairly pale on top, so remove them once set and lightly coloured underneath rather than waiting for a deep golden colour

Three Tone Buttercream Biscuits offer a lovely combination of buttery texture, a delicate sugar coating and colourful layers. Their simple triangular shape makes them look special without complicated decorating, making them an appealing choice for afternoon tea, homemade gifts or a fresh batch to share with family.

Thanks so much for stopping by, checking out my recipes, and seeing what’s cooking here at EsmeSalon.
If you try this recipe, I’d love to hear how it turned out. Please leave a rating, share your thoughts in the comments, and tag me on Instagram at @_esmesalon. I absolutely love seeing your creations, and yes, those mouthwatering food photos always make my day!
We happily share our tasty, fantastic recipes and are excited to spread some love by posting at these awesome Linky Parties.


Copyright © 2026 esmesalon.com – All rights reserved.