

As an Amazon Associate, I earn from qualifying purchases.
Three layers of Biscoff goodness, a creamy cheesecake filling and absolutely no oven required. Unbaked Biscoff Cream Dream Cheesecake is worth making room for in the fridge.
This Unbaked Biscoff Cream Dream Cheesecake proves you don’t need an oven to make a memorable dessert. Every slice brings together a buttery crust, a light cream cheese filling and plenty of Biscoff flavour.

Are you a Biscoff spread fan, or would you try this with another cookie butter?
Why you will love and enjoy this Unbaked Biscoff Cream Dream Cheesecake
- Unbaked Biscoff Cream Dream Cheesecake brings together everything I love about an indulgent dessert without turning the kitchen upside down. It’s creamy, crunchy and full of that distinctive spiced cookie flavour. Make it the night before, pop it in the fridge, and you’ve got a lovely dessert ready when you need it.
- No oven needed: The fridge takes care of setting the cheesecake.
- Loads of Biscoff flavour: There’s Biscoff spread in both the filling and the topping.
- A lovely contrast of textures: The buttery crust, airy filling and smooth topping work beautifully together.
- Easy to prepare ahead: Make it the day before serving to give it plenty of time to set.
- Easy to customize: Keep the cherries, leave them out, or decorate with extra Biscoff cookies.
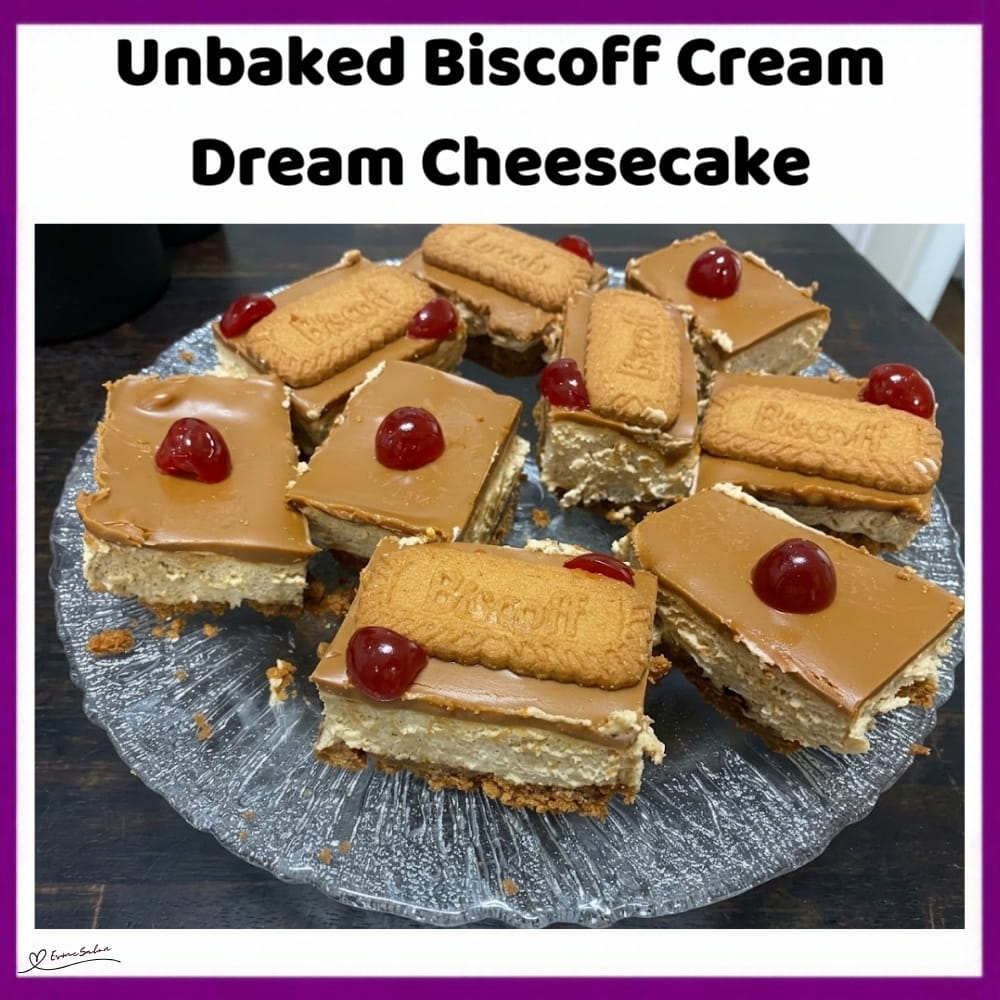
Unbaked Biscoff Cream Dream Cheesecake
- Prep Time: 45 minutes
- Refrigerate: 12 hours
- Cook Time: 0 minutes
- Total Time: 12 hours 45 minutes
- Yield: 18 depending on size 1x
- Category: Cake Cupcakes Cookies and Tarts
- Method: No bake
Description
An unbaked cheesecake with a buttery cookie crust, creamy Biscoff filling and a smooth, generous Biscoff topping.
This is the kind of dessert that makes it awfully hard to stop at one slice. It’s rich, creamy, full of that lovely caramelised Biscoff flavour, and finished with cookies and cherries if you fancy a little extra something.
Ingredients
Crust
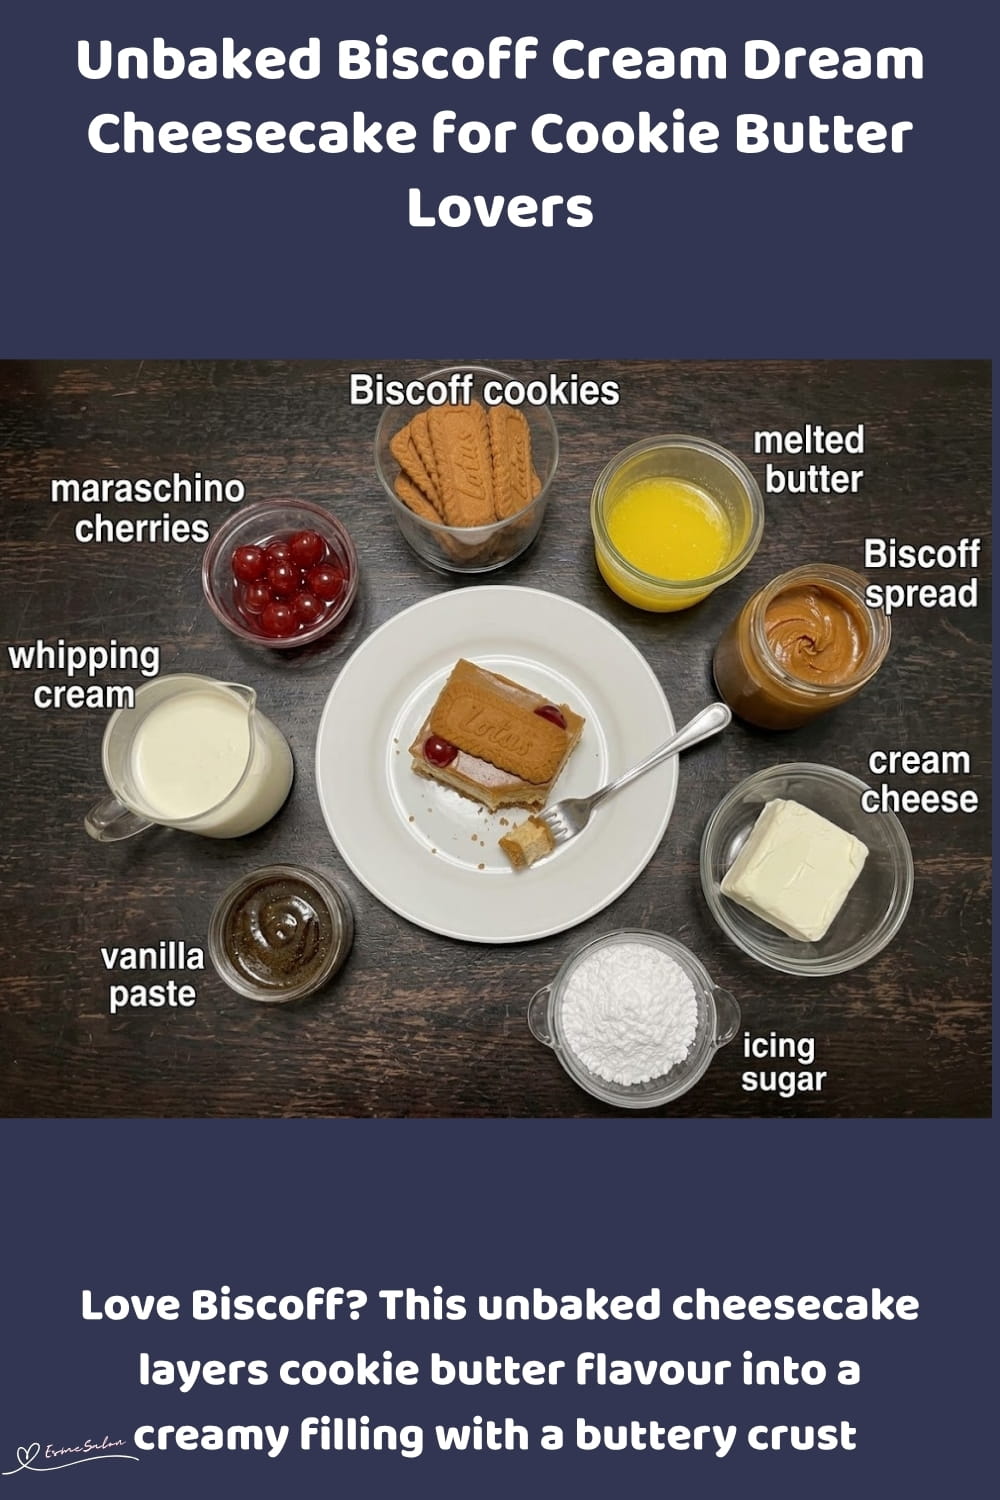
- 500 g Biscoff cookies, finely crushed
- 140 g butter, melted
Cheesecake filling
- 400 g Biscoff spread
- 500 g cream cheese, at room temperature
- 60 g icing sugar (powdered sugar)
- 10 ml vanilla paste or vanilla extract
- 250 ml whipping cream, very cold
- 10 red maraschino cherries, cut into quarters (optional)
Topping and Decoration
- 400 g Biscoff spread
- 18 Biscoff cookies, for decoration
- 9 red maraschino cherries, optional, left whole or cut in half for decoration
Instructions
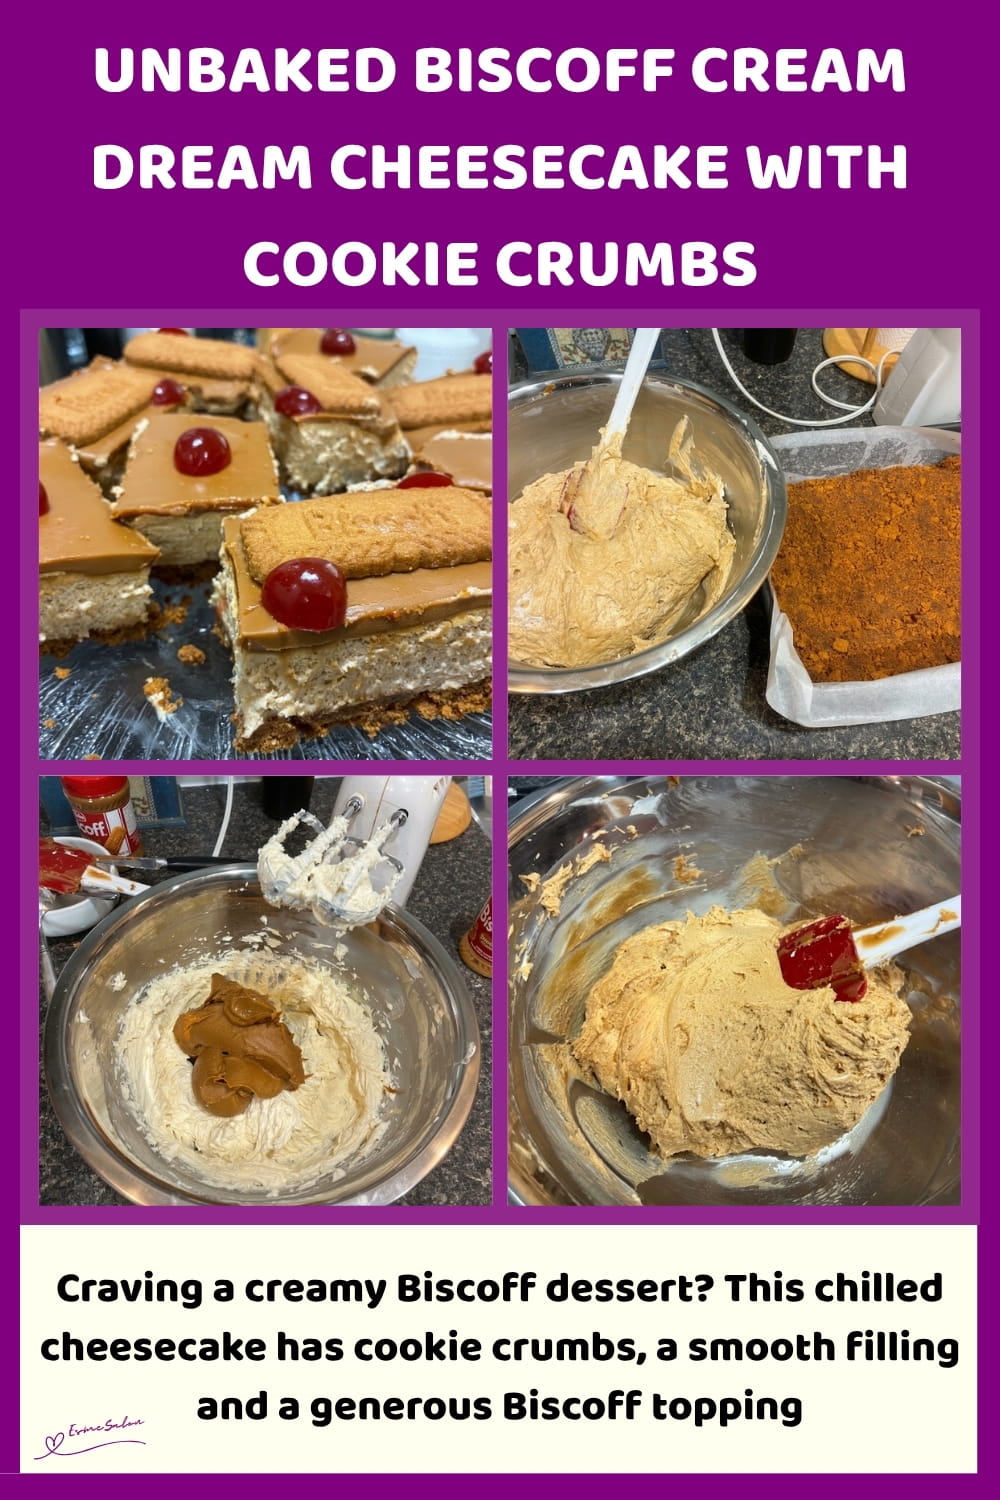
- Place the 500 g Biscoff cookies in a large Ziploc bag and crush them with a heavy rolling pin until you have fine, even crumbs. Mix the crumbs with 140 g melted butter until the mixture resembles damp sand and holds together when pressed.
- Line an 8.5 x 12 in. rectangular pan with parchment paper, leaving enough overhang on the sides to lift the cheesecake out later. Press the cookie mixture firmly and evenly into the base, paying particular attention to the corners. Use the bottom of a glass to press it down firmly. Refrigerate or freeze the crust while you prepare the filling.
- Beat 500 g room-temperature cream cheese with 60 g icing sugar and 10 ml vanilla paste (or vanilla extract) until smooth and creamy. Warm 400 g Biscoff spread in the microwave for about 10 seconds if it’s too firm to mix easily. It should be soft and spreadable, not hot. Beat it into the cream cheese mixture until fully combined.
- Chill a clean mixing bowl in the freezer until cold. Pour in 250 ml of very cold whipping cream (I left mine in the freezer for 15 minutes) and whip until stiff peaks form. Take care not to over-whip it into a grainy mixture.
- Gently fold the whipped cream into the cream cheese and Biscoff mixture. Use a spatula and a light hand so you keep as much air in the filling as possible. If you’re using the optional 10 quartered maraschino cherries, pat them dry with a paper towel and gently fold them in now.
- Spoon the cheesecake filling over the chilled cookie crust. Spread it evenly into the corners and smooth the top with a spatula. Leave it in the fridge until set before adding the topping.
- Place the remaining 400 g Biscoff spread in a microwave-safe bowl (or you can leave it in the container as well, which I did) and heat for 30 seconds. Let it cool for 1 to 2 minutes so it’s warm and pourable rather than hot.
- Pour the softened Biscoff spread over the cheesecake filling and spread it into an even layer. Cover the pan without letting the covering touch the surface and refrigerate for at least 4 hours, preferably overnight, for the best texture and cleaner slices.
- Use the parchment overhang to carefully lift the cheesecake from the pan and place it on a cutting board. Trim the edges if you’d like a neat finish, then cut into 18 portions.
- Decorate before serving: Once the cheesecake is thoroughly chilled, decorate with 18 Biscoff cookies and the reserved maraschino cherries, if using. Pat the cherries dry before adding them so their extra moisture doesn’t affect the topping.
- For tidy slices, fill a tall glass with hot water and keep it beside you. Dip a long, sharp knife into the water, wipe it completely dry, and make one straight downward cut without sawing back and forth. Wipe and rewarm the knife between every cut.
- Serve chilled and enjoy every creamy, crunchy, Biscoff-filled bite!
Notes
Created, prepared, tried, and tested by Esme Slabs: SA Tasty Recipes – Saffas Daily Recipes and EsmeSalon Homemade Recipes
Nutrition
- Serving Size: 1
- Calories: 522
- Sugar: 16.4 g
- Sodium: 701.7 mg
- Fat: 38.6 g
- Saturated Fat: 14.4 g
- Trans Fat: 0.1 g
- Carbohydrates: 40.5 g
- Fiber: 2.5 g
- Protein: 4.8 g
- Cholesterol: 52.7 mg

Additional Information, Tips and Tricks:
- Can I use a different type of cookie? Yes. Speculoos cookies are the closest match, while digestive biscuits or graham crackers provide a milder flavour. Keep an eye on the crust texture because different cookies absorb butter differently.
- Can I substitute the Biscoff spread? Another smooth cookie butter spread can work, although the taste and sweetness may change. Choose one with a similar consistency for the best filling and topping.
- Can I replace vanilla paste with vanilla extract? Yes. Use 10 ml of either one.
- Can I leave out the cherries? Absolutely. The cherries are optional in both the filling and decoration. Extra Biscoff cookies or cookie crumbs make good alternatives.
- Why should the cream cheese be at room temperature? It blends more smoothly with the icing sugar and Biscoff spread, helping prevent lumps.
- Why must the whipping cream be cold? Very cold cream whips more effectively. Whip it to stiff peaks, then fold it gently into the filling to keep the mixture light.
- What if the filling is too soft? Check that the whipped cream has reached stiff peaks and allow the cheesecake to chill overnight. Avoid adding extra liquid, which can make the filling softer.
- How should I warm the Biscoff spread? Microwave it in short bursts, stirring as needed. The spread should be soft enough to mix or pour, not hot. Let the topping cool slightly before spreading it over the filling.
- How do I get clean slices? Refrigerate overnight, use a sharp knife dipped in hot water, wipe it completely dry, and clean it between every cut. Lift the cheesecake out using the parchment overhang only once it’s firm.
- What pan can I use? The recipe is designed for an 8.5 x 12 in. rectangular pan. A similar-sized pan will work, but a smaller pan produces a thicker cheesecake and may leave excess filling.
- How long does it keep? Store the cheesecake covered in the refrigerator and enjoy it within 3 to 4 days for the best quality.
- Can I prepare it ahead? Yes. Overnight chilling is recommended because it improves the texture and makes serving easier. Add the decorative cookies shortly before serving if you’d like them to remain crisp.
- How long can it stay at room temperature? Keep it out for no more than 2 hours. Return leftovers to the refrigerator promptly because the filling contains dairy.
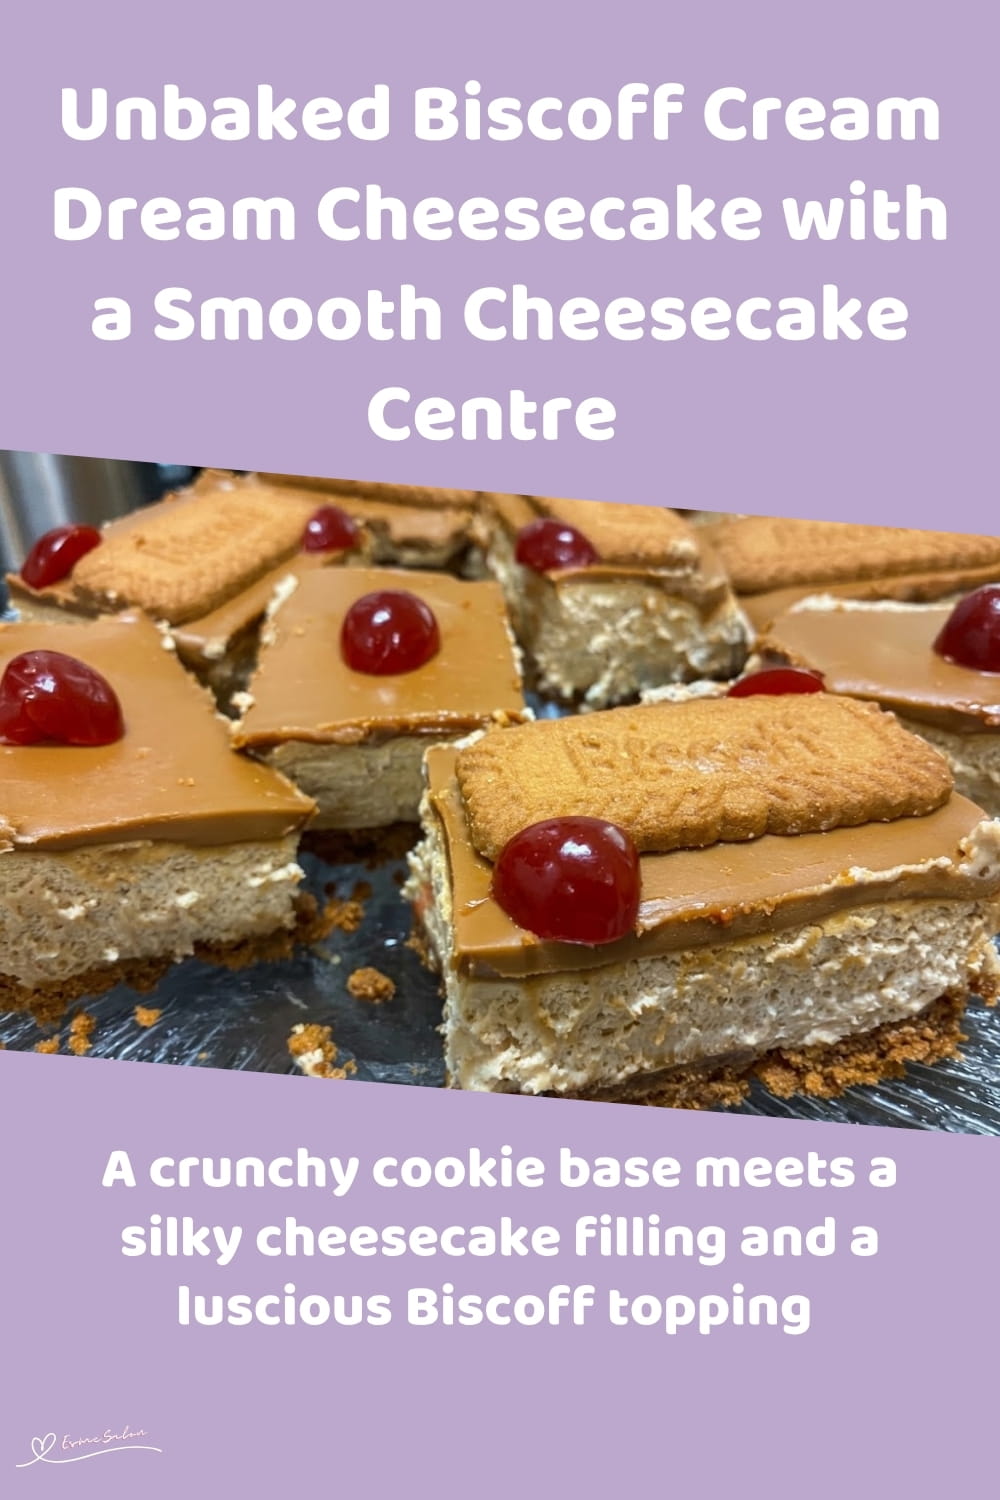
This Biscoff Cream Cheesecake is a rich, creamy dessert with a buttery cookie crust, a smooth cream cheese filling and a generous Biscoff topping. Its unbaked preparation makes it practical for busy days, while overnight chilling helps create beautiful slices. For anyone who enjoys cookie butter and a make-ahead dessert, this cheesecake is well worth adding to the menu.
Thanks so much for stopping by, checking out my recipes, and seeing what’s cooking here at EsmeSalon.
If you try this recipe, I’d love to hear how it turned out. Please leave a rating, share your thoughts in the comments, and tag me on Instagram at @_esmesalon. I absolutely love seeing your creations, and yes, those mouthwatering food photos always make my day!
We happily share our tasty, fantastic recipes and are excited to spread some love by posting at these awesome Linky Parties.


Copyright © 2026 esmesalon.com – All rights reserved.