How to Make a Cassata Ice Cream Cake with Cherries, Nuts, and Mint Cookie Crunch
What is a Cassata? Cassata (/kəˈsɑːtə/ kə-SAH-tə) or cassata siciliana (Italian: [kasˈsaːta sitʃiˈljaːna]; Sicilian: [ka(s)ˈsaːta sɪʃɪˈljaːna]) is an Italian cake originating in the Sicily region. It is typically composed of a round sponge cake moistened with fruit juices or liqueur and layered with ricotta cheese and candied fruit (a filling also used with cannoli). It has a shell of marzipan, pink and green colored icing, and decorative designs. Cassata may also refer to a Neapolitan ice cream containing candied or dried fruit and nuts.
No-Bake Italian Cassata Ice Cream Cake

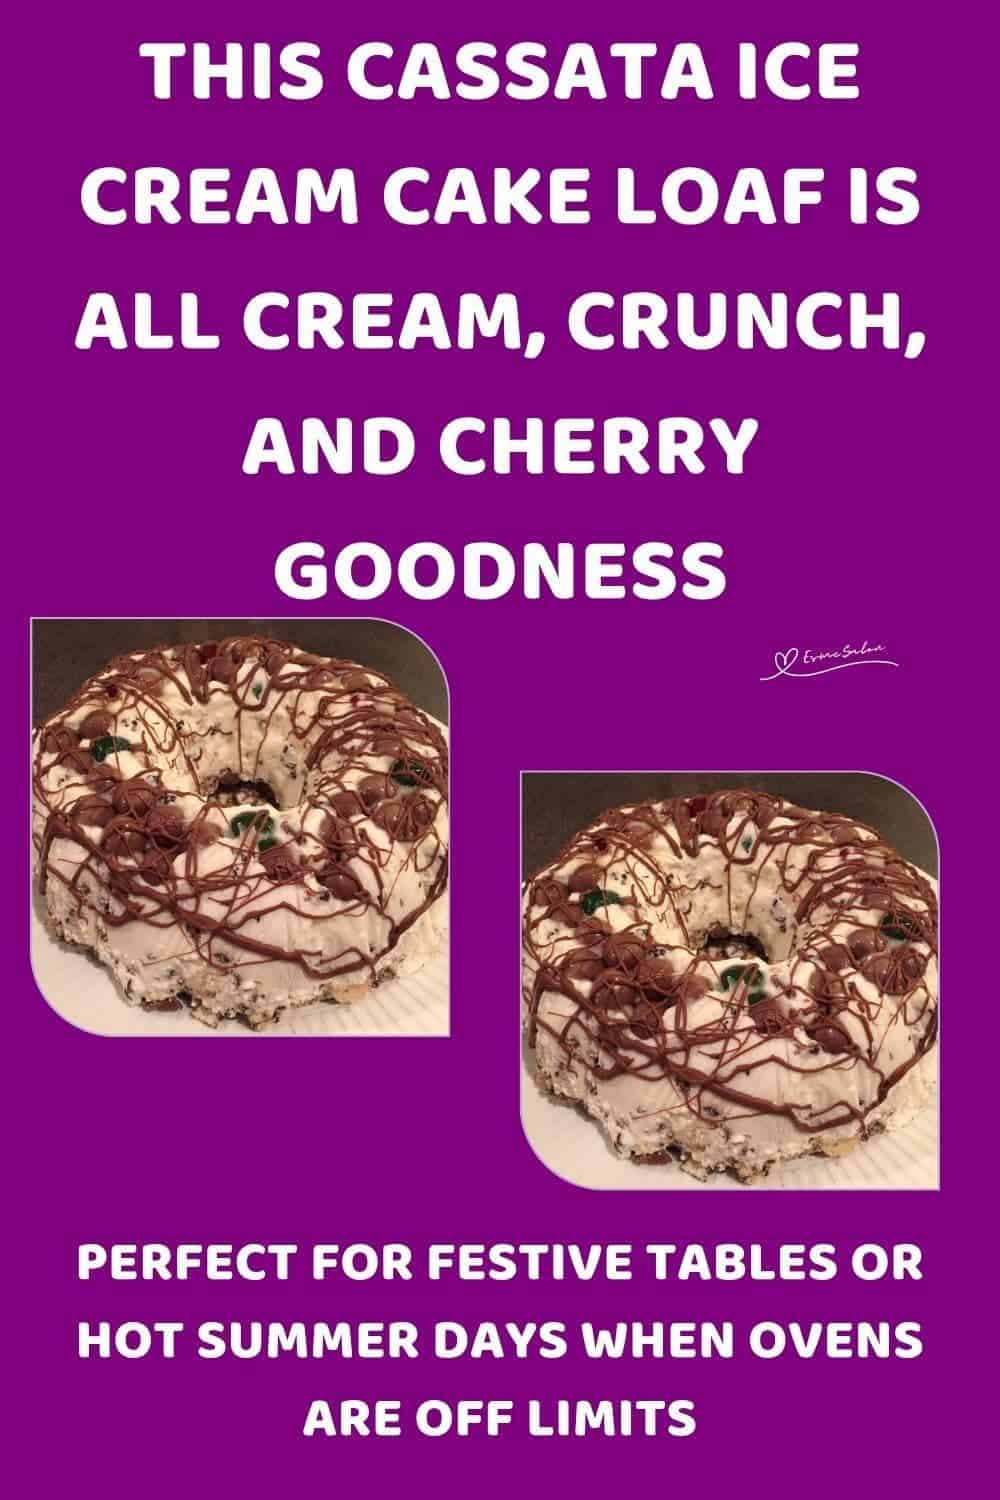
Looking for a fun and easy frozen dessert? This Cassata Ice Cream Cake is cold, creamy, and packed with color and crunch. It’s made with whipped cream, egg whites, nuts, cherries, and dried fruit, all frozen into one dreamy cake.
It’s a no-bake dessert that feels fancy but takes hardly any effort. Perfect for holidays, summer parties, or whenever you want to impress without turning on the oven.
Why You’ll love this Cassata Ice Cream Cake:
- No baking needed – Just mix, freeze, and slice.
- Make-ahead friendly – Great for prepping a day or two early.
- Fun textures – Soft cream, chewy fruit, crunchy nuts in every bite.
- Easy to customize – Add mint cookies, chocolate drizzle, or your favorite mix-ins.
- Looks great on the table – Bright cherries and toppings make it a showstopper.
This cassata is cool, colorful, and full of flavor. Simple to make, easy to love.
It looks like ice cream, but slices like cake. Cassata Ice Cream Cake is the best of both worlds.
Print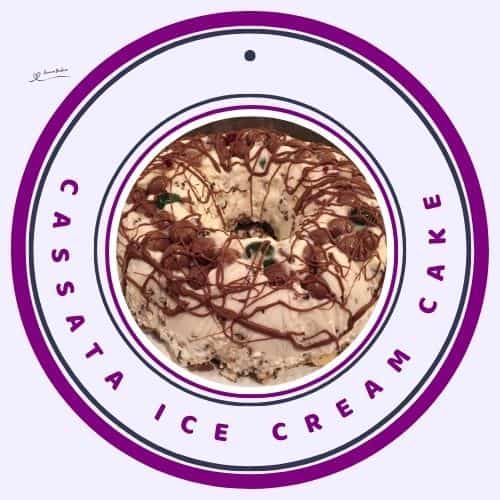
Easy Cassata Ice Cream Cake Recipe with Cream and Nuts
- Prep Time: 30 minutes
- Assembling and resting: 12 hours
- Cook Time: 0 minutes
- Total Time: 12 hours 30 minutes
- Yield: 12 servings depending on size 1x
- Category: Desserts
- Method: Easy
Description
What Makes This Cassata Special?
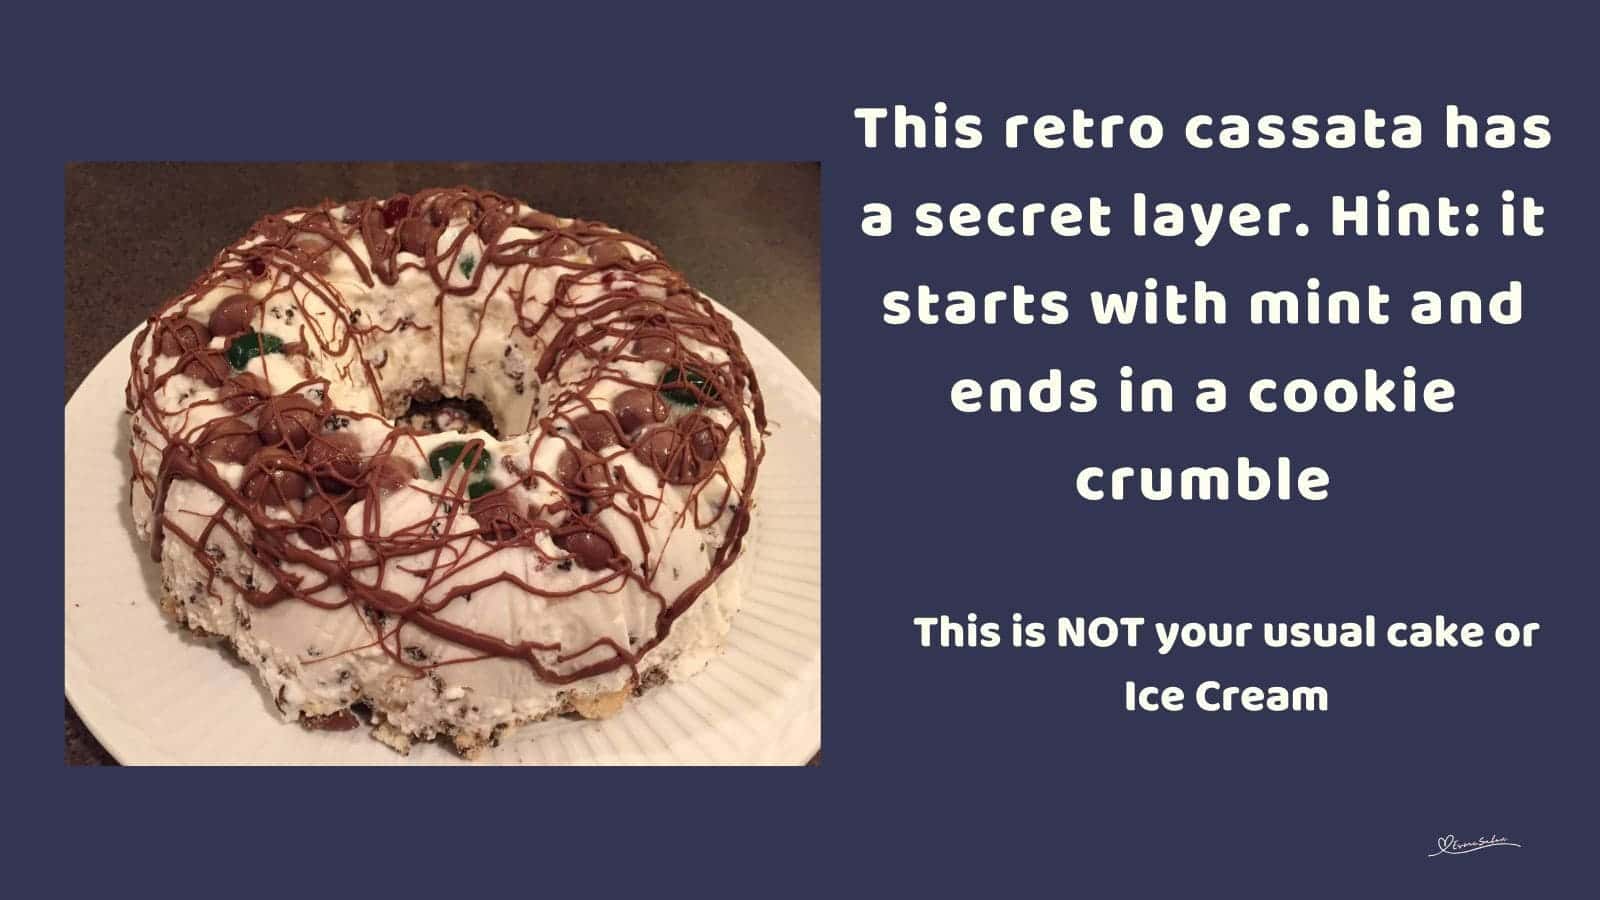
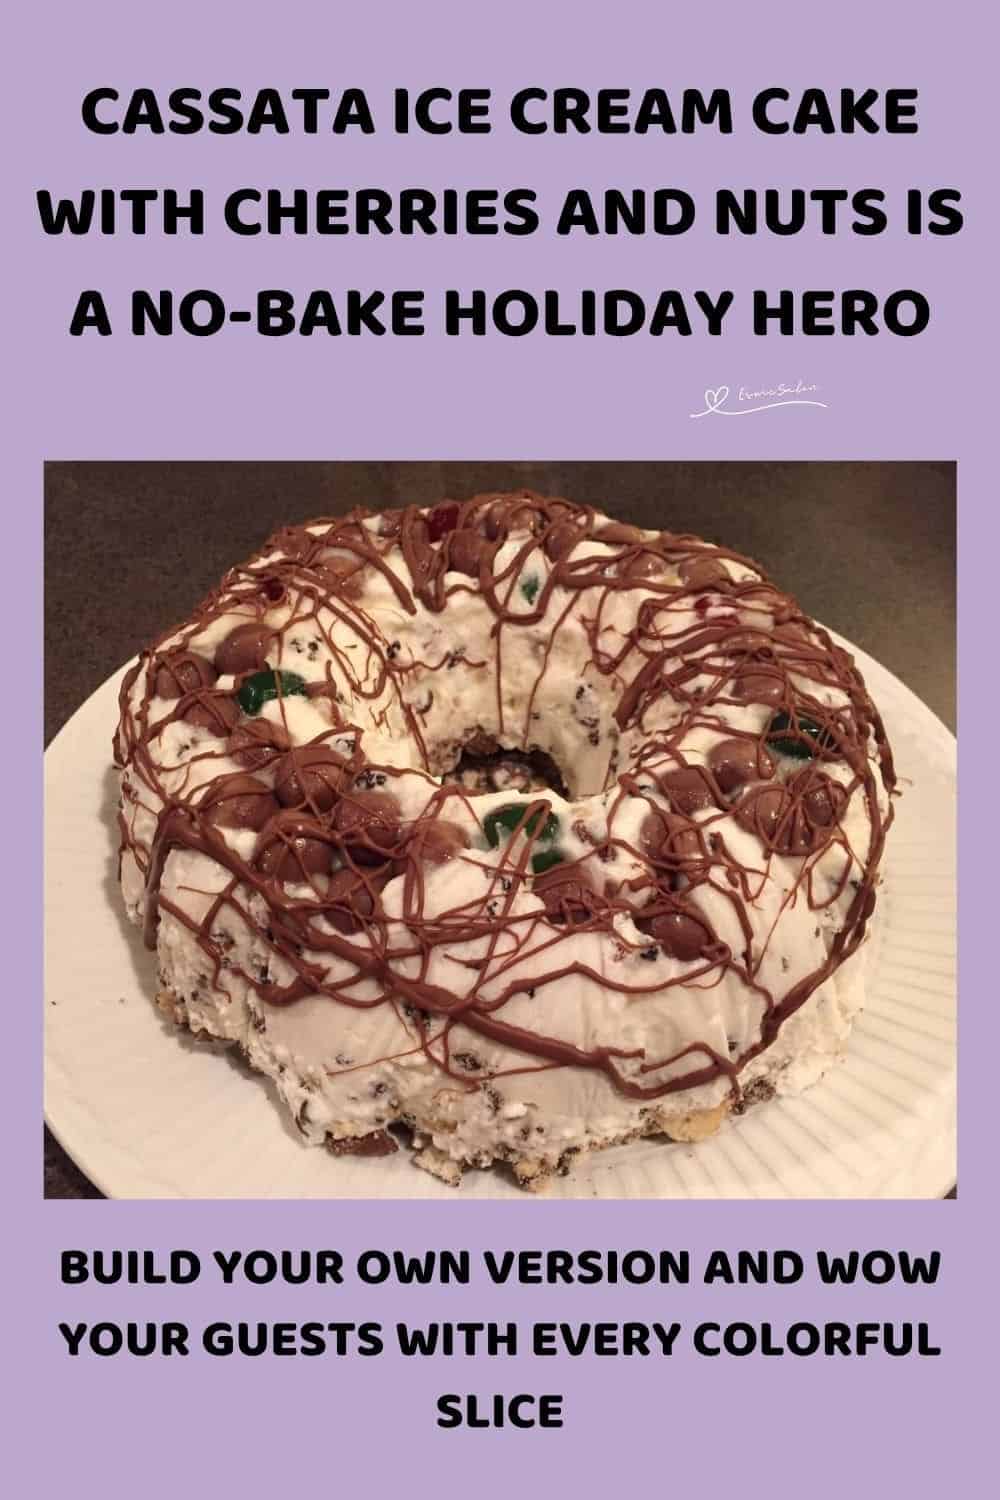
This isn’t your average frozen dessert. It’s creamy, chewy, crunchy, colorful, and cold all at once. Packed with whipped cream, nuts, candied cherries, and dried fruit, this cassata ice cream cake gets even better with an optional mint cookie twist.
It’s the kind of showstopper you can prep ahead, freeze, and serve straight from the mold. Great for summer parties or festive holidays, no oven required.
Ingredients
- 6 egg whites (room temp)
- 100g (125ml) caster sugar
- 500ml whipping cream
- 100g (250ml) mixed chopped nuts – use a variety for best texture
- 250g (400ml) dried fruit mix
- 250g red and green glacé cherries (keep some whole for decoration if you like)
Optional Add-On:
- Crushed mint chocolate cookies
- 1/2 block mint crisp chocolate, chopped
- 4–6 blocks dark chocolate, melted for drizzling
Instructions
- Line a loaf pan or freezer-safe container with plastic wrap, leaving enough overhang to pull the cake out later.
- Use a clean, dry metal bowl. Beat until frothy.
- Slowly add half the sugar, bit by bit, and continue until stiff peaks form. Set aside.
- In a separate bowl, beat the cream with the remaining sugar until stiff.
- Fold the whipped cream into the egg whites using a metal spoon. Be gentle to keep it airy.
- Stir in chopped nuts, cherries, and dried fruit.
- Line the bottom of the mold with cherries, nuts, or even crushed cookies for a decorative top when inverted.
- Spoon the mixture into the mold and freeze until solid (at least several hours or overnight).
To Serve:
- About 30–60 minutes before serving, move it from the freezer to the fridge so it softens slightly.
- Flip onto a serving plate and peel off the plastic wrap.
- Decorate with more cherries, nuts, chocolate drizzle, or all three.
- Slice and serve on its own or with a drizzle of sauce.
Bonus Twist: Mint Cookie Crunch Base
- Want to try something fun? Add this layer before freezing:
- Crush a pack of mint chocolate cookies and chop up ½ block of mint crisp chocolate.
- Press the mixture gently over the top of the cassata (which becomes the base once flipped out).
- Once frozen and flipped, it becomes a crunchy, minty surprise.
This cassata is rich, light, chewy, crunchy, sweet, and cold all in one bite. It’s retro in all the right ways, and totally freezer-friendly.
Notes
Created, prepared, tried, and tested (adapted from numerous online recipes) by Esme from SA Tasty Recipes, Saffas Daily Recipes, and EsmeSalon Homemade Recipes
Cassata Ice Cream Cake gets a cool twist with mint cookie crunch and cherry layers. Try this freezer-friendly showstopper and see why it’s always gone by the second slice.
This Cassata Ice Cream Cake recipe offers a perfect mix of creamy whipped layers, crunchy nuts, and sweet cherries. It’s easy to make without baking and can be prepared ahead of time. The refreshing mint cookie crunch adds a fun twist that makes every bite exciting. Anyone looking for a simple but impressive frozen dessert will want to try this right away.
Thanks for dropping in and checking out the recipes and what’s on offer.
If you try out this delightful recipe, please let me know, rate it, and tag me on Instagram at @_esmesalon. I’m excited to see your amazing recreations, and I’m hooked on those mouthwatering photos!
We happily share our tasty, fantastic recipes and are excited to spread some love by posting at these awesome Linky Parties.


Copyright © 2026 esmesalon.com – All rights reserved.